- Apr 2
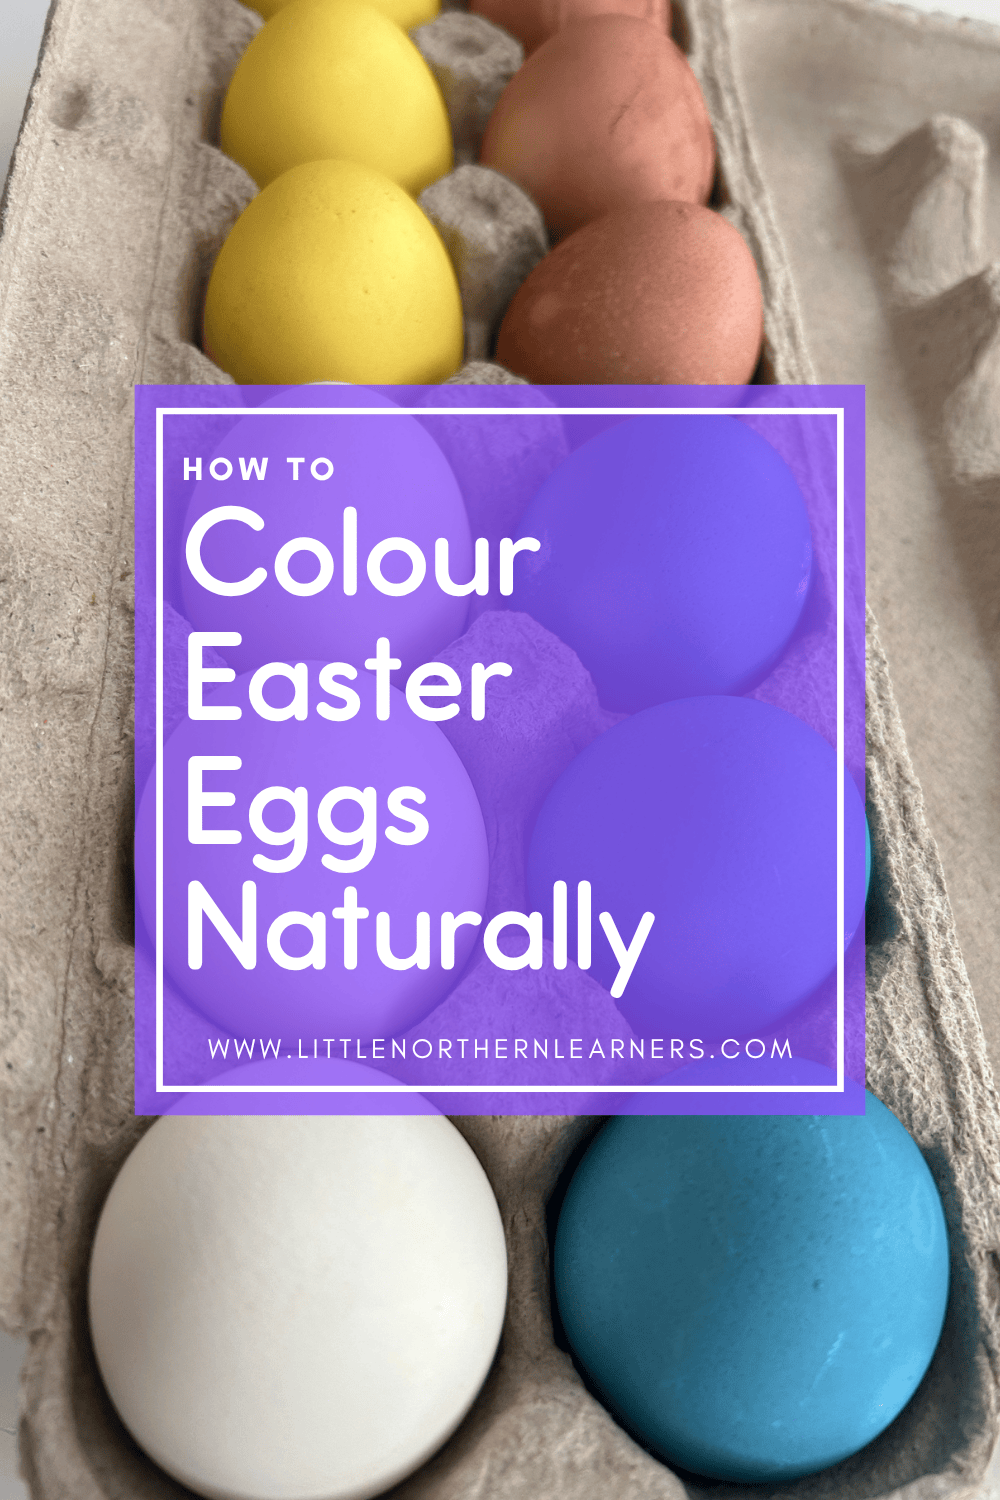
How to Colour Easter Eggs Naturally
- Little Northern Learners
- Spring 🌷, Holidays 🎉
For years I've wanted to try colouring easter eggs with natural dyes, but I just haven't had the energy to commit! This year, with the kids being a bit older (5 and 3), I finally felt ready to try it out - and I'm so glad we did! Not only did we end up with some very cute Easter eggs, but the little ones learned about new vegetables and spices, enjoyed the sensory experience of the bright colours and new smells (although my youngest was NOT a fan of the smell of boiled cabbage!), and were in awe of their ability to "magically" colour eggs!
All in all, it did take a good chunk of time and patience (around 4 hours total, including waiting time), and two of the colours we chose didn't quite work out, but it was a fun experience to try something new and have the kids learn how we can use natural materials to create dyes.
In this post, I'll be sharing the ingredients and method we used, what did and didn't work, and what I'll be doing differently next time!
Gather These Items:
White eggs, hard boiled
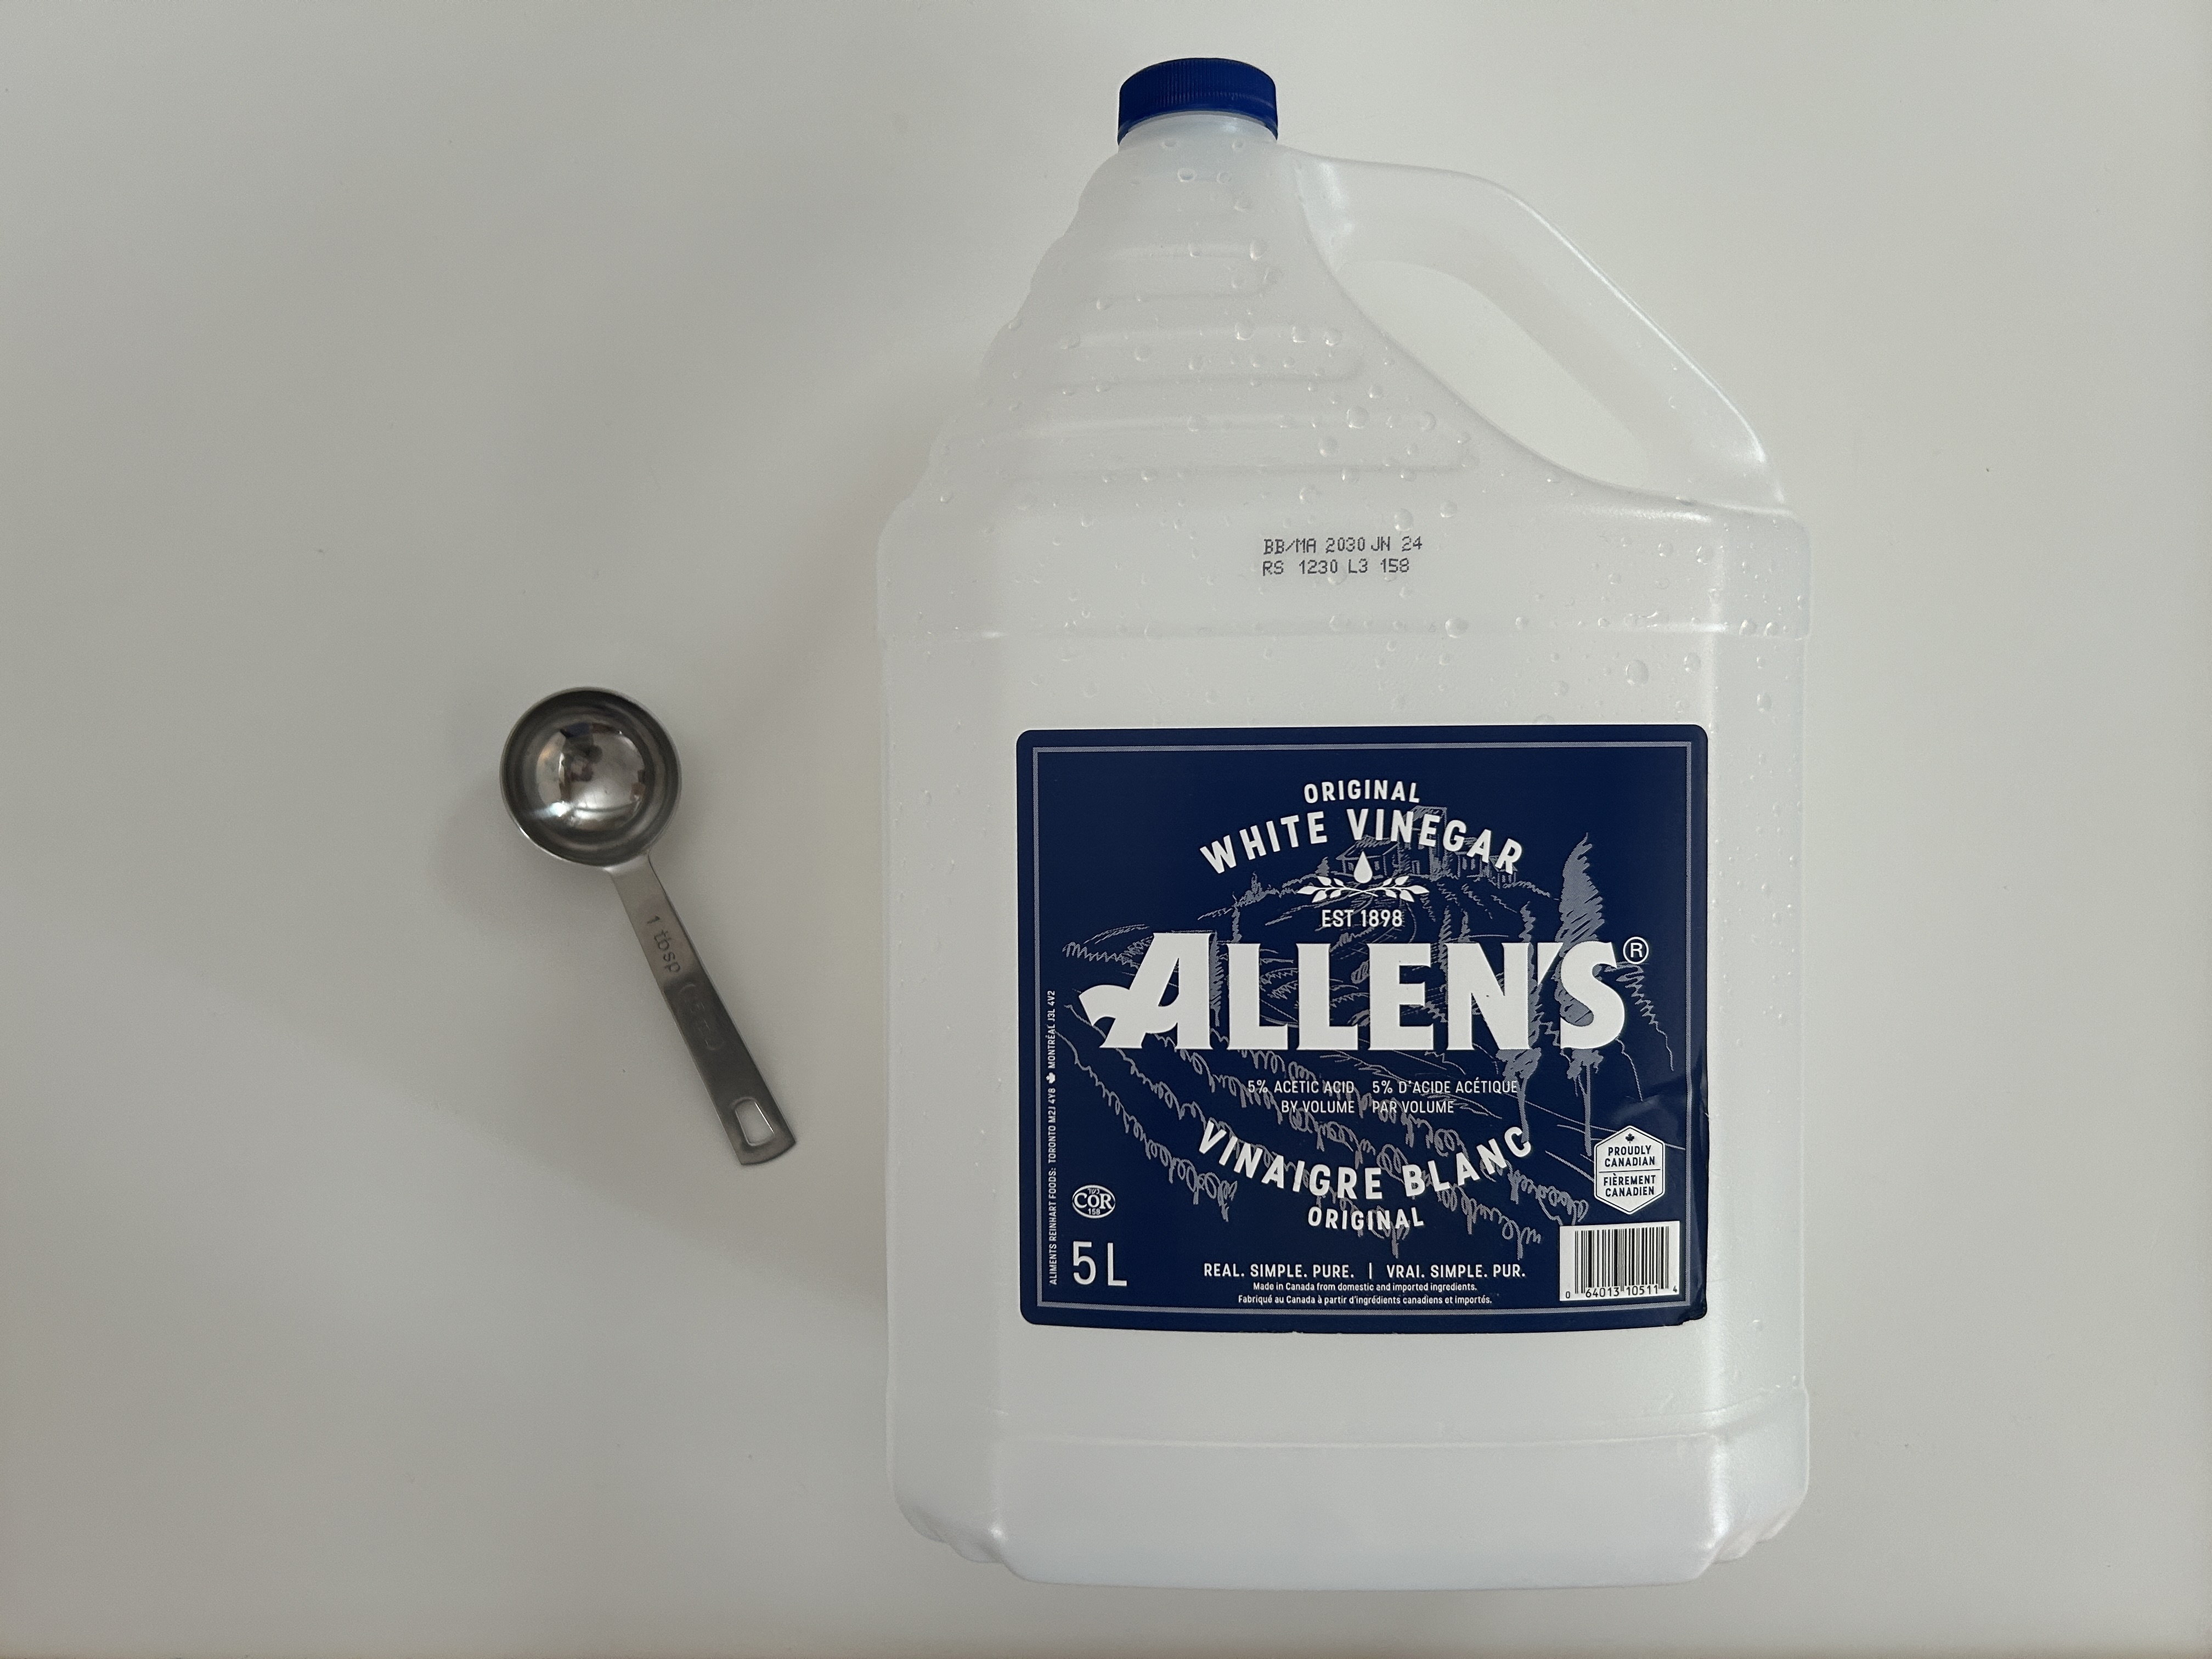
Water and measuring cup (4 cups per colour)
White vinegar (2 tbsp per colour)
Bowls for colouring
-
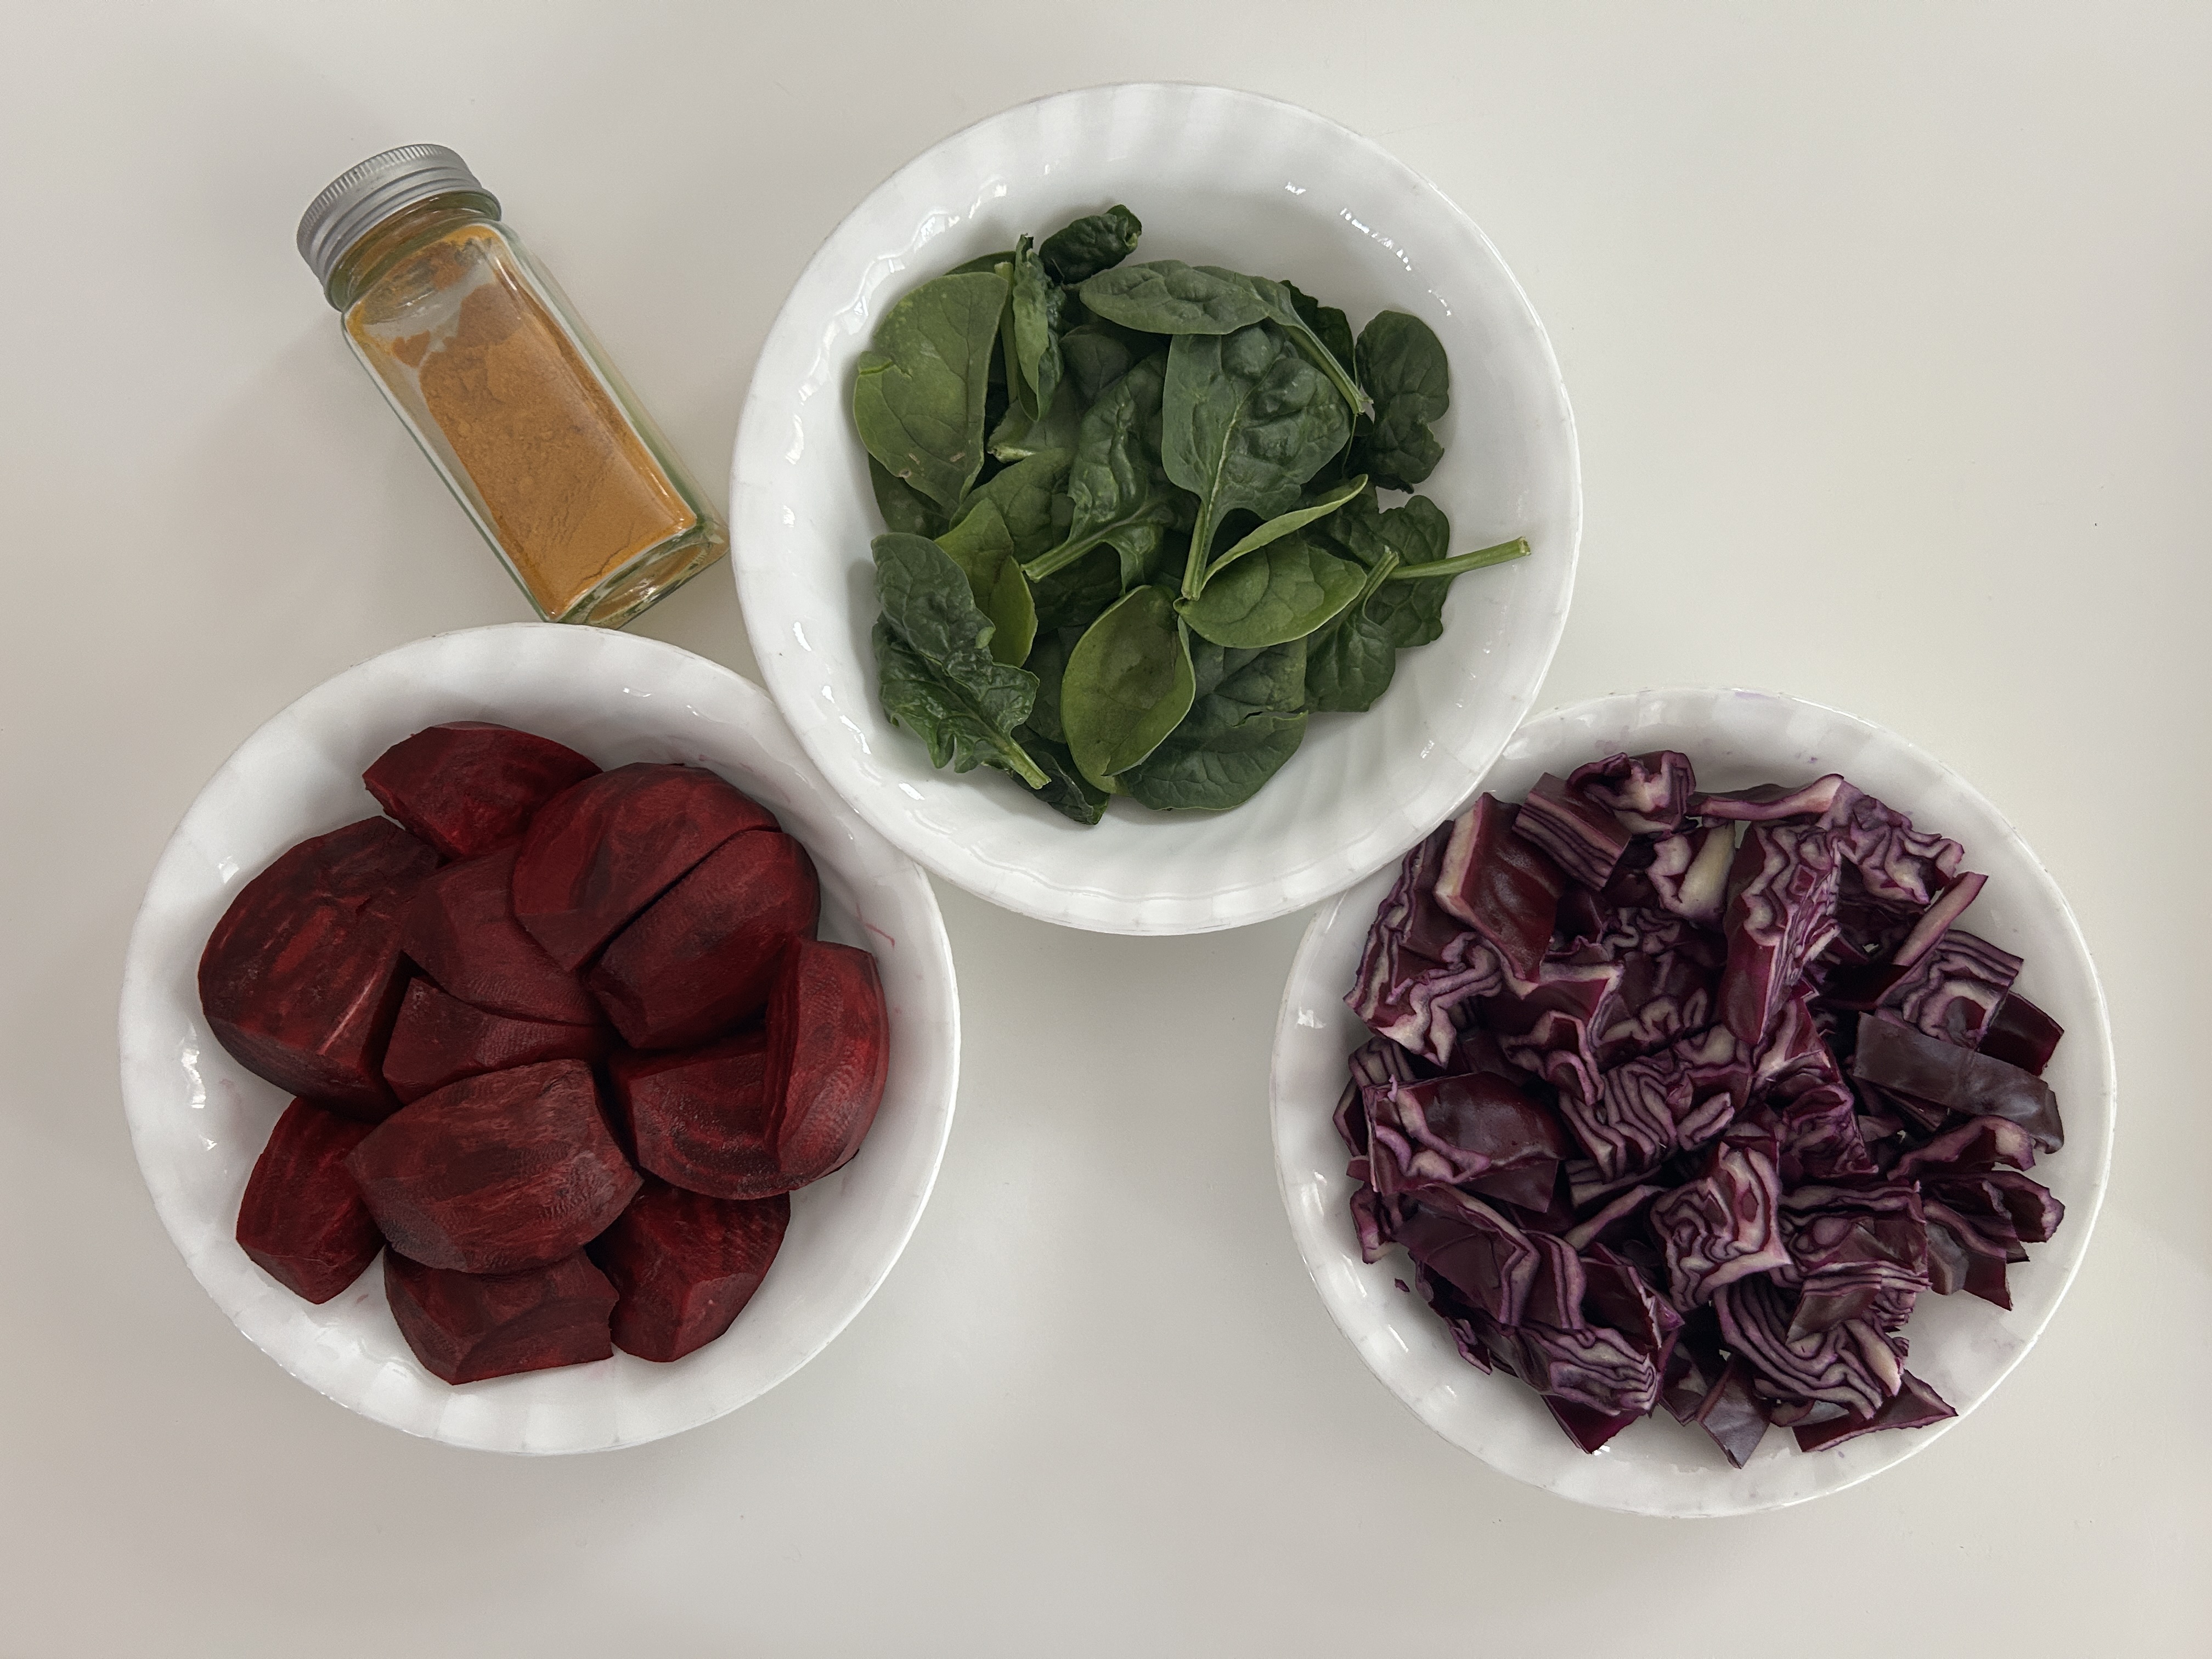
Ingredients of choice for colouring, we used:
1.5 tbsp turmeric (powdered)
1/2 head red cabbage, chopped
3 large beets, peeled and cubed
300g spinach
Optional: Cardboard tube from a paper towel roll and scissors
*Keep reading to see how each colour turned out before you choose your ingredients! I've also heard of people using paprika, onion skins, coffee, and blueberries!
Prep the Eggs:
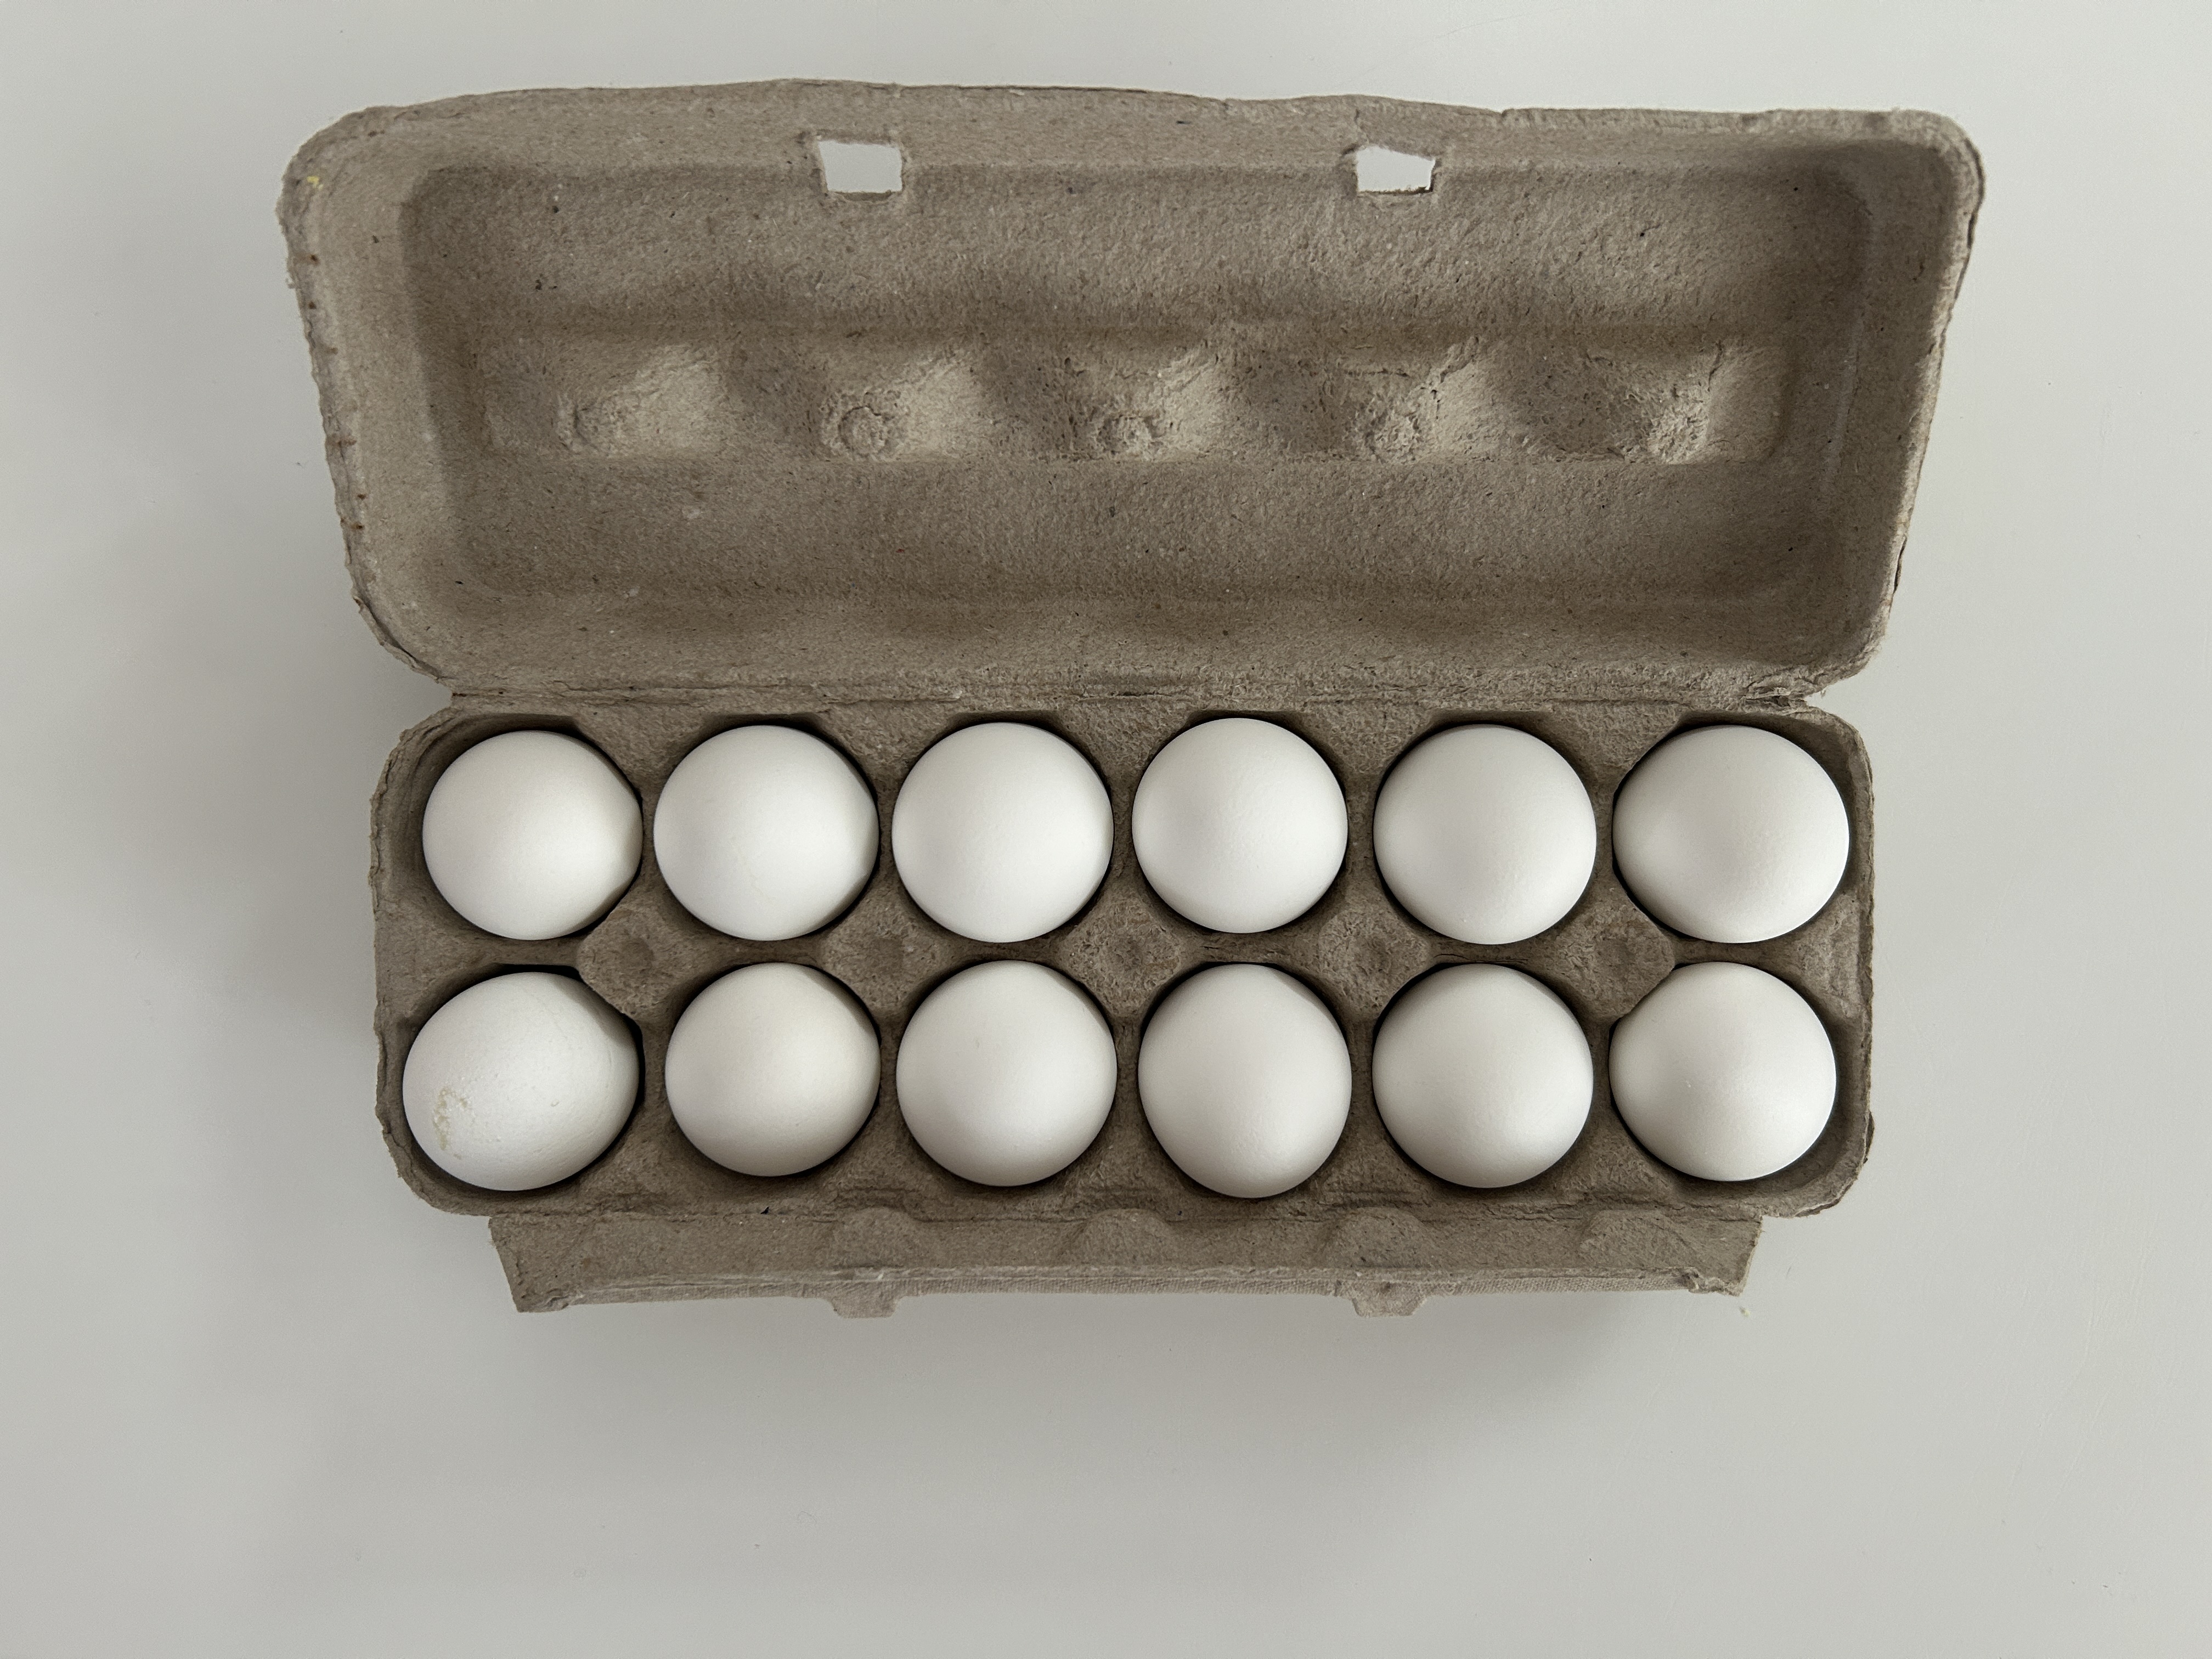
You'll want your eggs to be hard boiled before colouring them. I recommend hard boiling the eggs the day before you plan to do the colouring, as making the dyes is a lot of work so having the eggs prepped ahead of time helps a lot. We hard boiled one dozen eggs the day before and set them in the fridge overnight.
Prepare the Ingredients:
If you want to save time when colouring the eggs, you can also prepare the ingredients ahead of time.
For blue, chop 1/2 head of red cabbage.
For red/brown/pink, peel and chop three large beets. I chopped them into quarters, but in the future I would chop them smaller so they cook faster (we wanted to eat them afterwards so they didn't go to waste!)
For green, I used 300g of whole spinach leaves, but it didn't do much for colour. I might skip this one next time or try chopping the spinach first to see if that helps.
For yellow, all that's needed is 1.5 tbsp of powdered turmeric, so no preparation required.
Make the Dyes:
For each colour, add 4 cups of water to a pot and bring to a boil. Then, add your colour ingredient and boil for 15-18 minutes. Do not let the water run dry! Be careful with this step around little ones, I let them observe the colour under my supervision but otherwise kept them away from the hot pots of water.
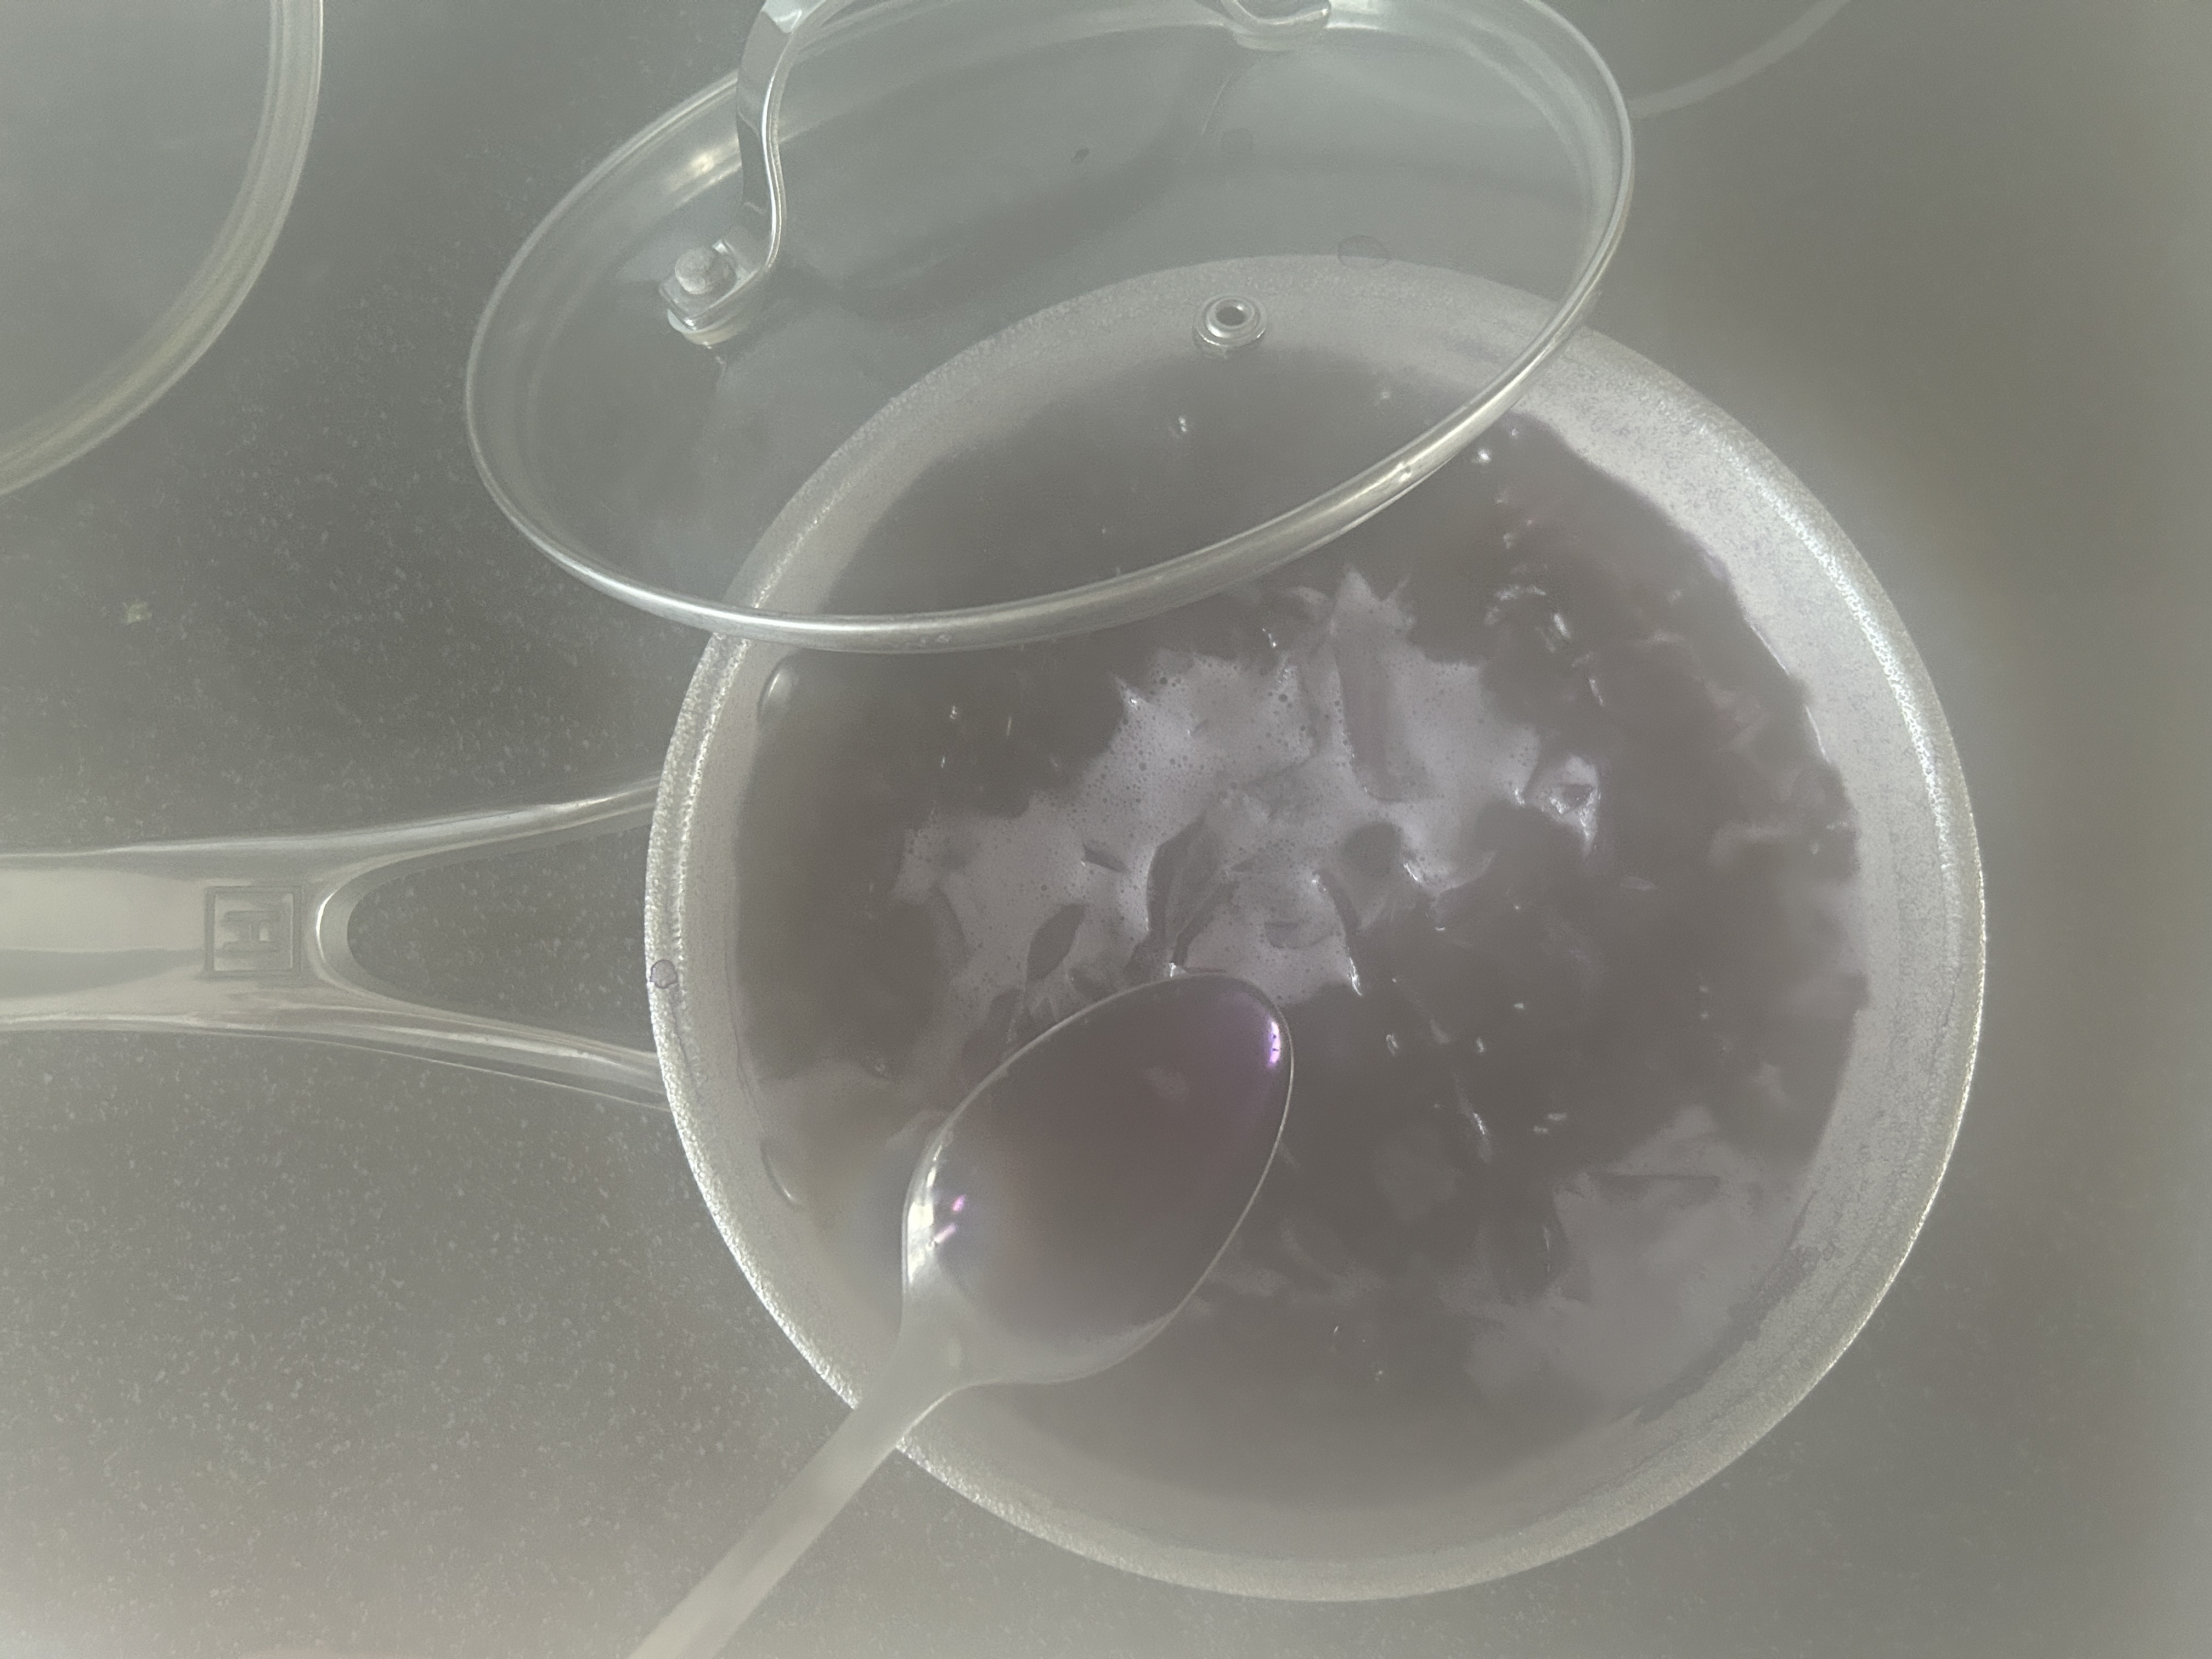
After boiling 15-18 minutes, you should notice the water is coloured. Strain the ingredients out of the water and save the coloured water in a bowl or container. It wasn't easy to get a picture of this step, the best I have is steamy boiled cabbage. The water will still be very hot, so keep little ones at a safe distance as you complete this step.
Note: Save your ingredients so they don't go to waste! Boiled cabbage can be fried and eaten as a side dish for dinner. Boiled beets can be eaten cold or rewarmed if soft enough. Boiled spinach and beets can also pureed and frozen into small portions for baby food or added to smoothies.
Add 2 tbsp of vinegar to the coloured water and stir. Then let cool completely before adding eggs. The water will still be very hot for awhile, so keep little ones at a safe distance as you complete this step. My kids loved watching the steam come off the bowls, noting this sign means the liquid is hot, and they should be very careful not to touch!
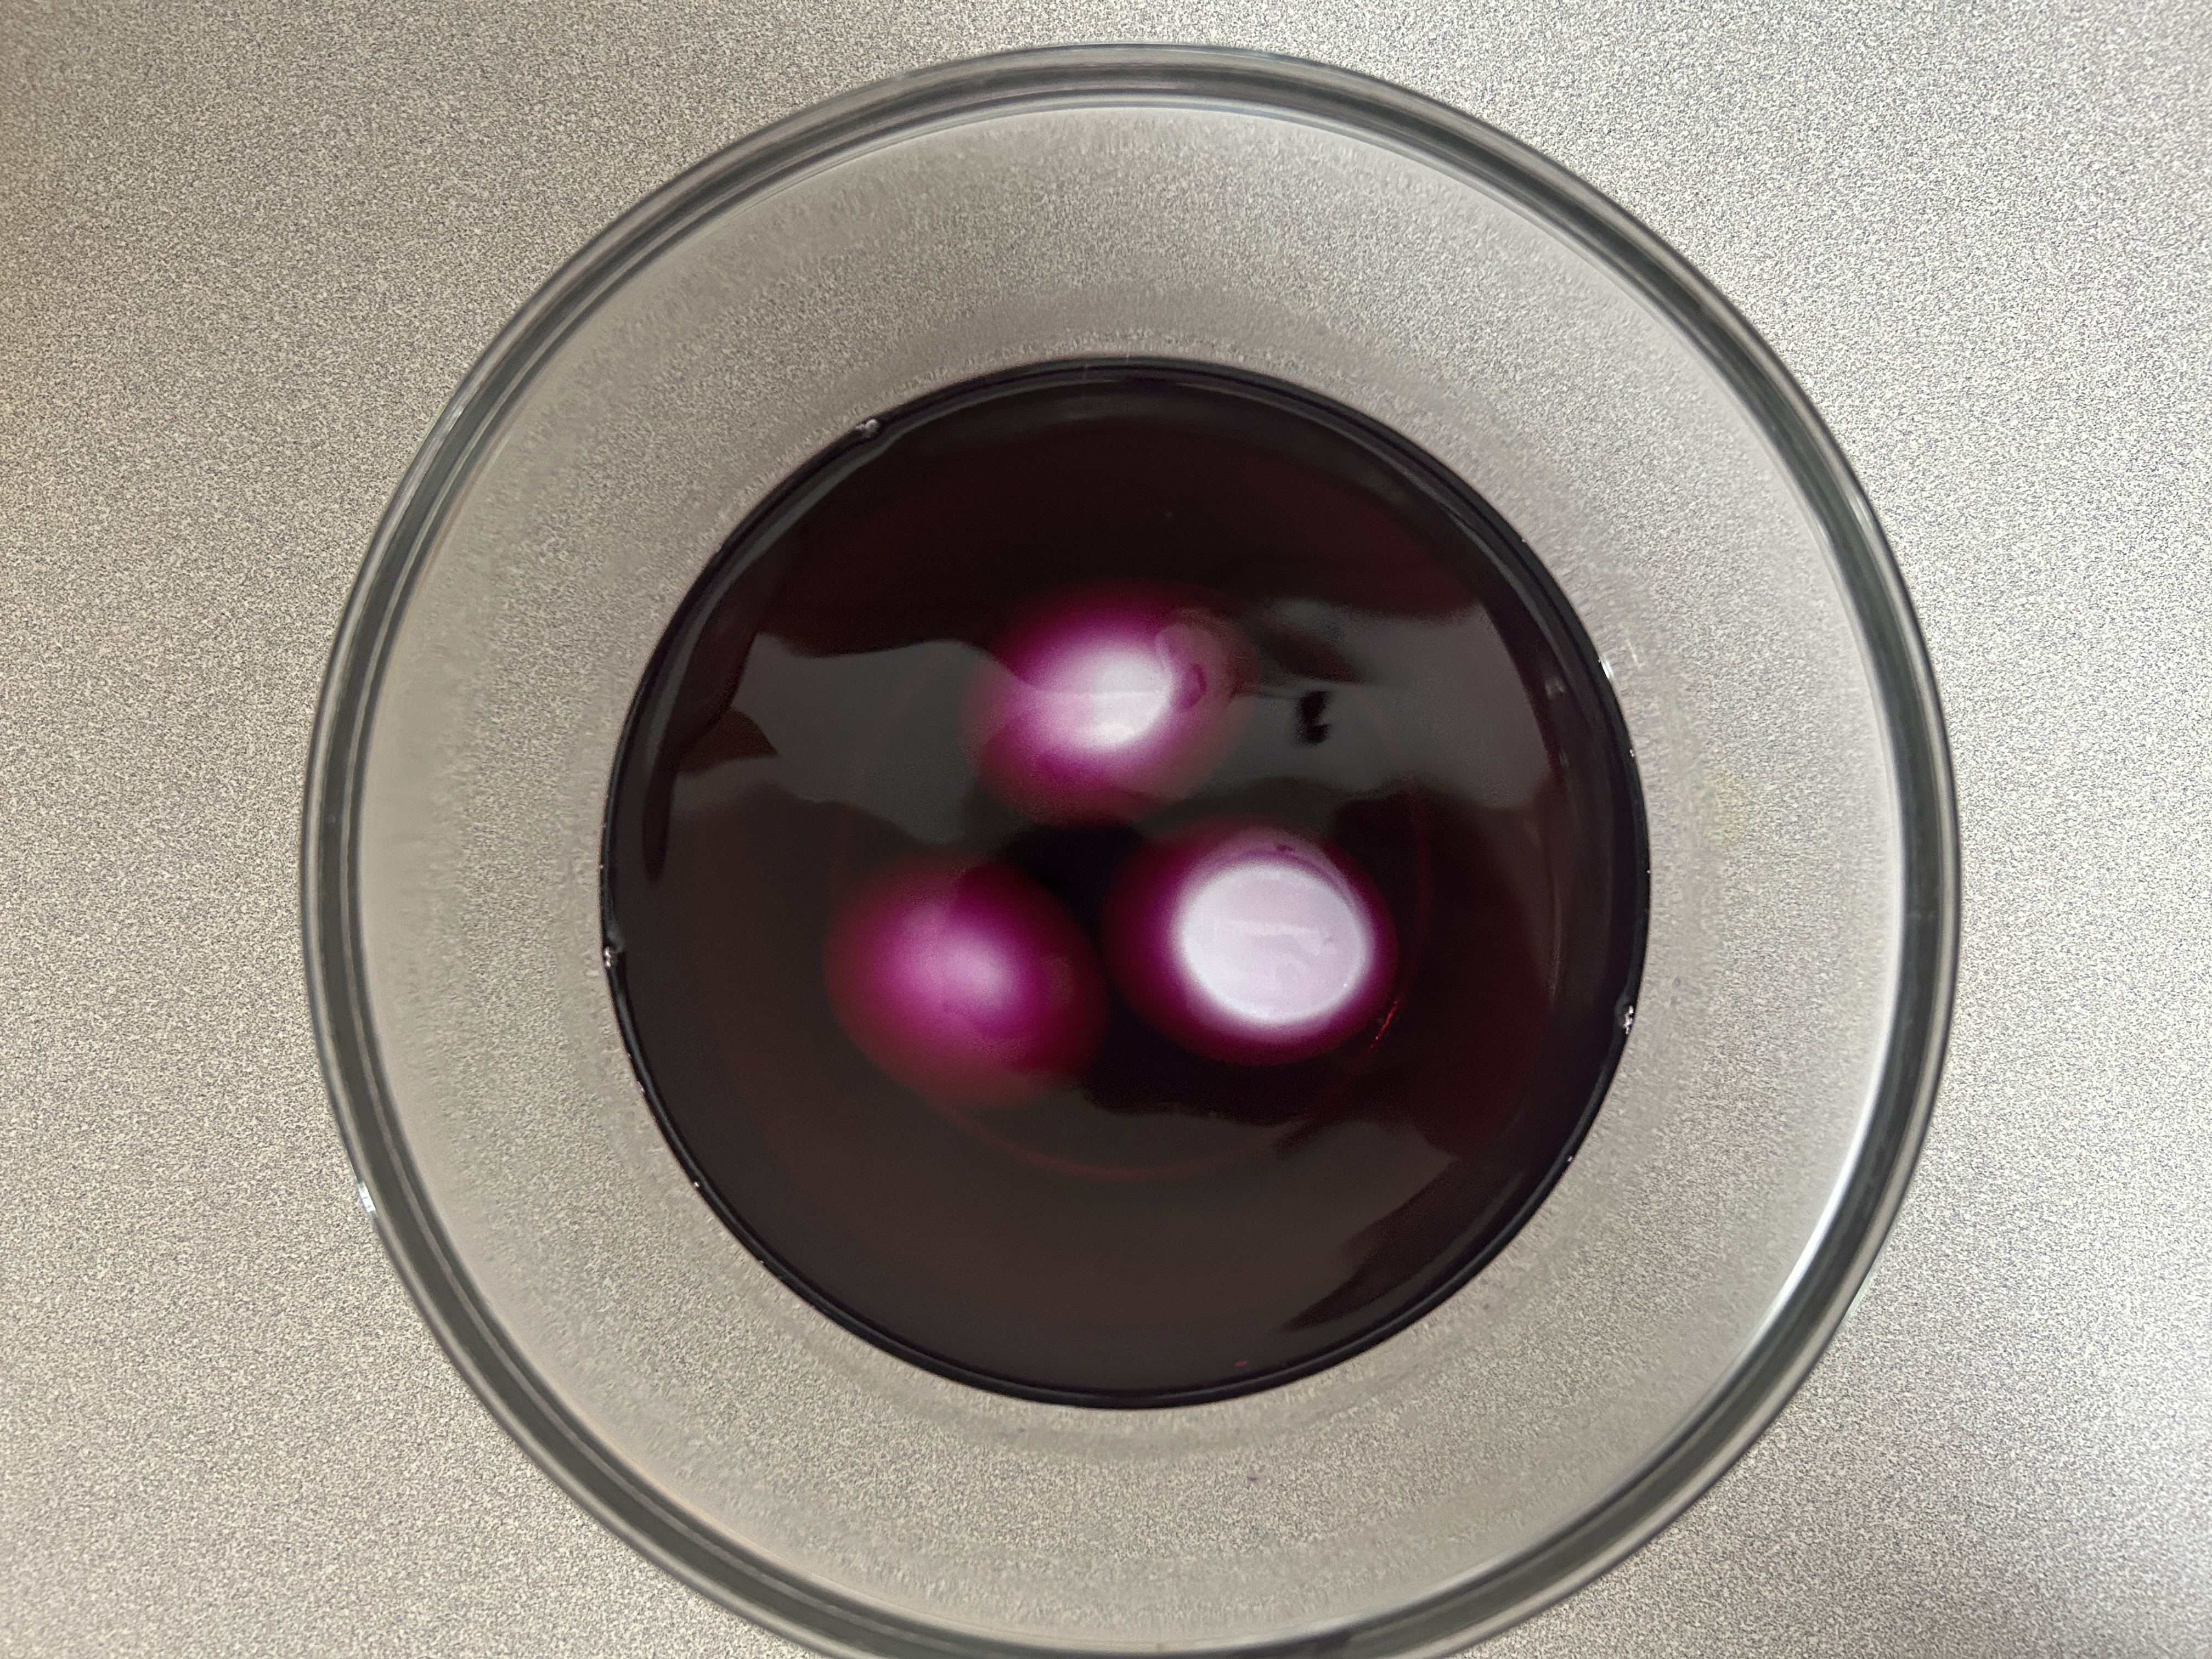
Once liquid is room temperature, add eggs carefully and ensure they are fully submerged. Let sit until desired colour is reached. We did 2.5 hours. If leaving for an extended time, put in refrigerator to keep eggs fresh. You can see in the photo above that we didn't have enough colour to fully submerge the eggs in this bowl. I could have tried a different container, but we decided just to rotate the eggs occasionally to ensure all sides were coloured. This is a great step for little ones to help with!
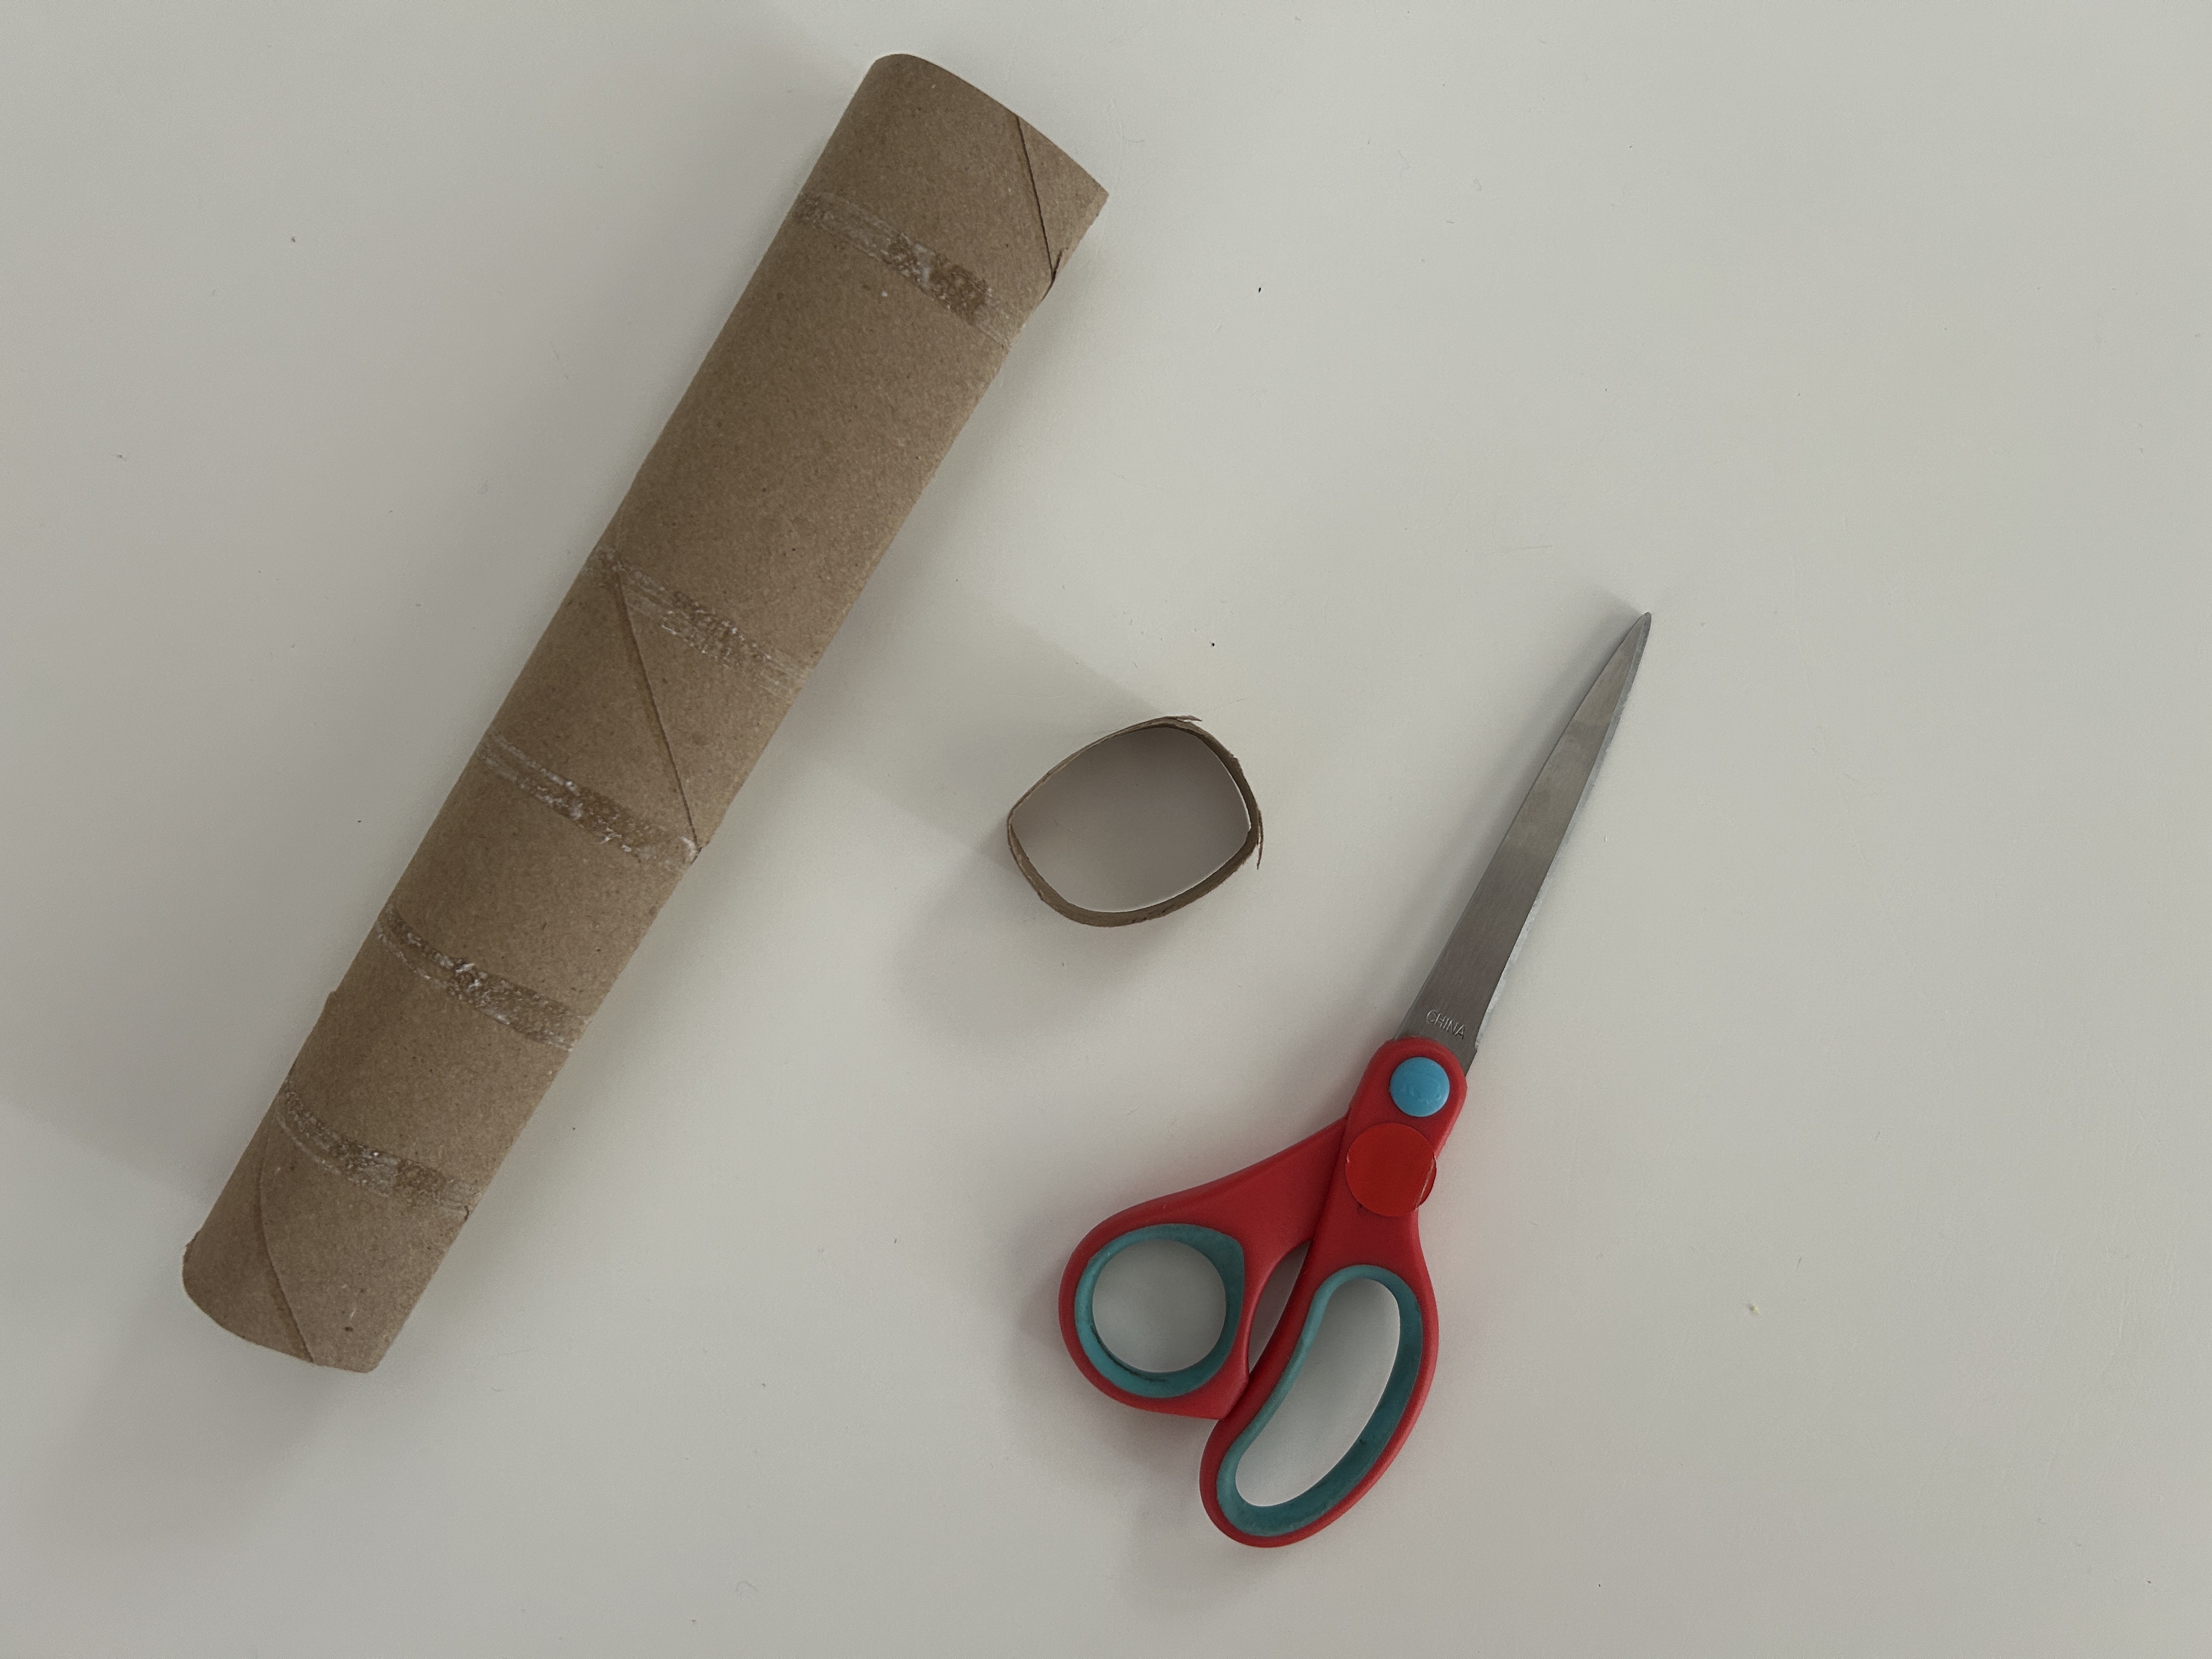
Optional: Cut the cardboard tube from a paper towel roll into rings. Use these rings to hold the eggs as they dry (see step 6!)
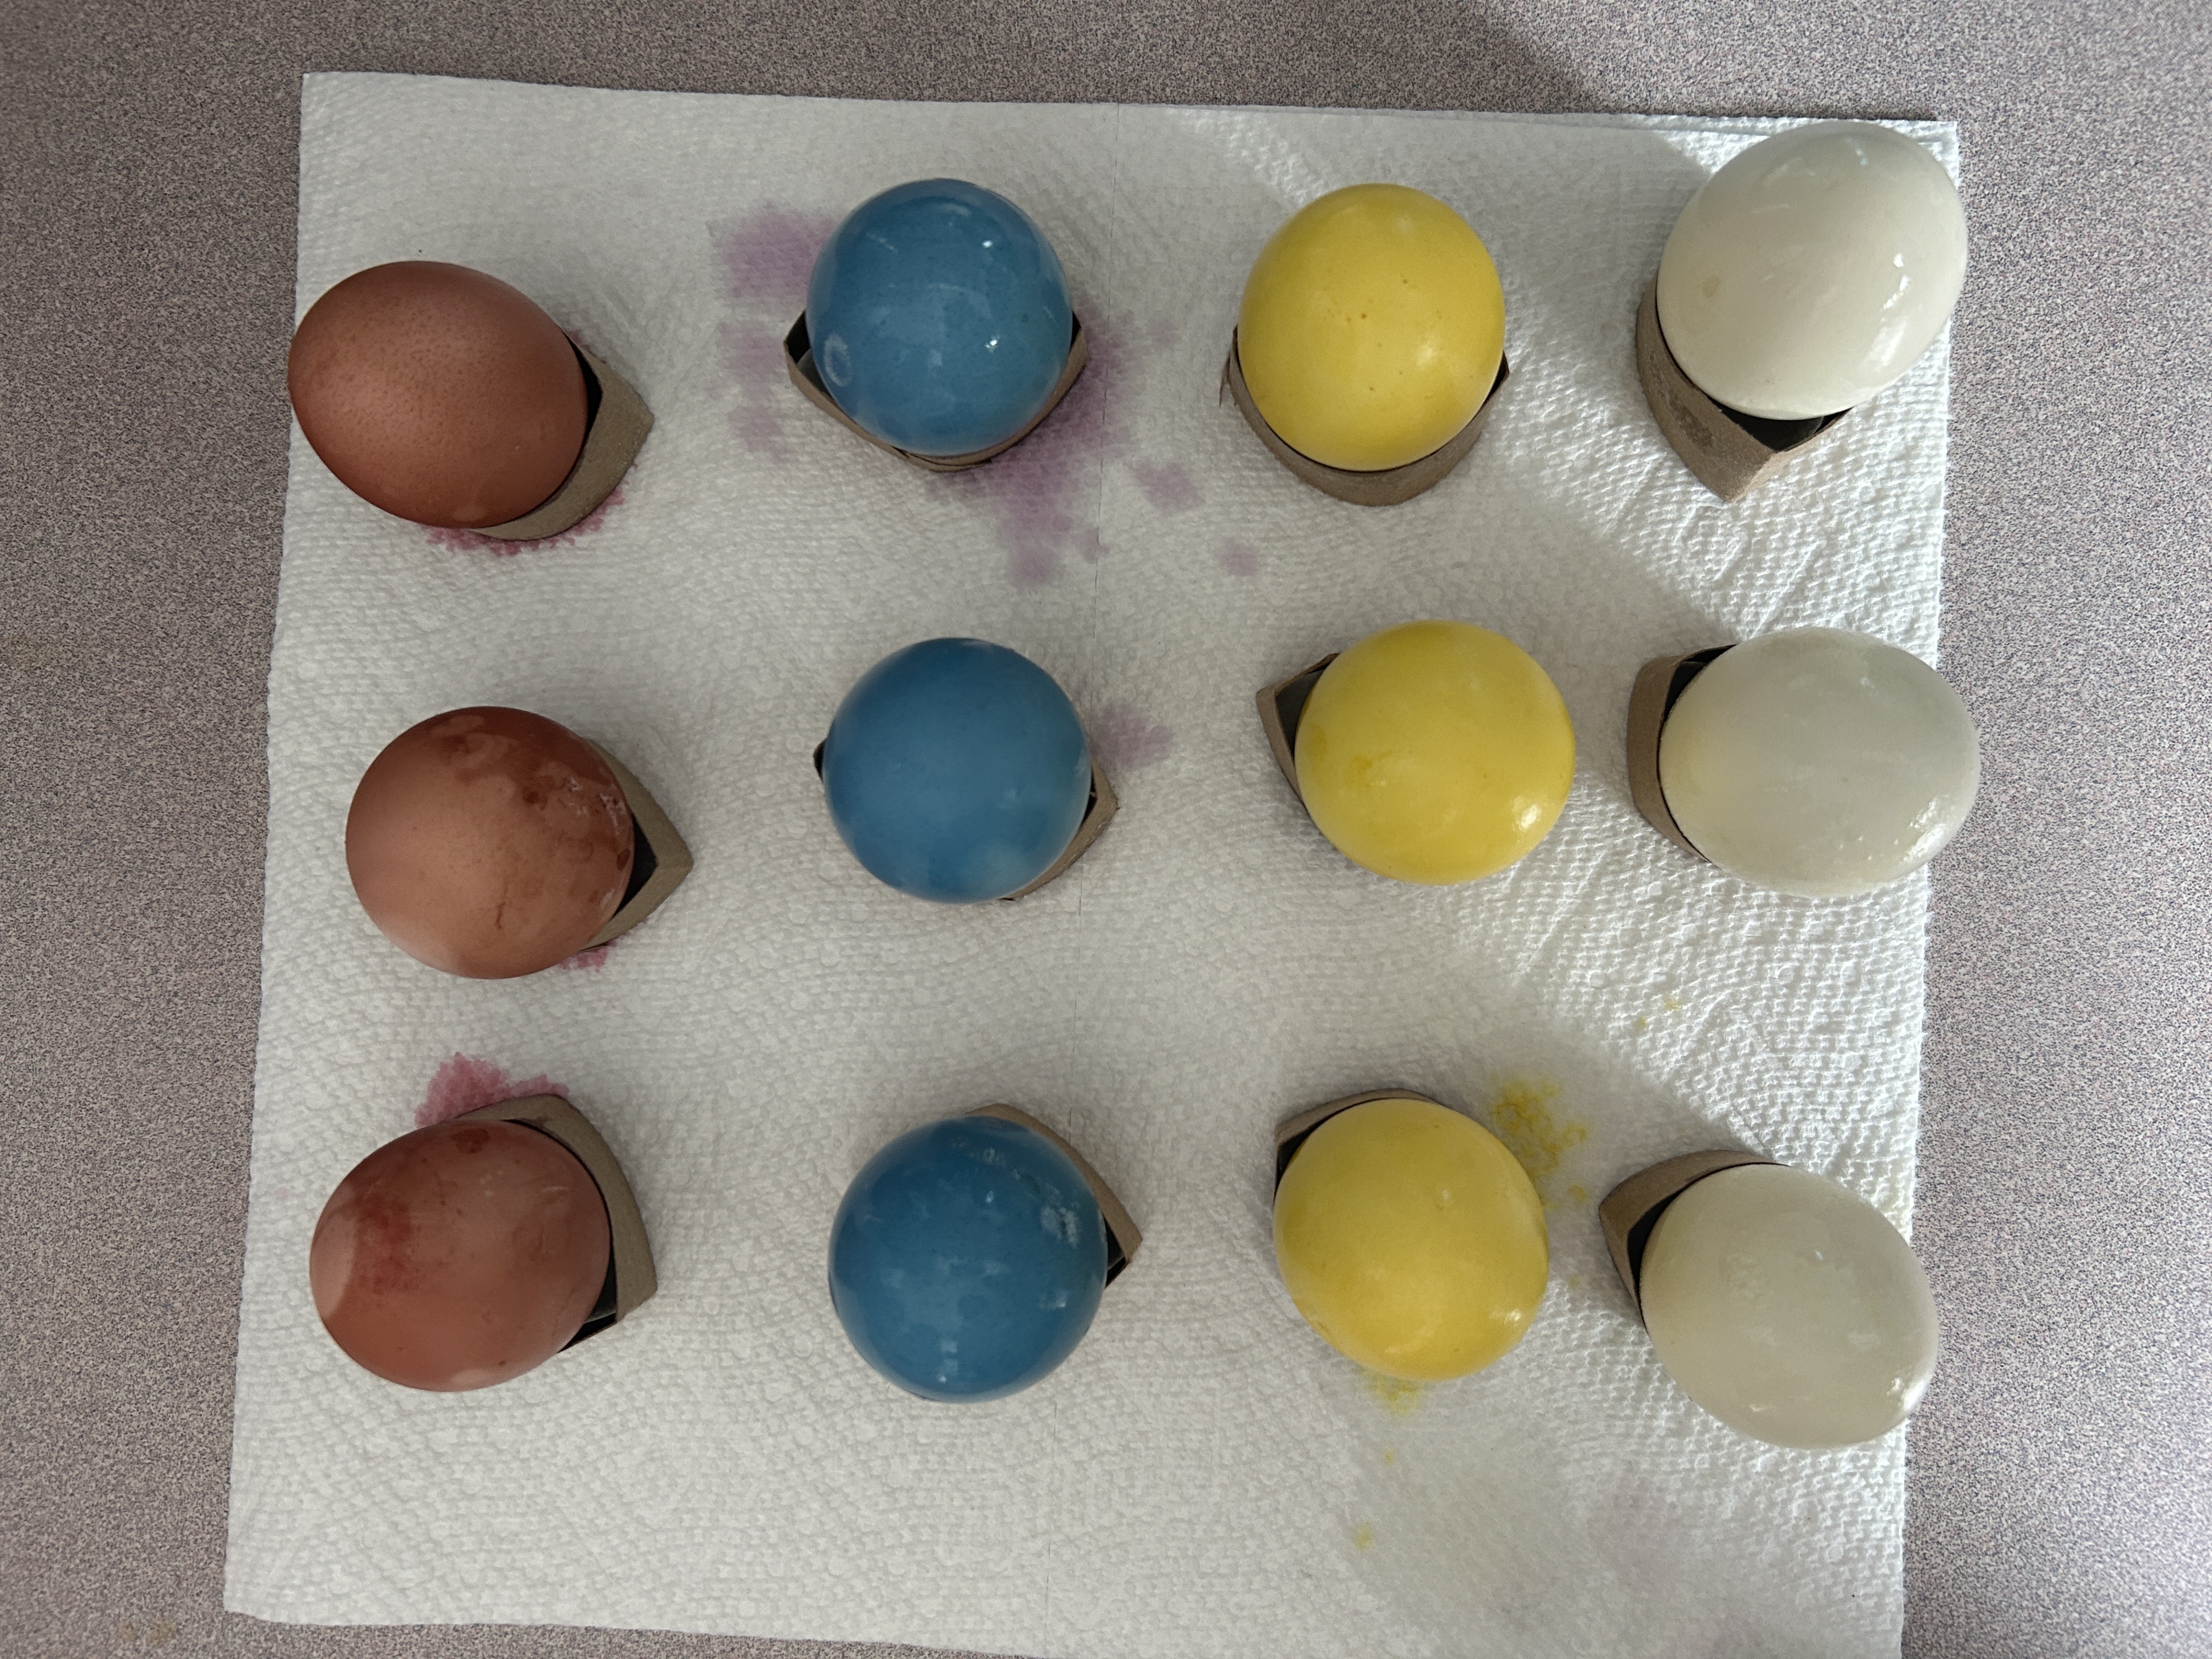
Once desired colour is reached, remove the eggs from the liquid and let dry. The kids loved helping with this step too! They were amazed at how the eggs had changed colour - especially the blue eggs that came from the purple cabbage water! The tops will dry much quicker than the bottom, so after 20-30 minutes, try dabbing the bottom with some paper towel or flipping the eggs over to finish drying. If leaving for an extended time, put in refrigerator to keep eggs fresh.
Once dry, store eggs in refrigerator until ready to eat!
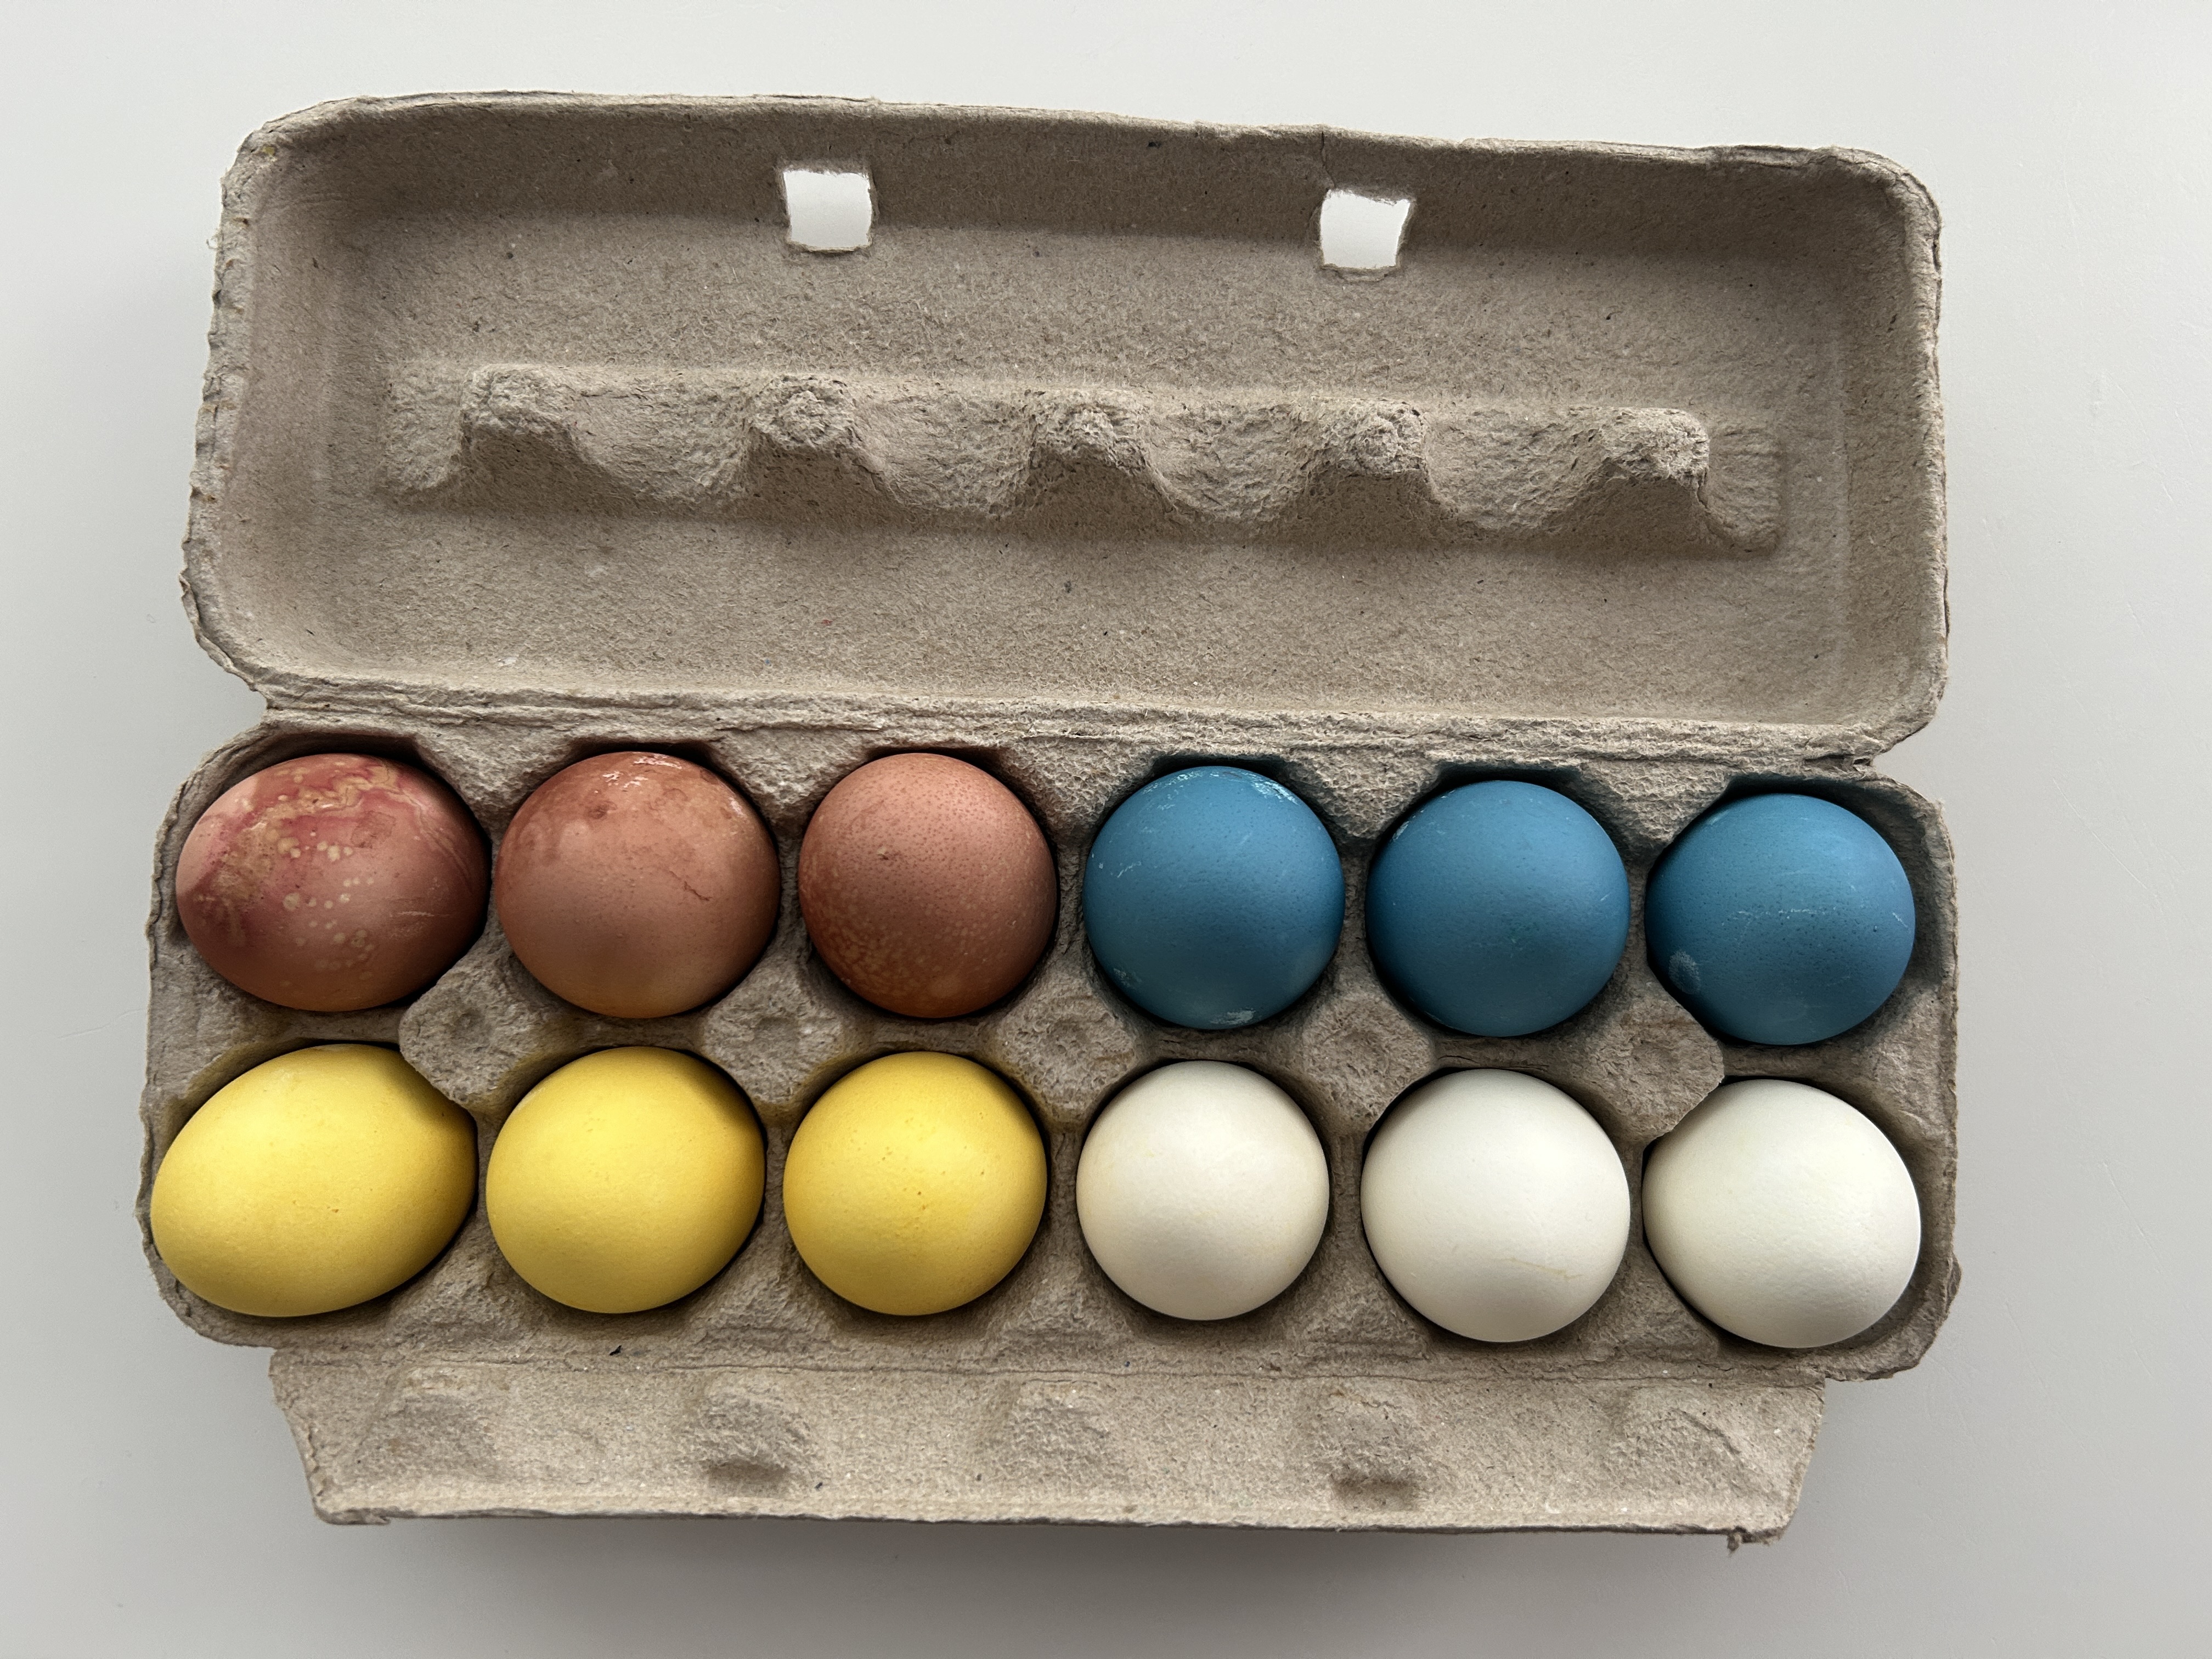
Final Results:
Overall, I'd say our first try colouring eggs this way was a success! Three of the four ingredients formed deep colours, and the process itself wasn't too difficult, just time consuming. Below are my thoughts on each ingredient we used.
Red cabbage: Big success! This was by far the best result. It was really fun for the kids to see how the water turned a deep purple as the cabbage was boiled, but turned the eggs a deep blue! We will definitely use this one again.
Turmeric: Also a big success! This was the easiest ingredient as well, as there was no chopping or peeling required, and it was already stocked in our kitchen. The bright yellow turned out beautifully, and it was fun for the kids to learn what turmeric is, and how it looks and smells. We will also be using this one again in the future.
Beets: This was a mild success. The beets definitely coloured the eggs, but they came out brown and splotchy, as opposed to the nice pink colour we were hoping for. I can't say for sure what happened here, I might give it another go next year, or skip this one and try something different.
Spinach: I'll go ahead and deem this one a failure. There is the faintest green colour on the egg that is hardly noticeable. We used an entire large container of spinach for this, and although we will try to make use of the boiled spinach, it feels like a waste. I would not try this one again, but if you're curious and want to give it a go, I'd suggest chopping the spinach or using a larger quantity.
Would I Do It Again?
Absolutely! I'm so glad we tried this out this year, and although it did take a good chunk of time and energy, there was a lot of learning to be had and it was exciting to see the results of our hard work. Next year, I think I'll likely skip spinach, and maybe try out paprika or onion skins instead!
Have you coloured eggs with natural dyes before? Let us know which ingredients you recommend!

Looking for more Easter fun? Our Easter Morning Basket includes a variety of print-at-home activities for little ones to enjoy, including puzzle cards, clip cards, lacing cards, line tracing, and more! Click below to grab your copy!