- Apr 24
Paper Turtle Craft for Early Learners
- Little Northern Learners
- Crafts ✂️

Whether you're studying turtles with your little one, or just looking for a fun way to practice fine motor skills, this easy paper turtle is the perfect activity for your little learner!
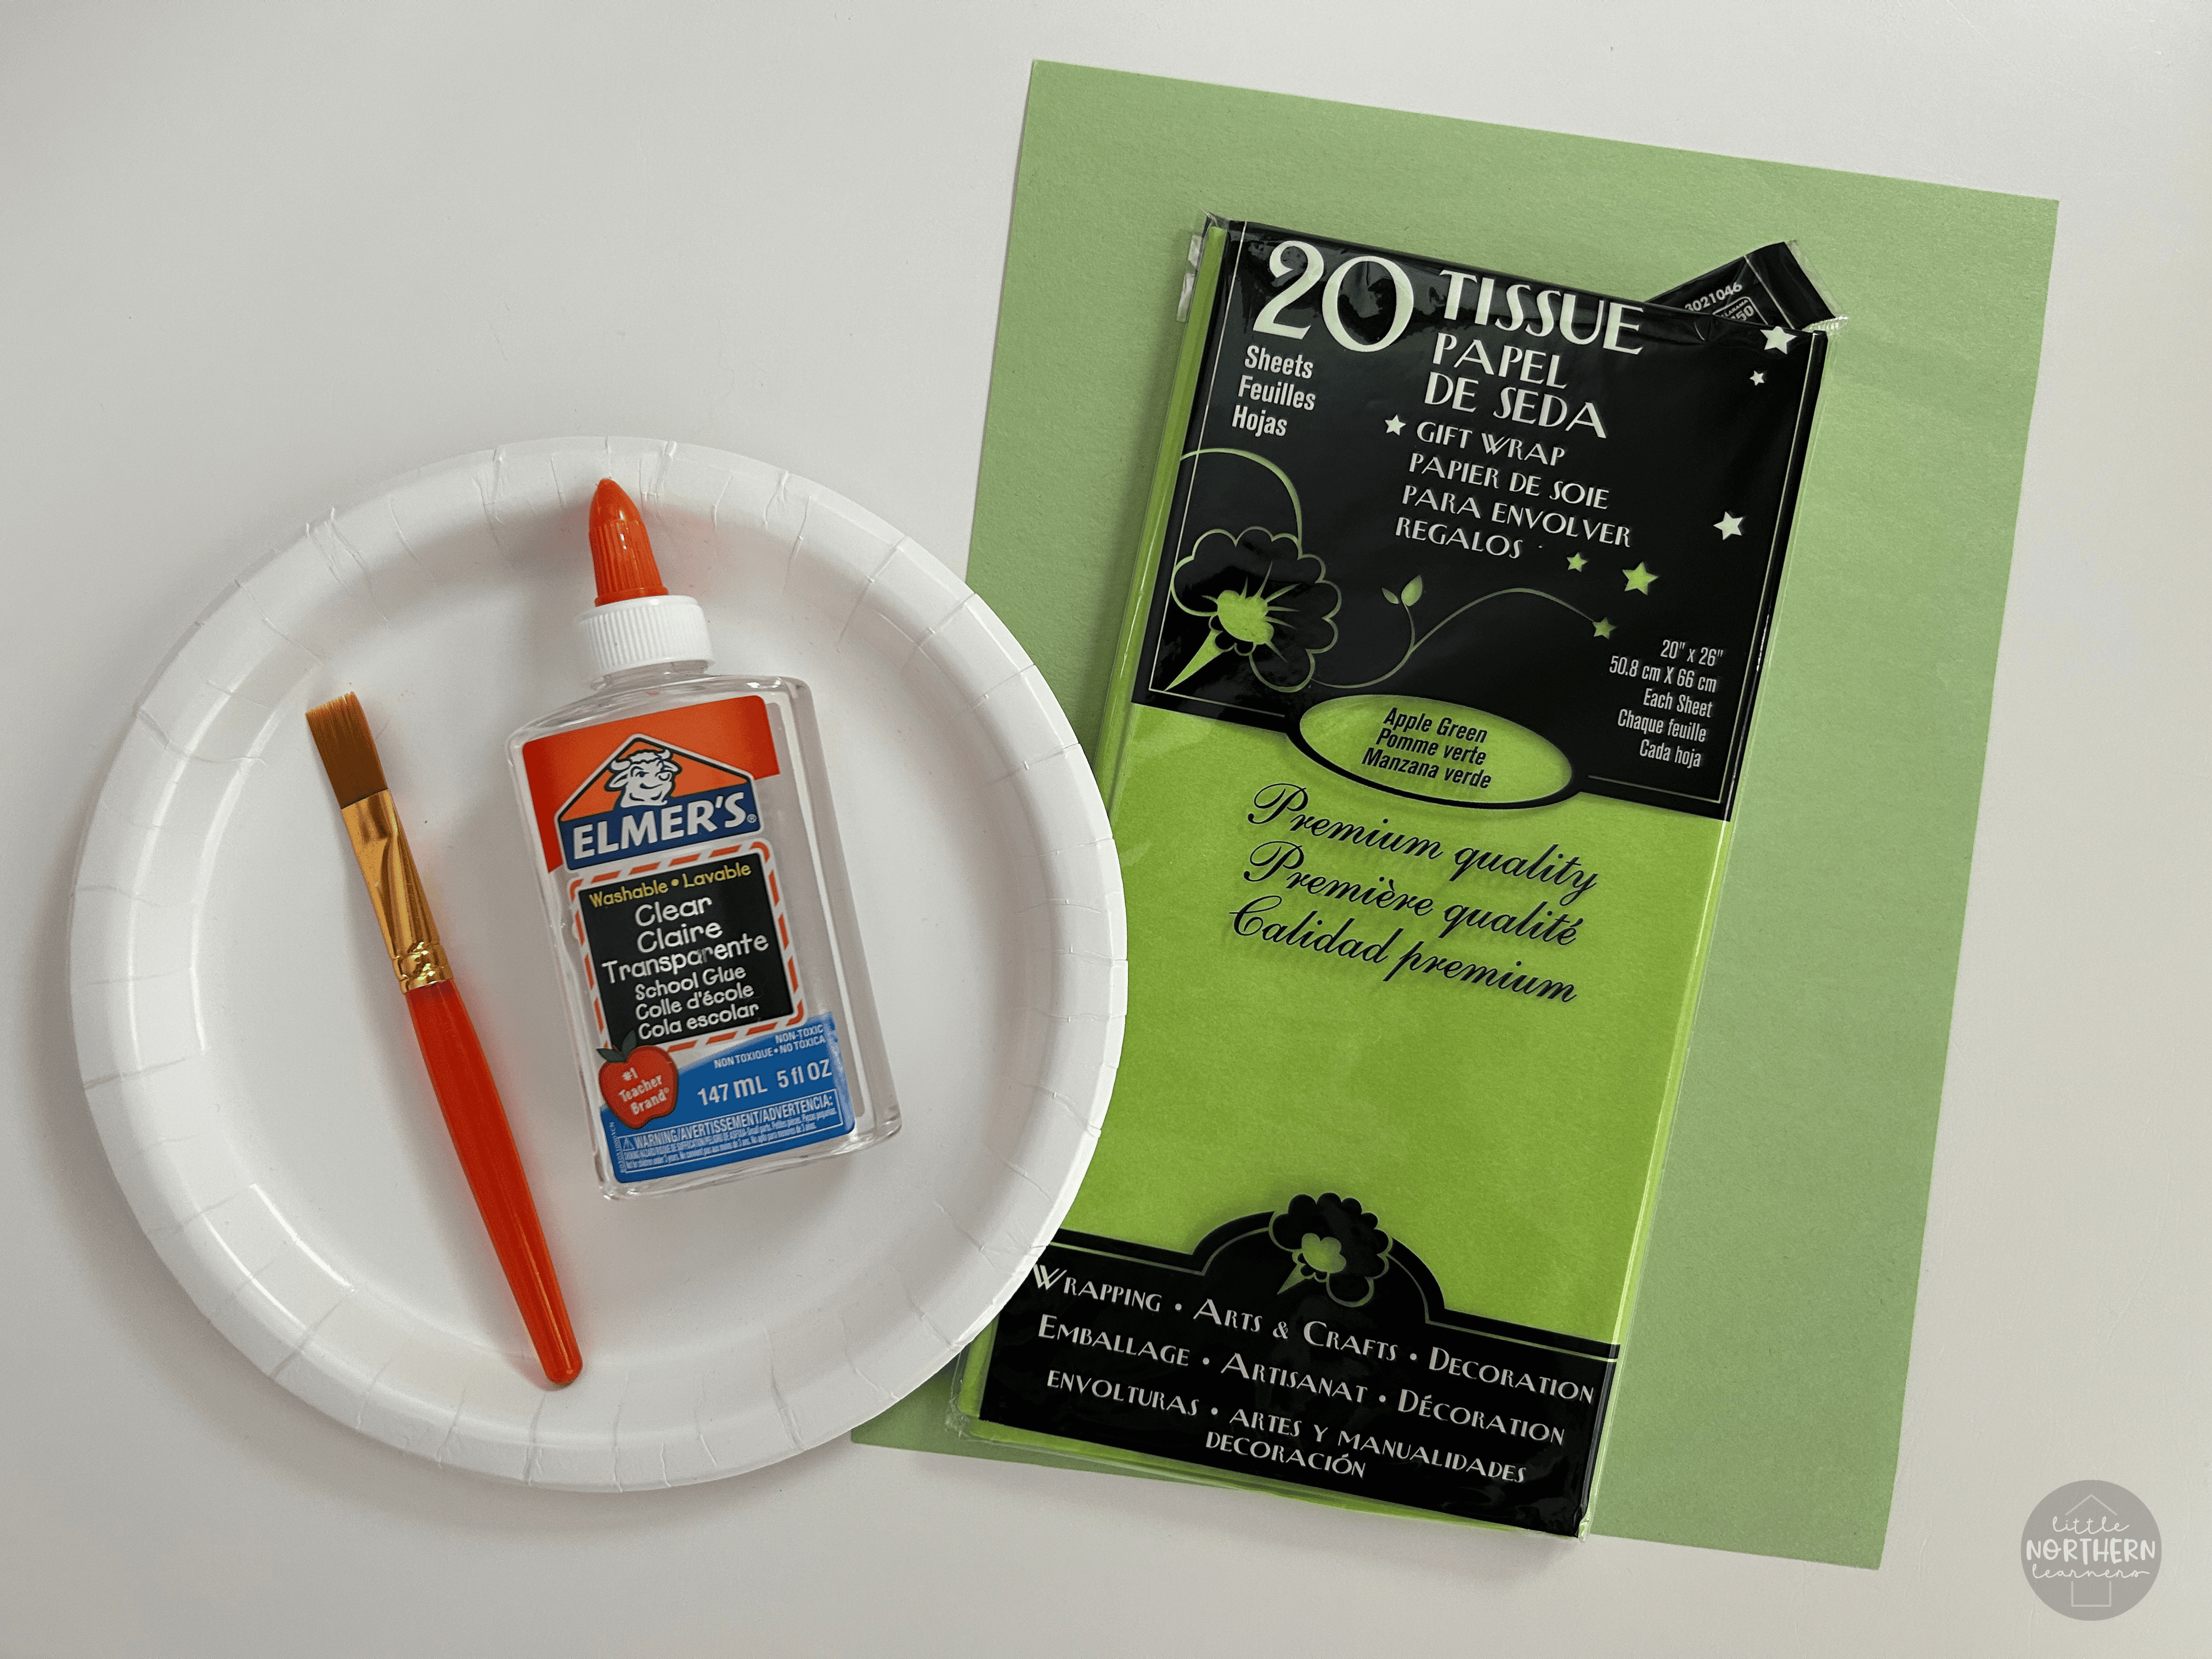
Gather These Items:
Paper plate
Green tissue paper
Green construction paper
Liquid glue
Paintbrush
Cup for tracing and holding glue (we used a clean, empty applesauce cup)
Scissors
Pencil
Make the Turtle:
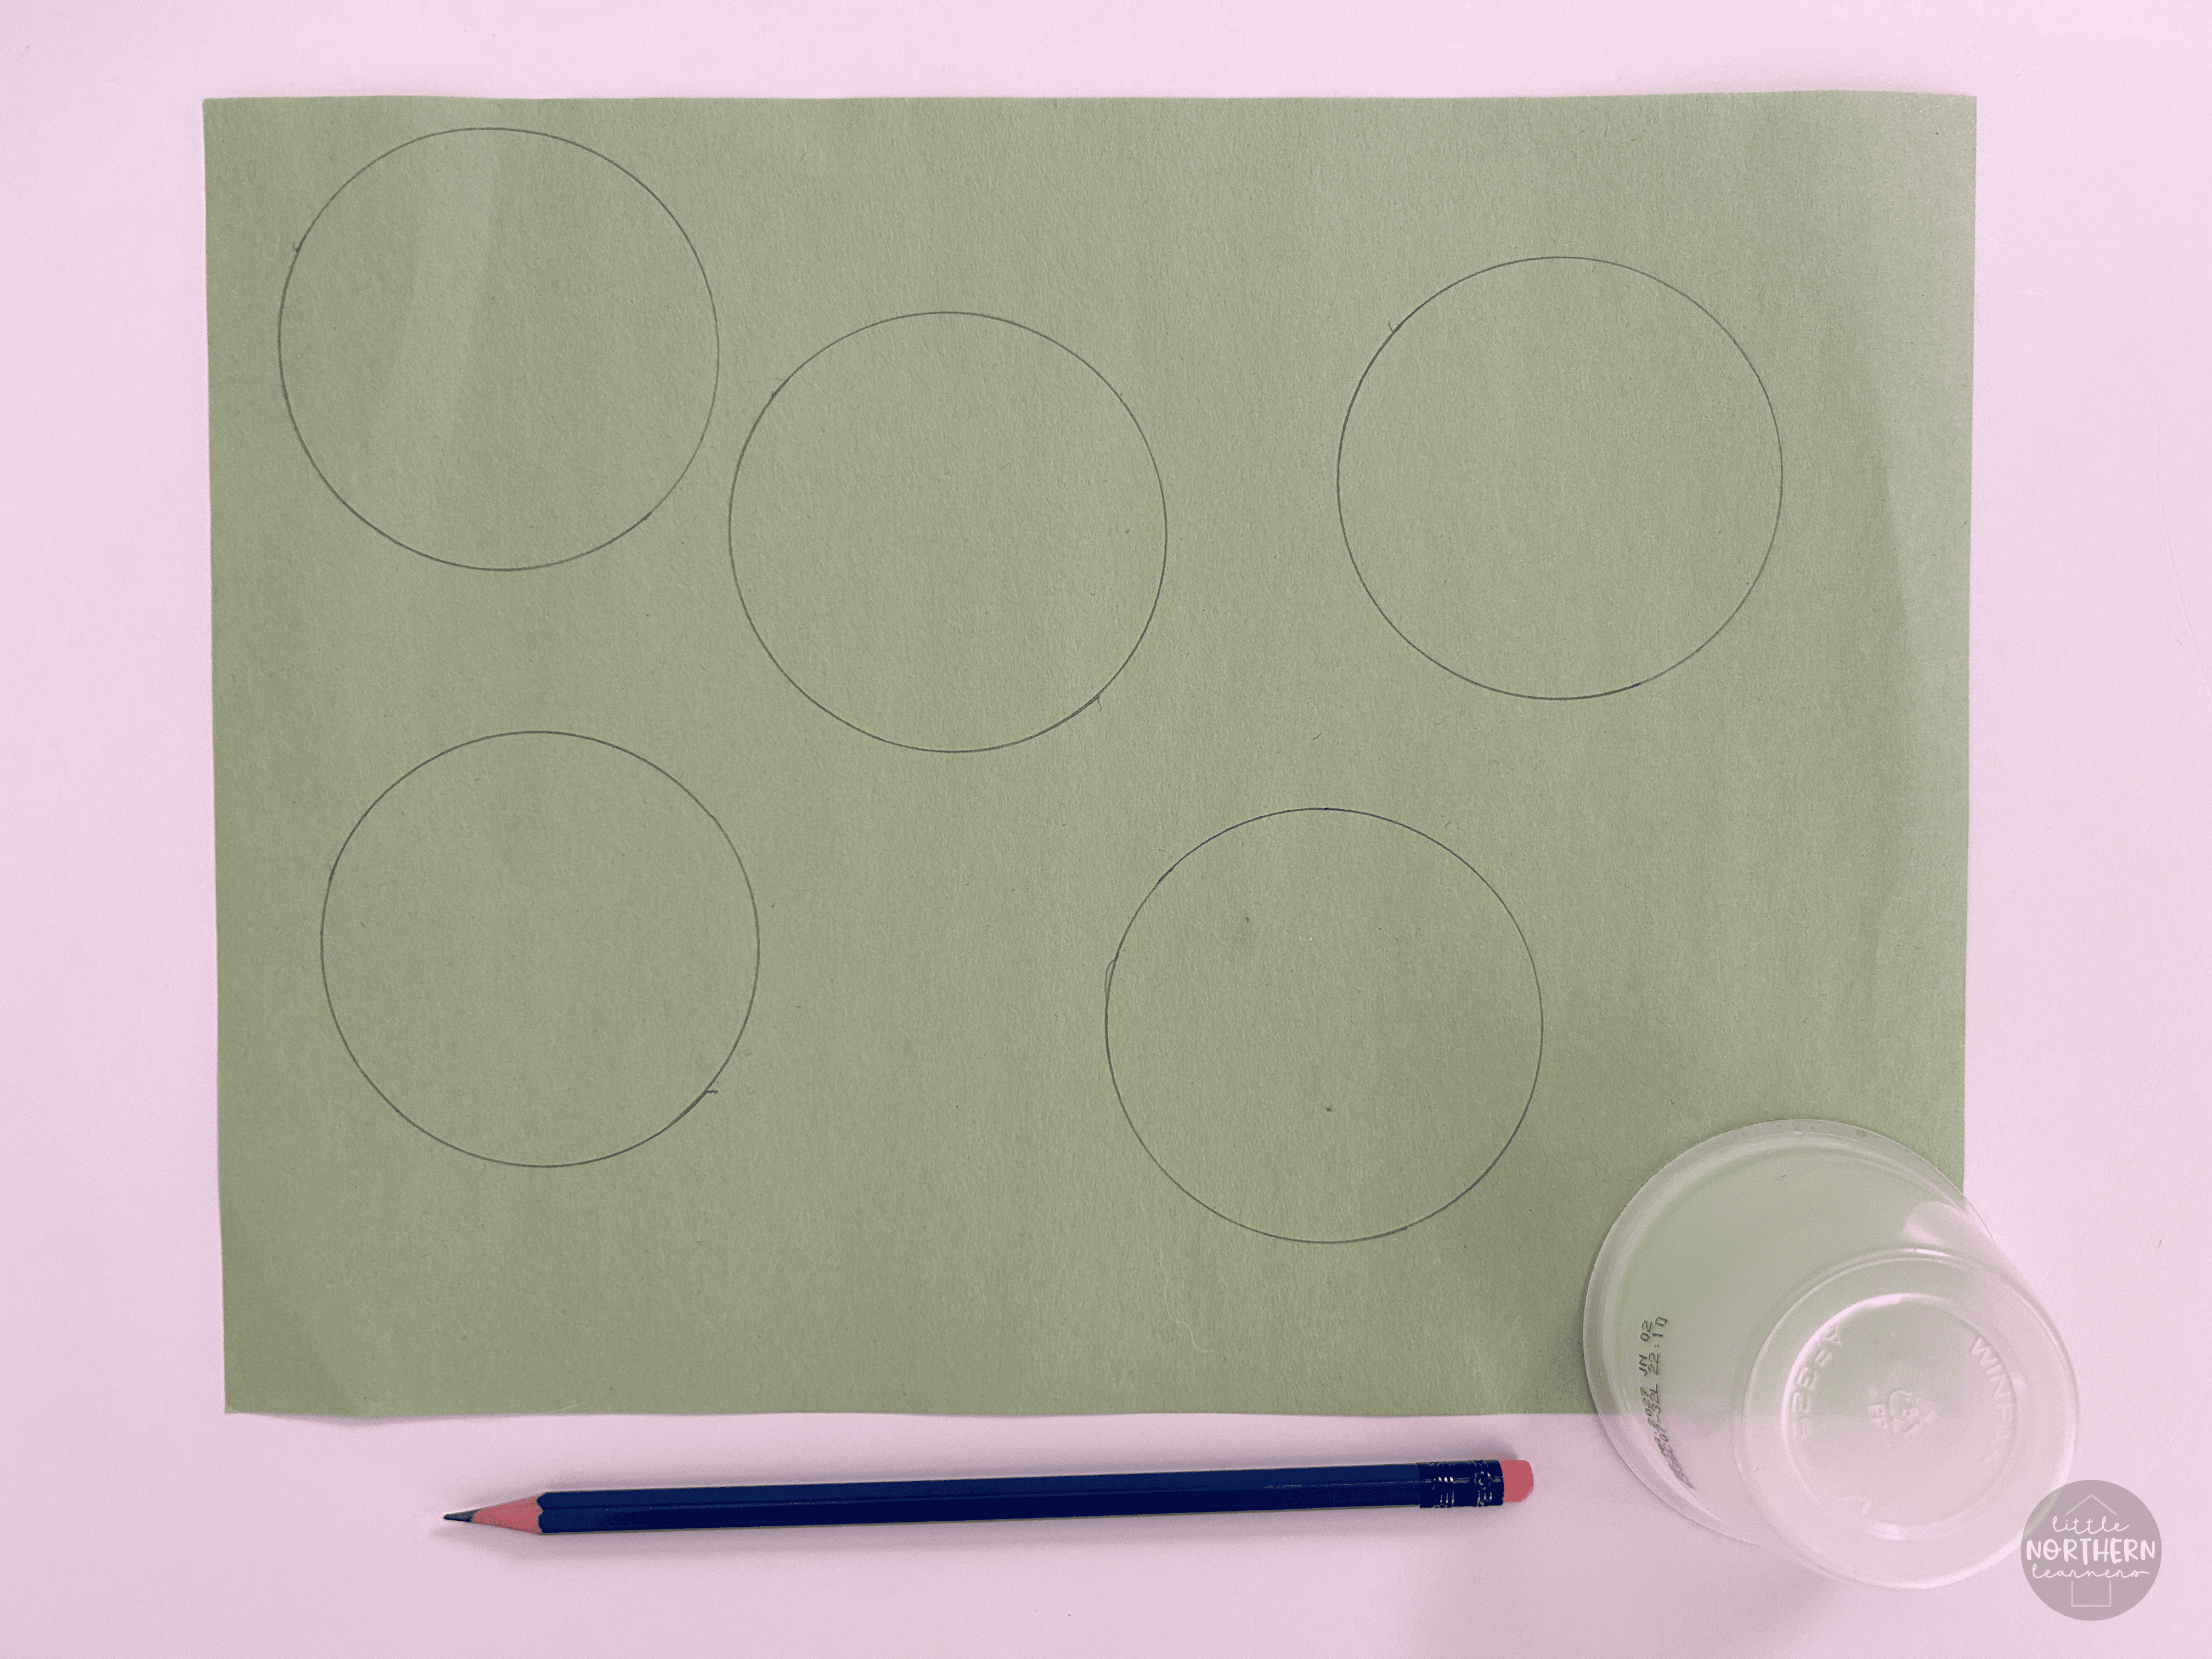
1. Trace: Start by tracing six circles onto the green construction paper. You'll want the circles to be about 2-3 inches in diameter. We used a clean, empty applesauce cup - a yogurt cup or drinking glass would work as well. Tracing makes great fine motor practice for your little one - help by holding the cup down for them and helping them guide the pencil around the edge. You'll also want to draw a little triangle for the turtle's tail. Set this aside for later.
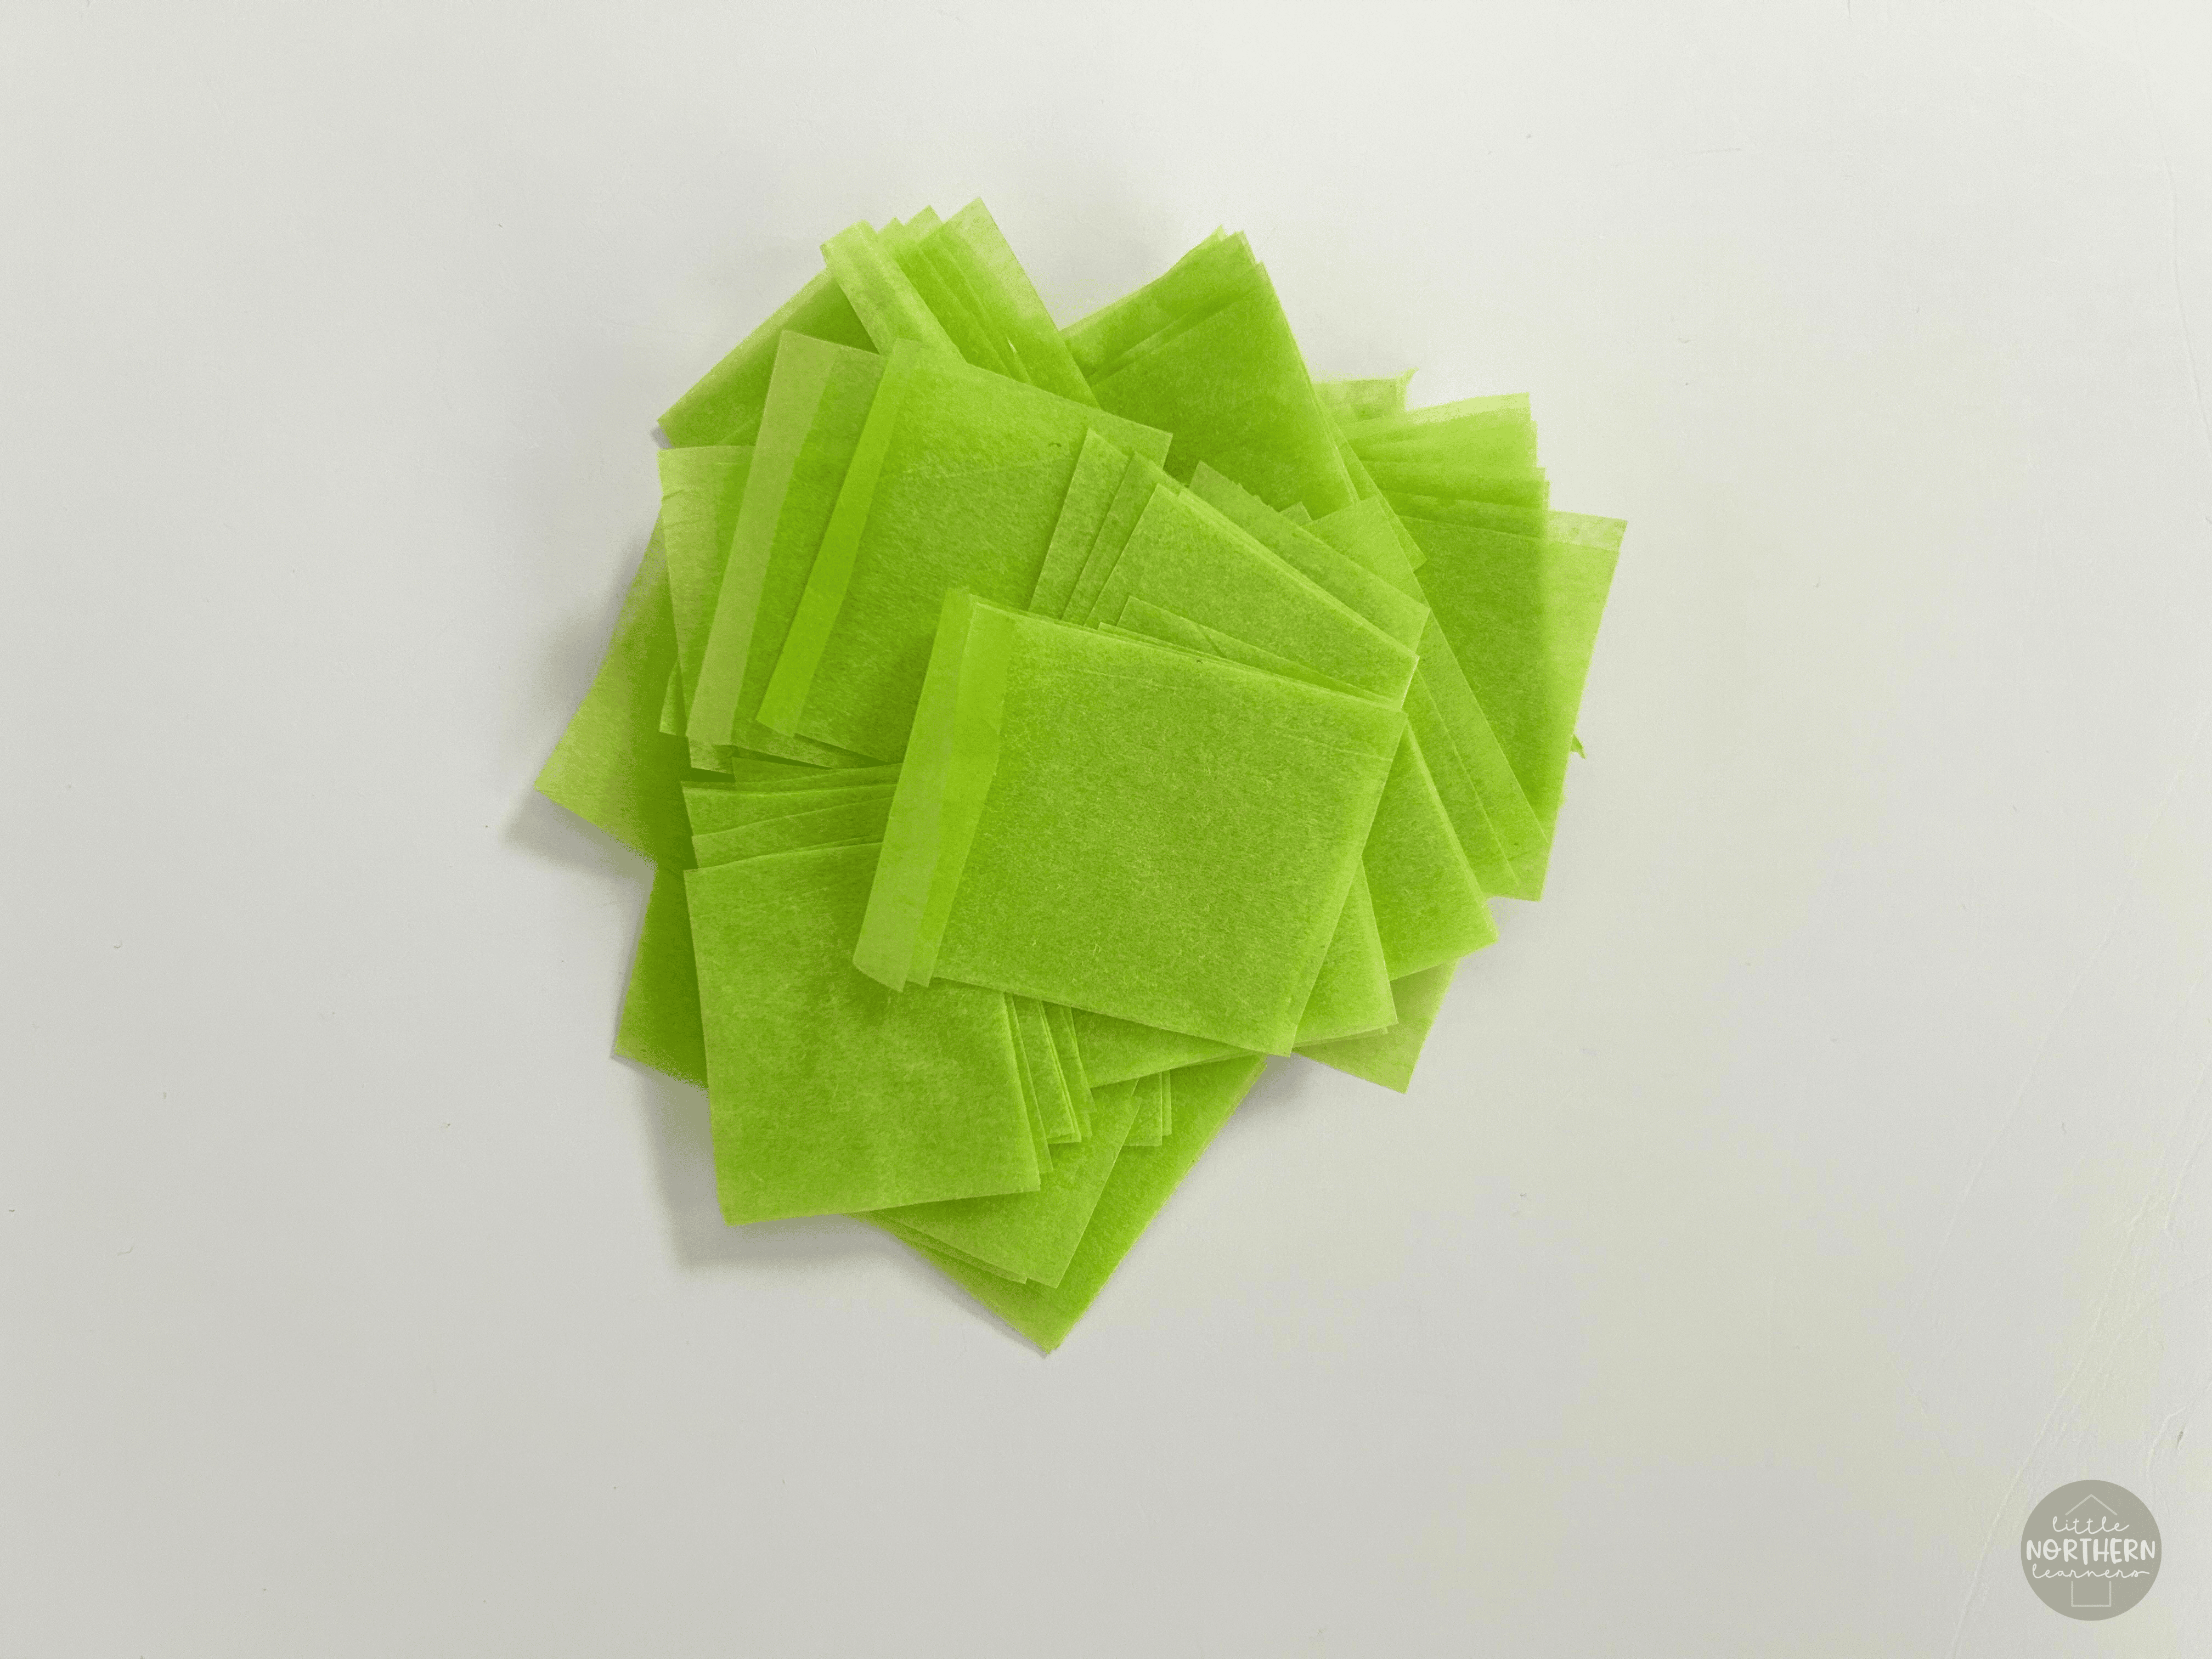
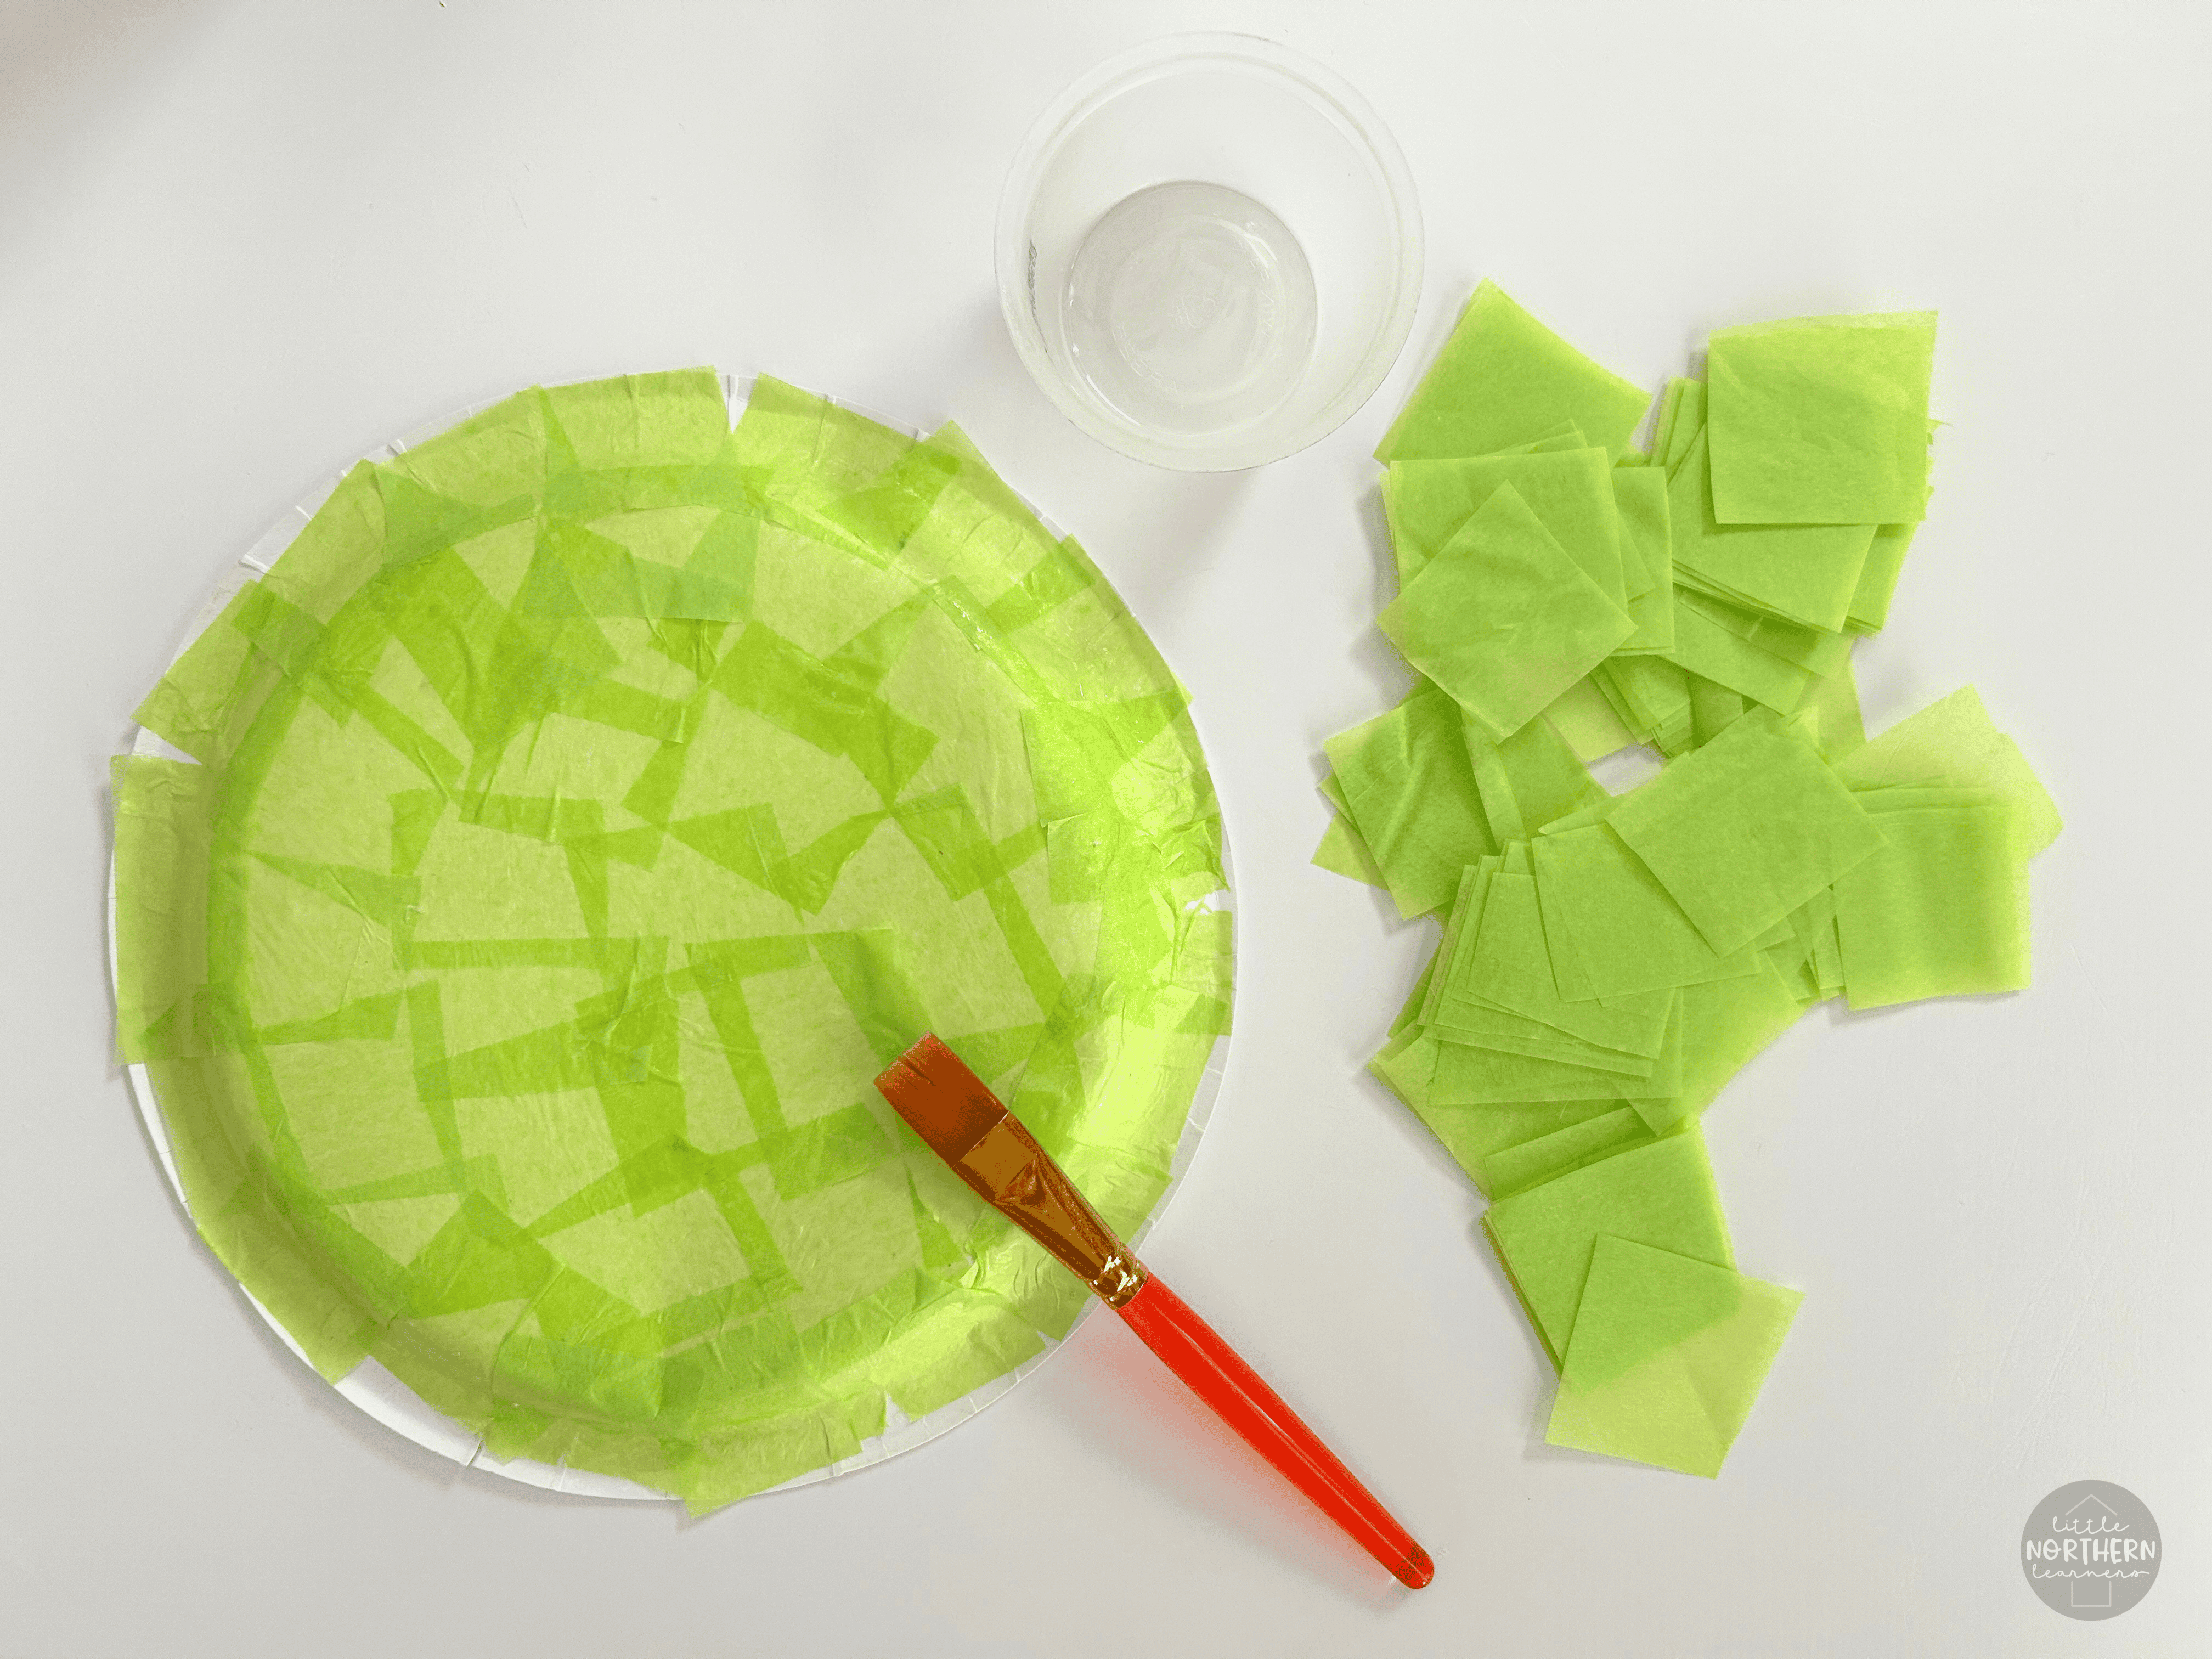
2. Cut or Tear: Take one sheet of green tissue paper and cut or tear into long strips. Then, cut or tear the long strips into small squares. Cutting and tearing are both great fine motor practice, but if your child isn't ready for this step yet, you can pre-cut the pieces and have them ready before you start the craft.
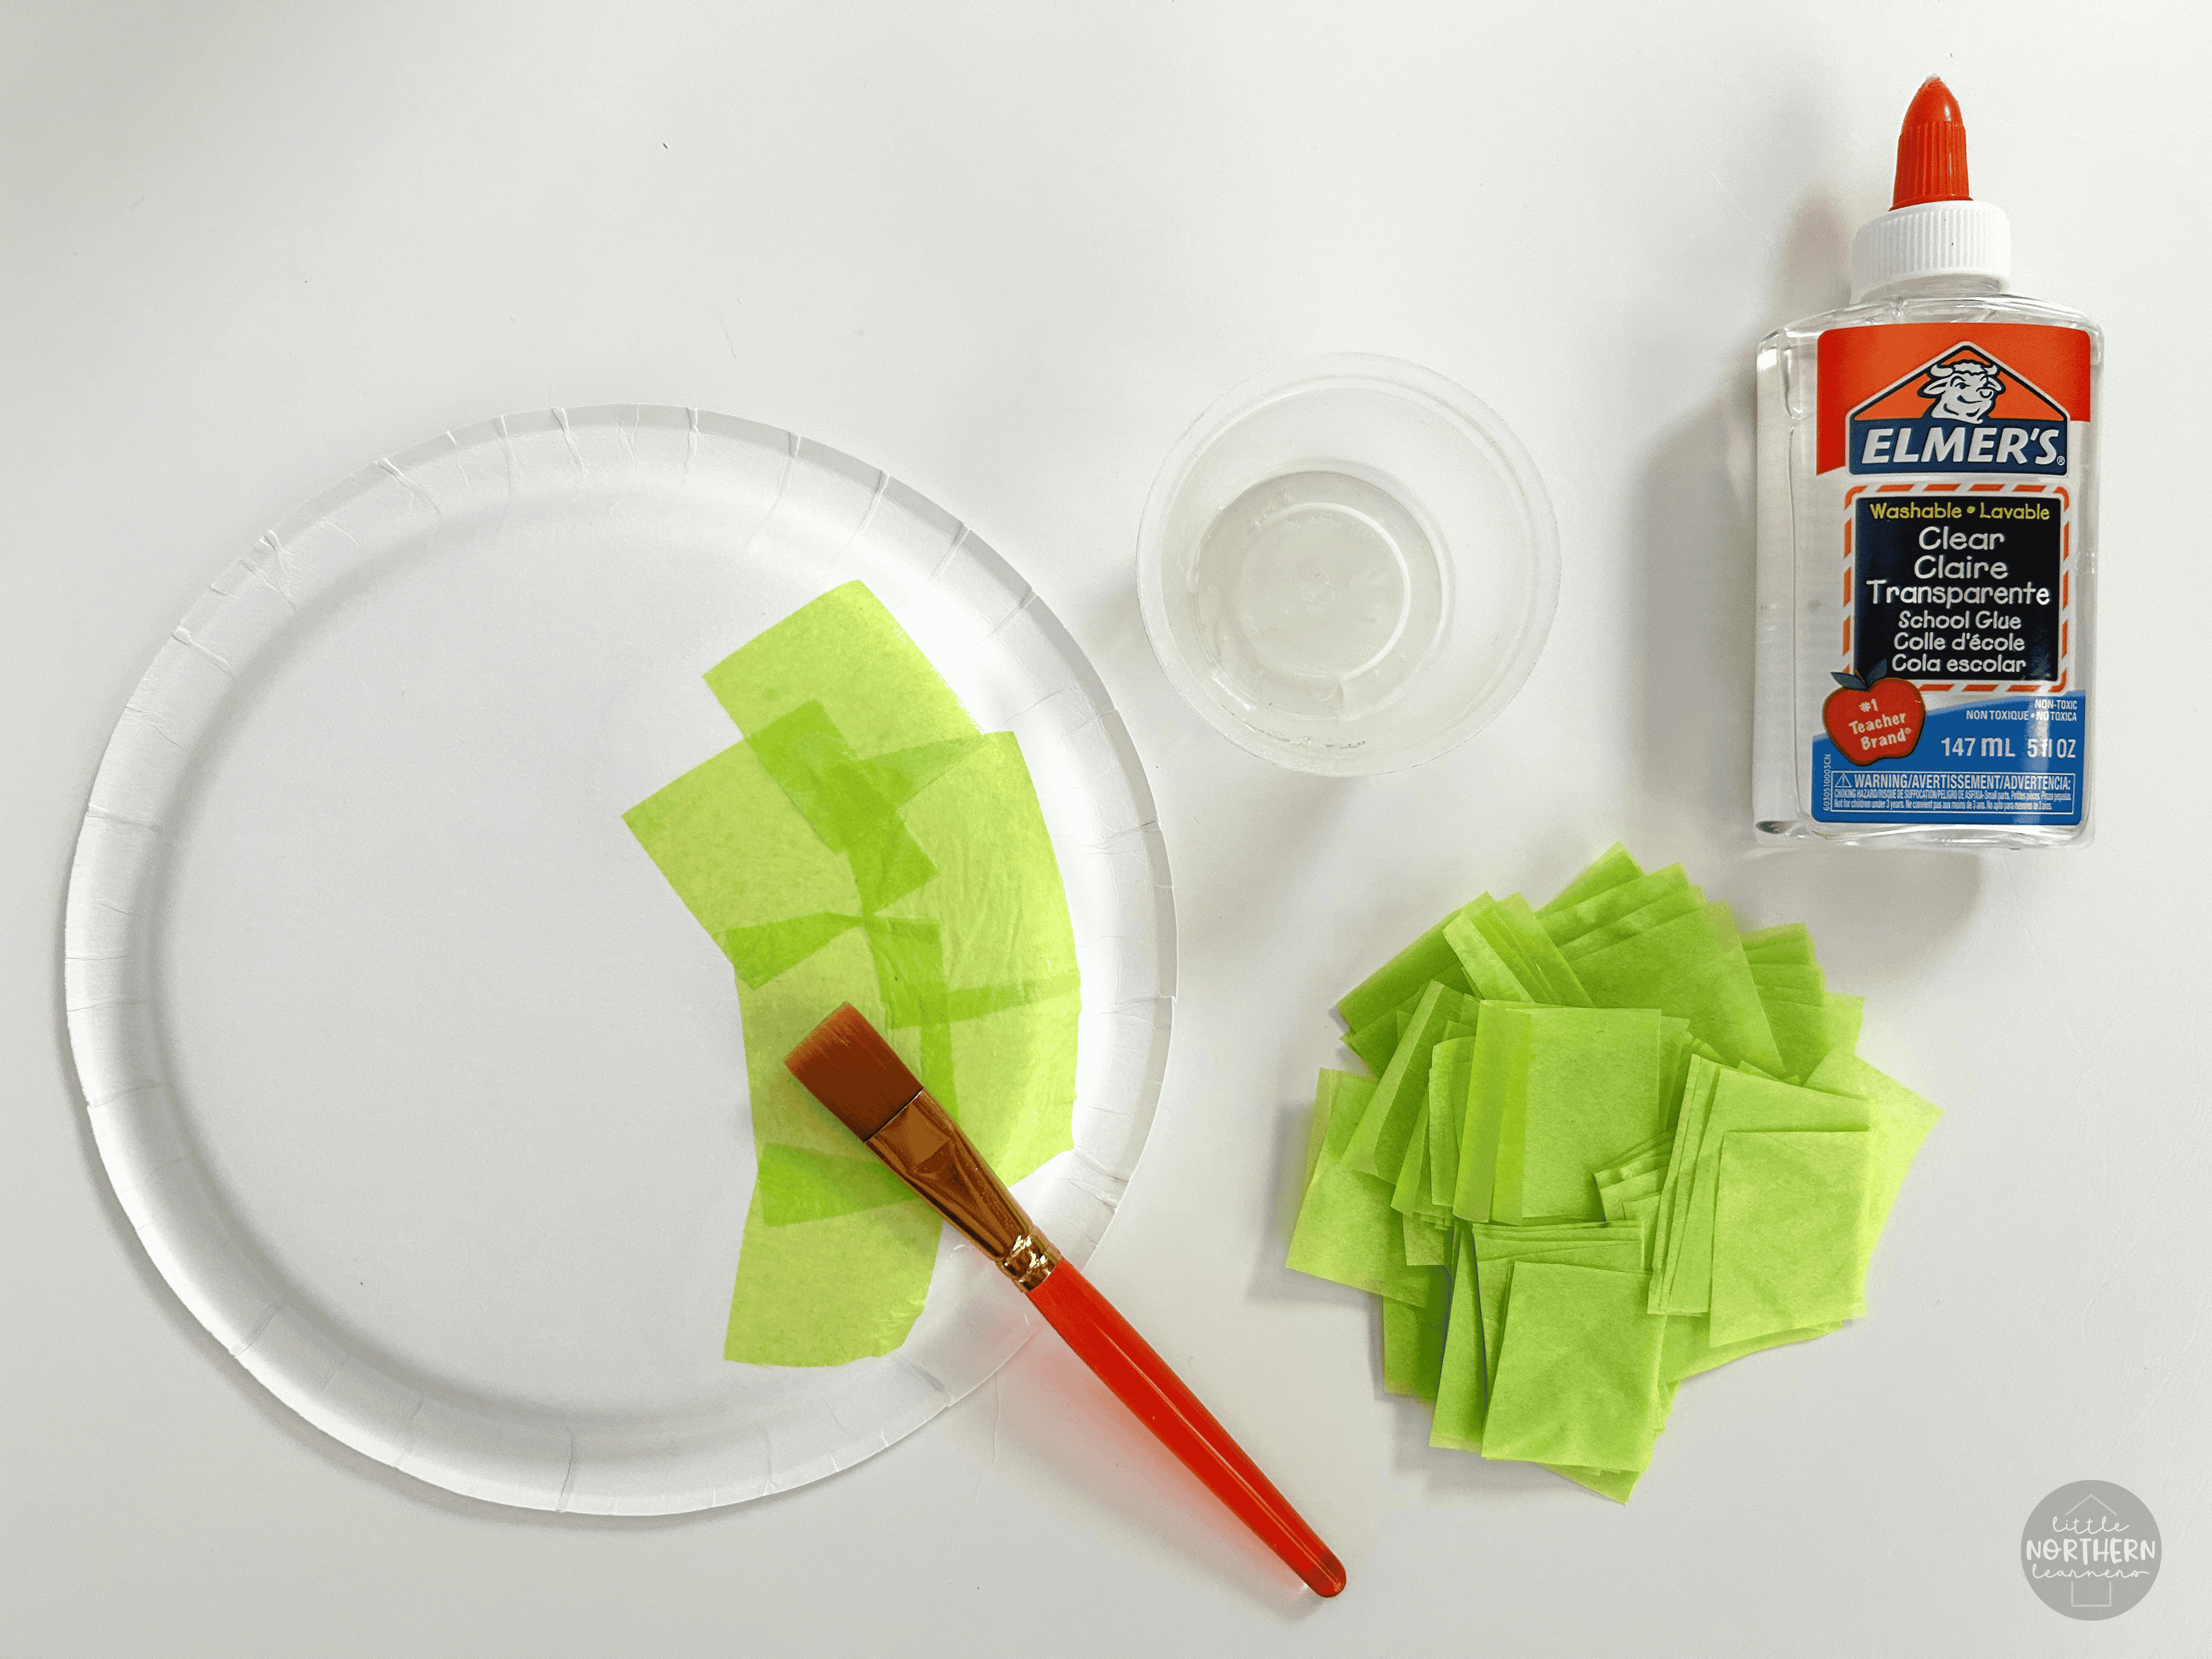
3. Glue: Pour some of the liquid glue into a cup and have your child use the paint brush to "paint" the glue onto the back of the paper plate. Then, press down a piece of tissue paper onto the glue. You can also paint a little bit of glue on top of the tissue paper to smooth it down.
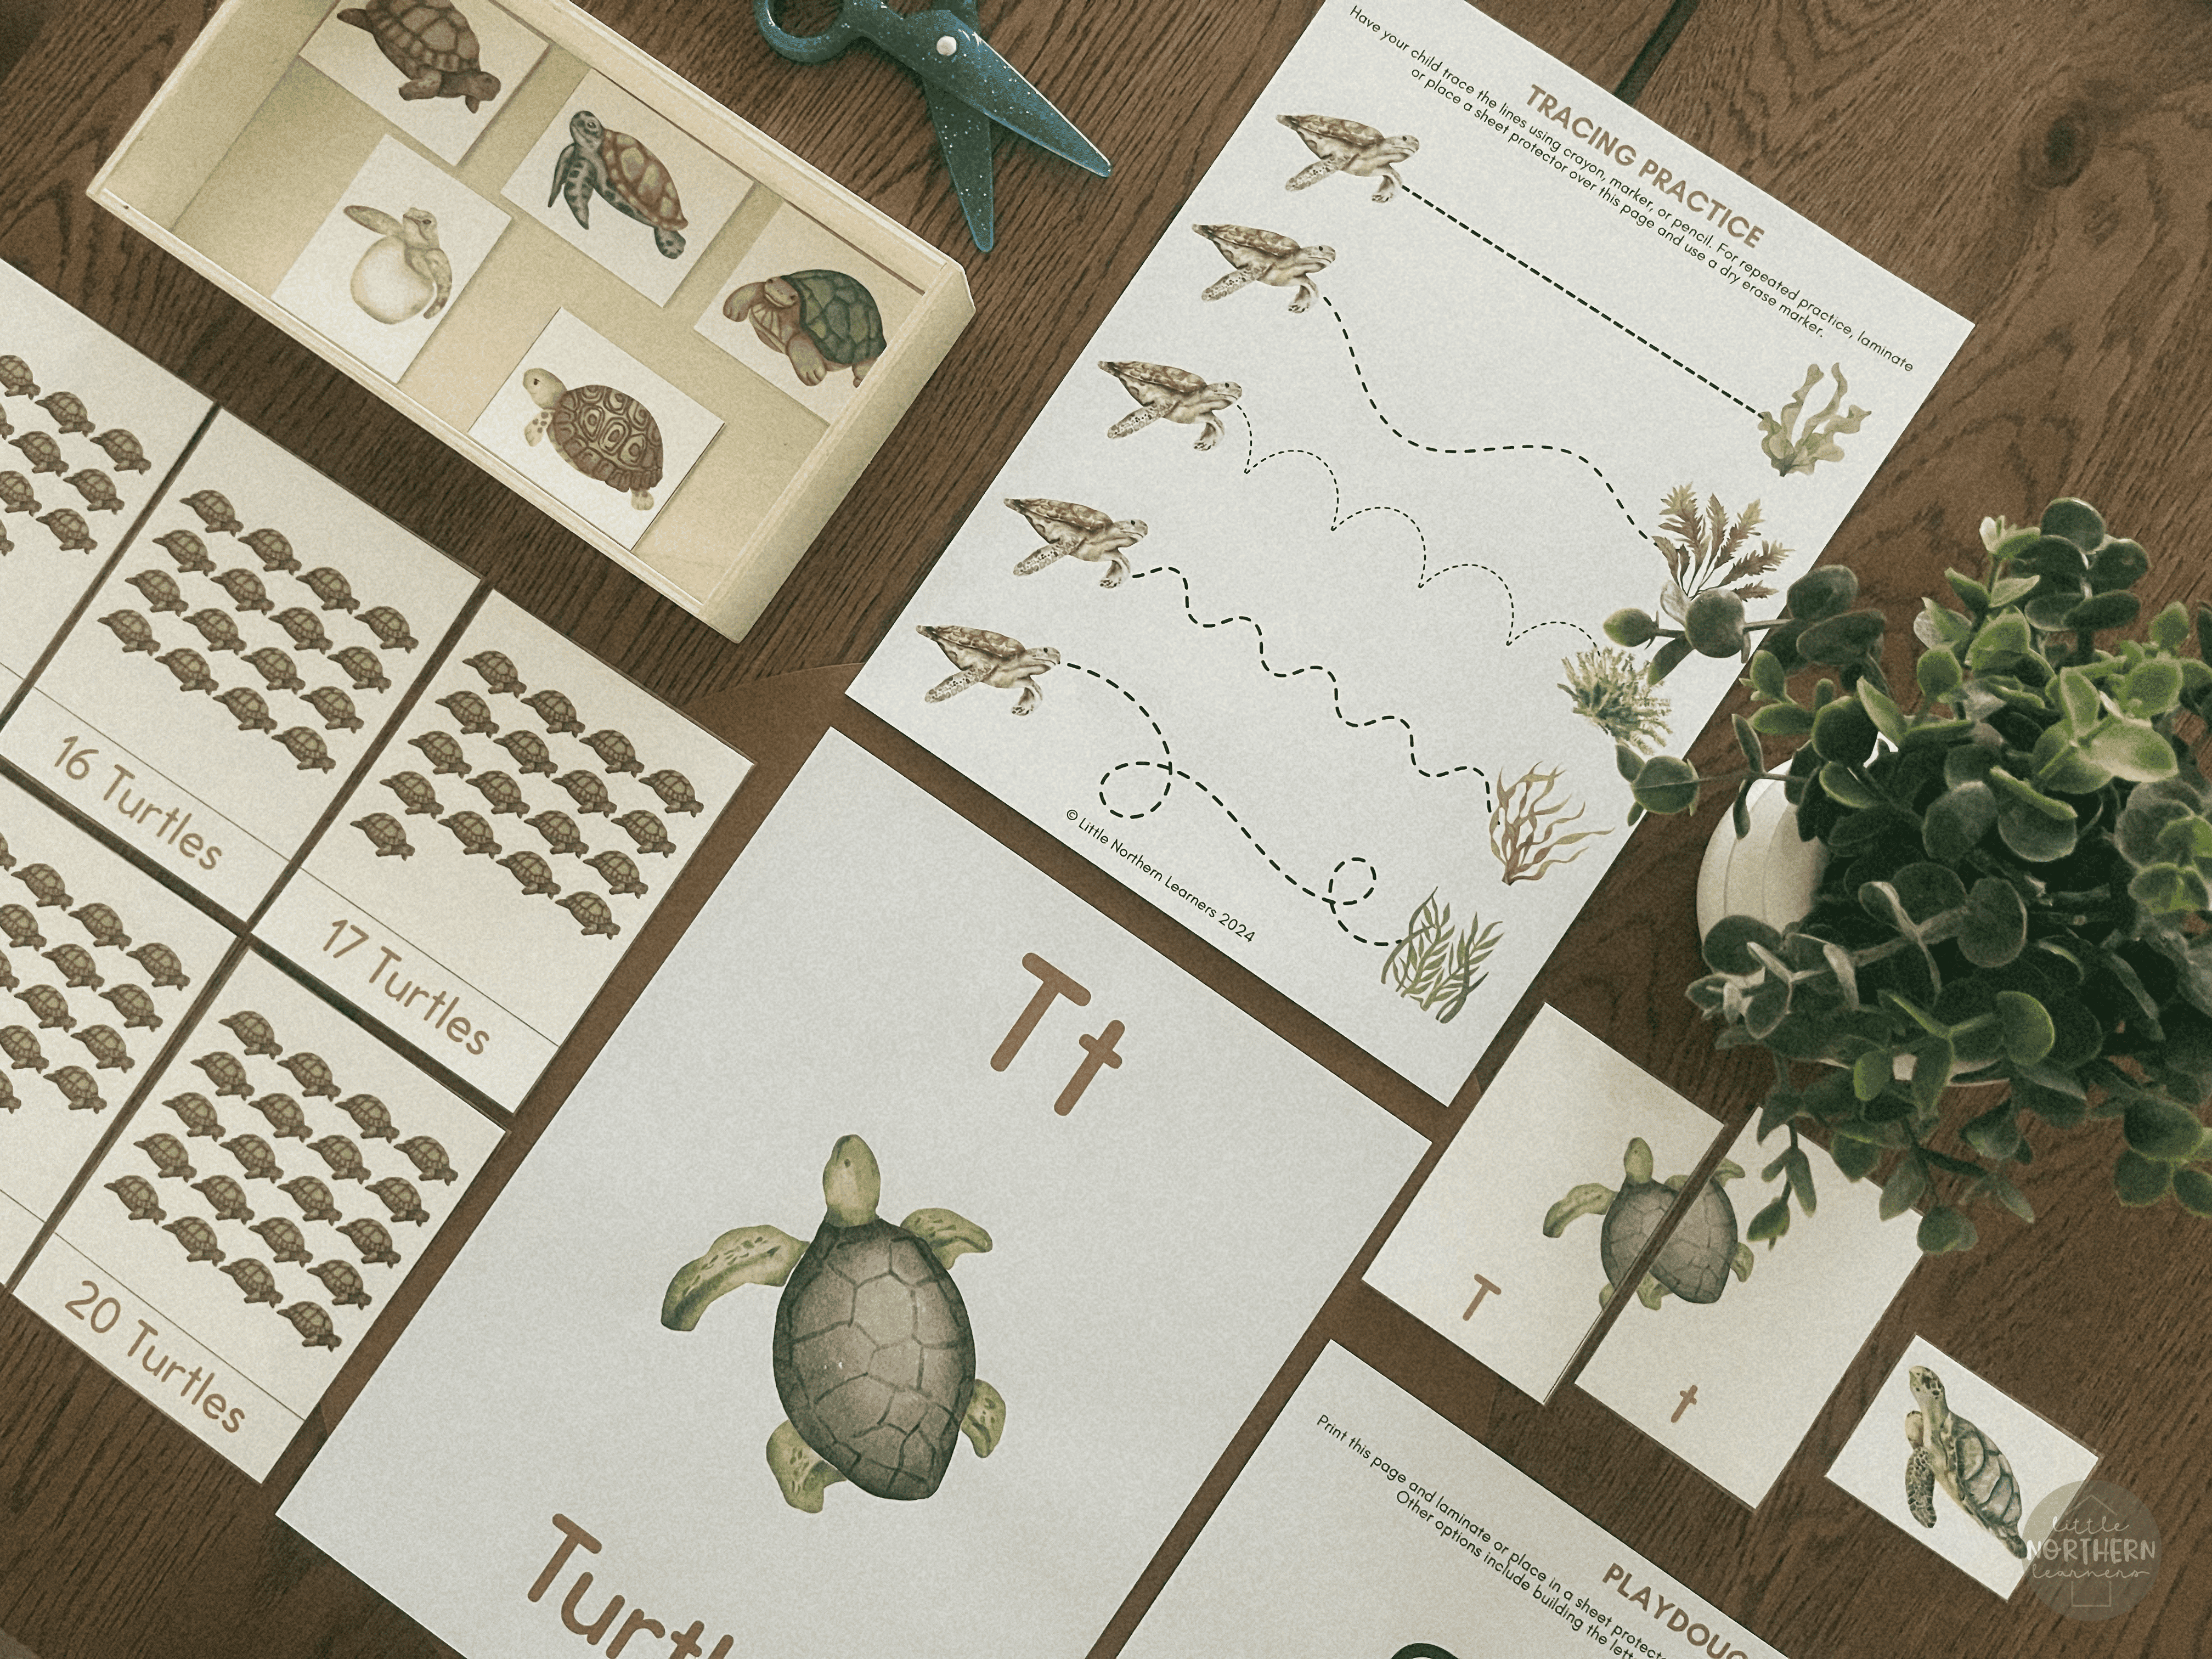
Looking for more fun turtle activities? Our T is for Turtle letter study includes a variety of learning activities based on a turtle theme, including a match game, line tracing, snack idea, and more! Click below to grab your copy.
4. Dry: Once the bottom of the plate is completely covered in green tissue paper, set aside to dry for a few minutes. You'll want it dry enough that you can flip it over before moving to the next step. While waiting for the plate to dry, take this time to cut out the five circles and triangle that you traced earlier.
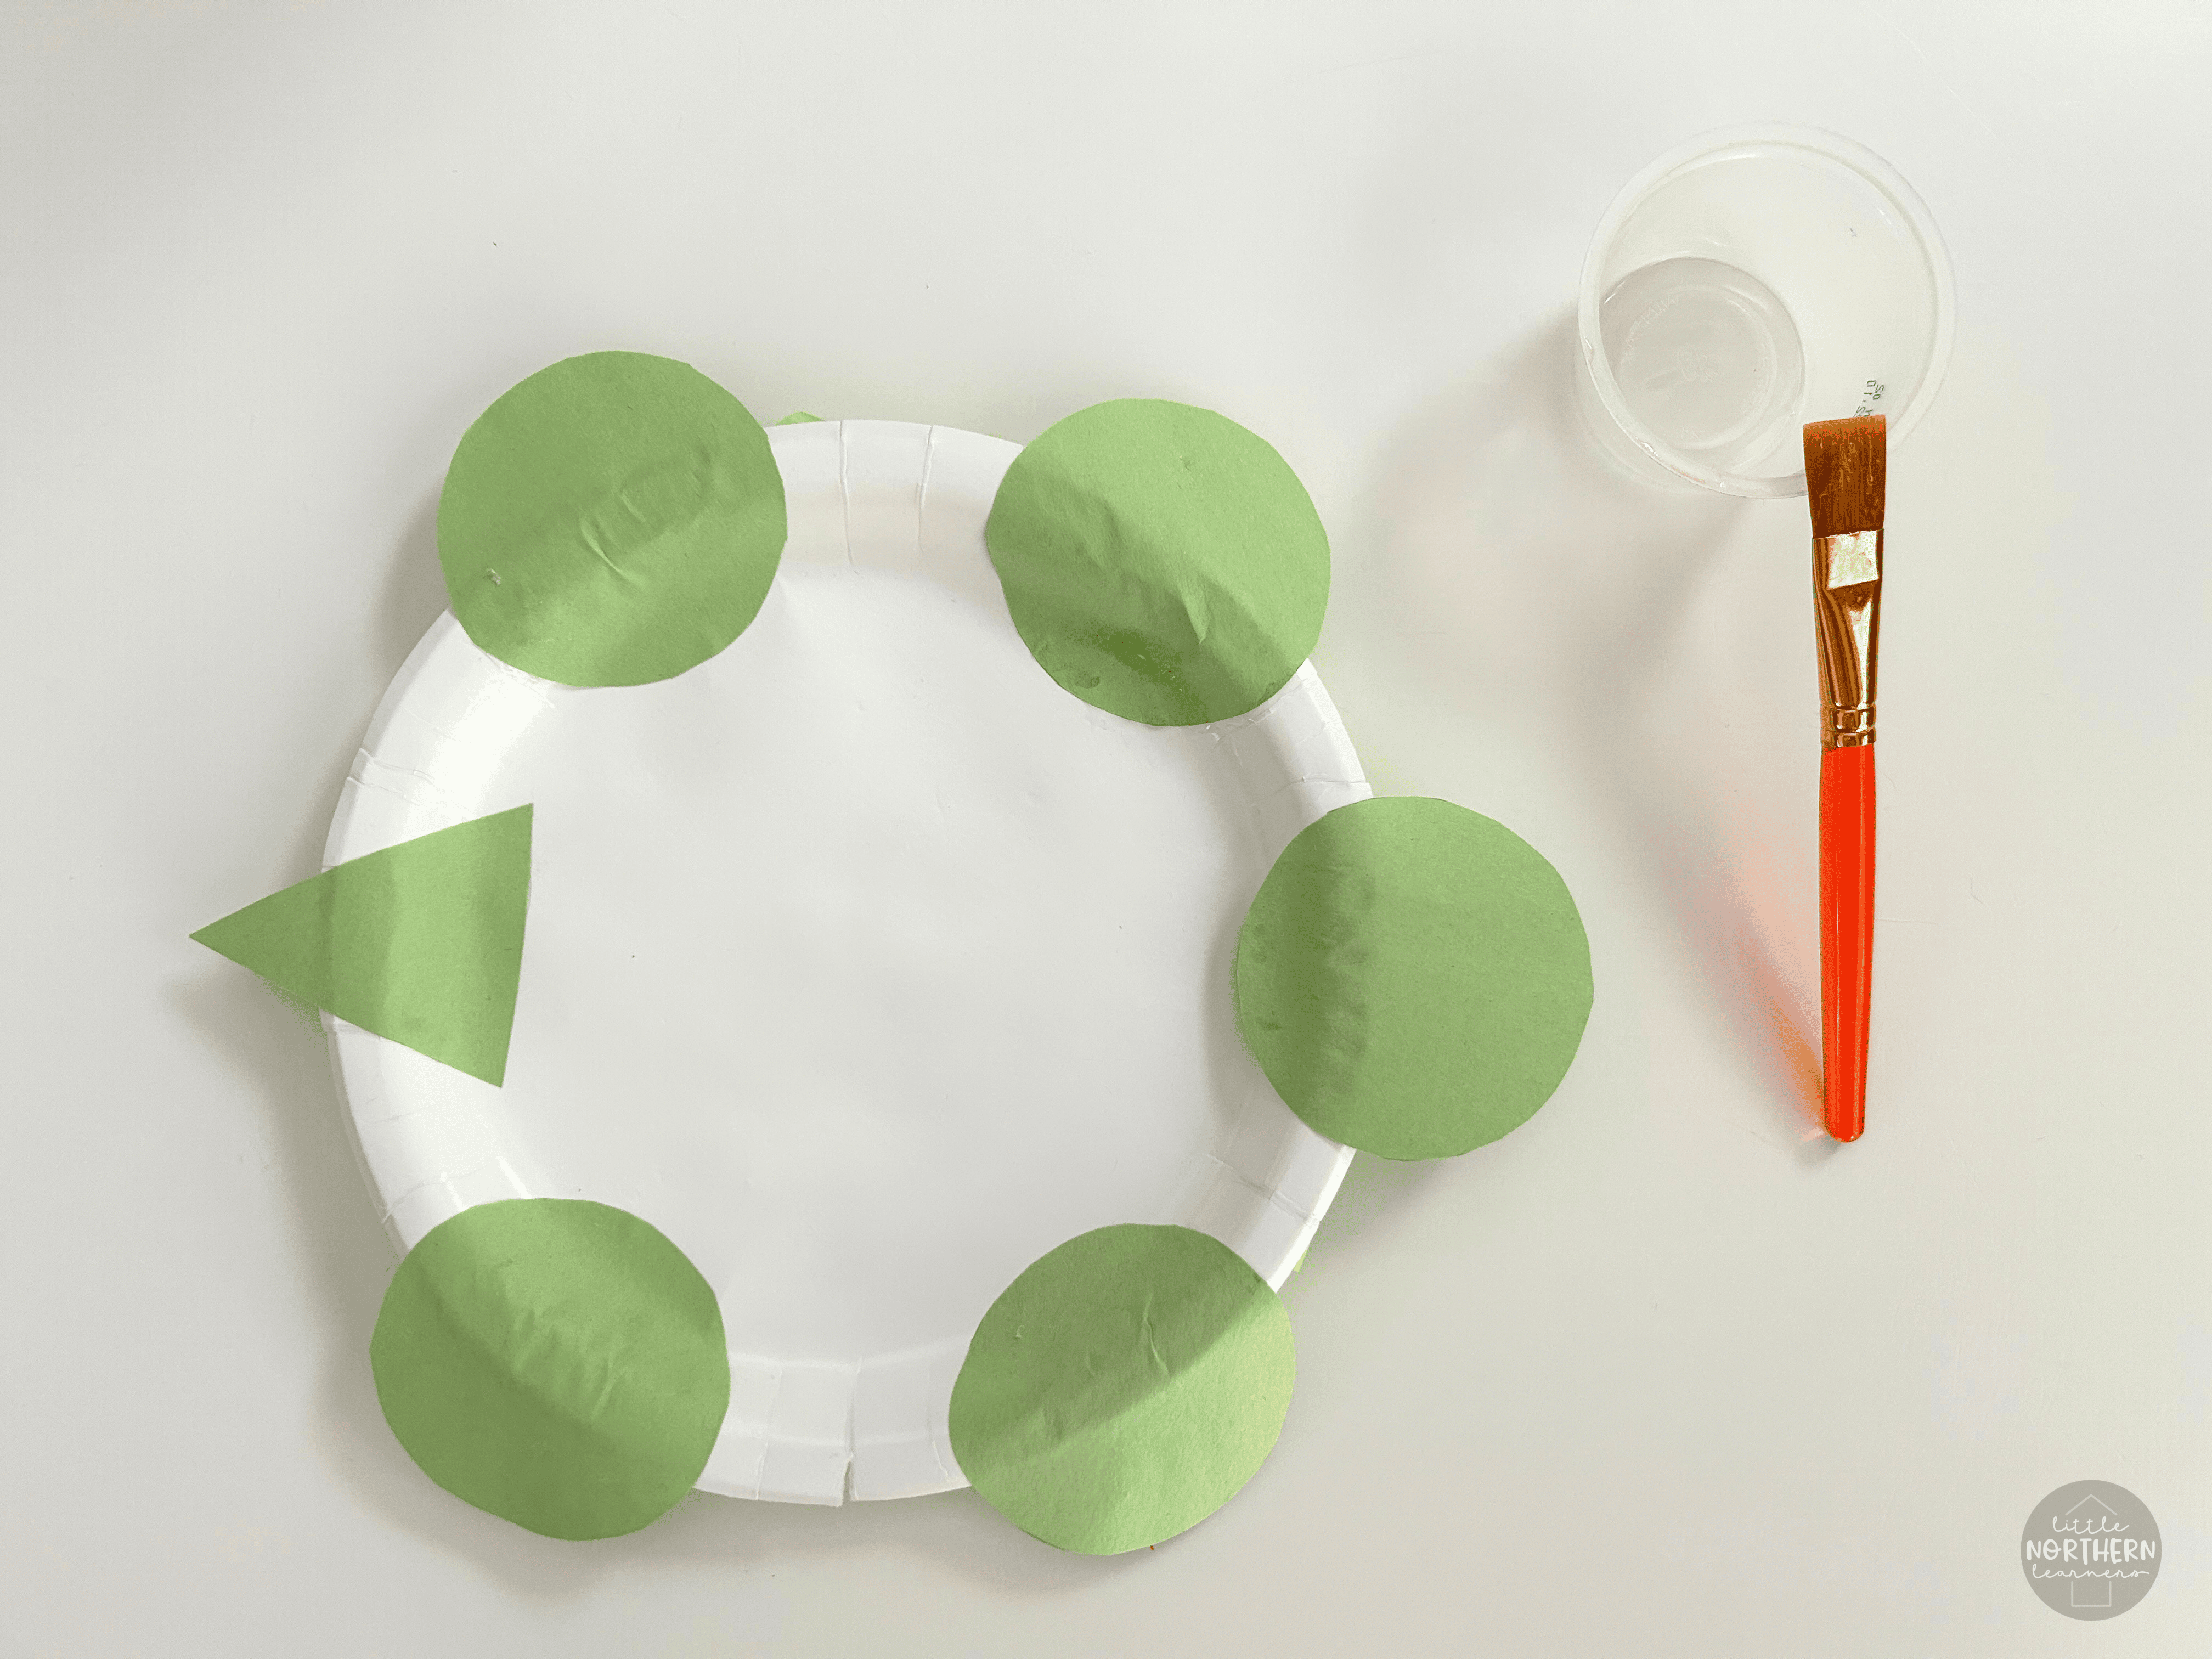
5. Glue: When the bottom of the plate is dry enough, flip it over and use the paintbrush and liquid glue to glue the legs, head, and tail onto the turtle. You'll want to glue about half of each circle and then press down onto the top of the plate. Place the head at the top, legs along the sides, and tail (triangle) at the bottom.
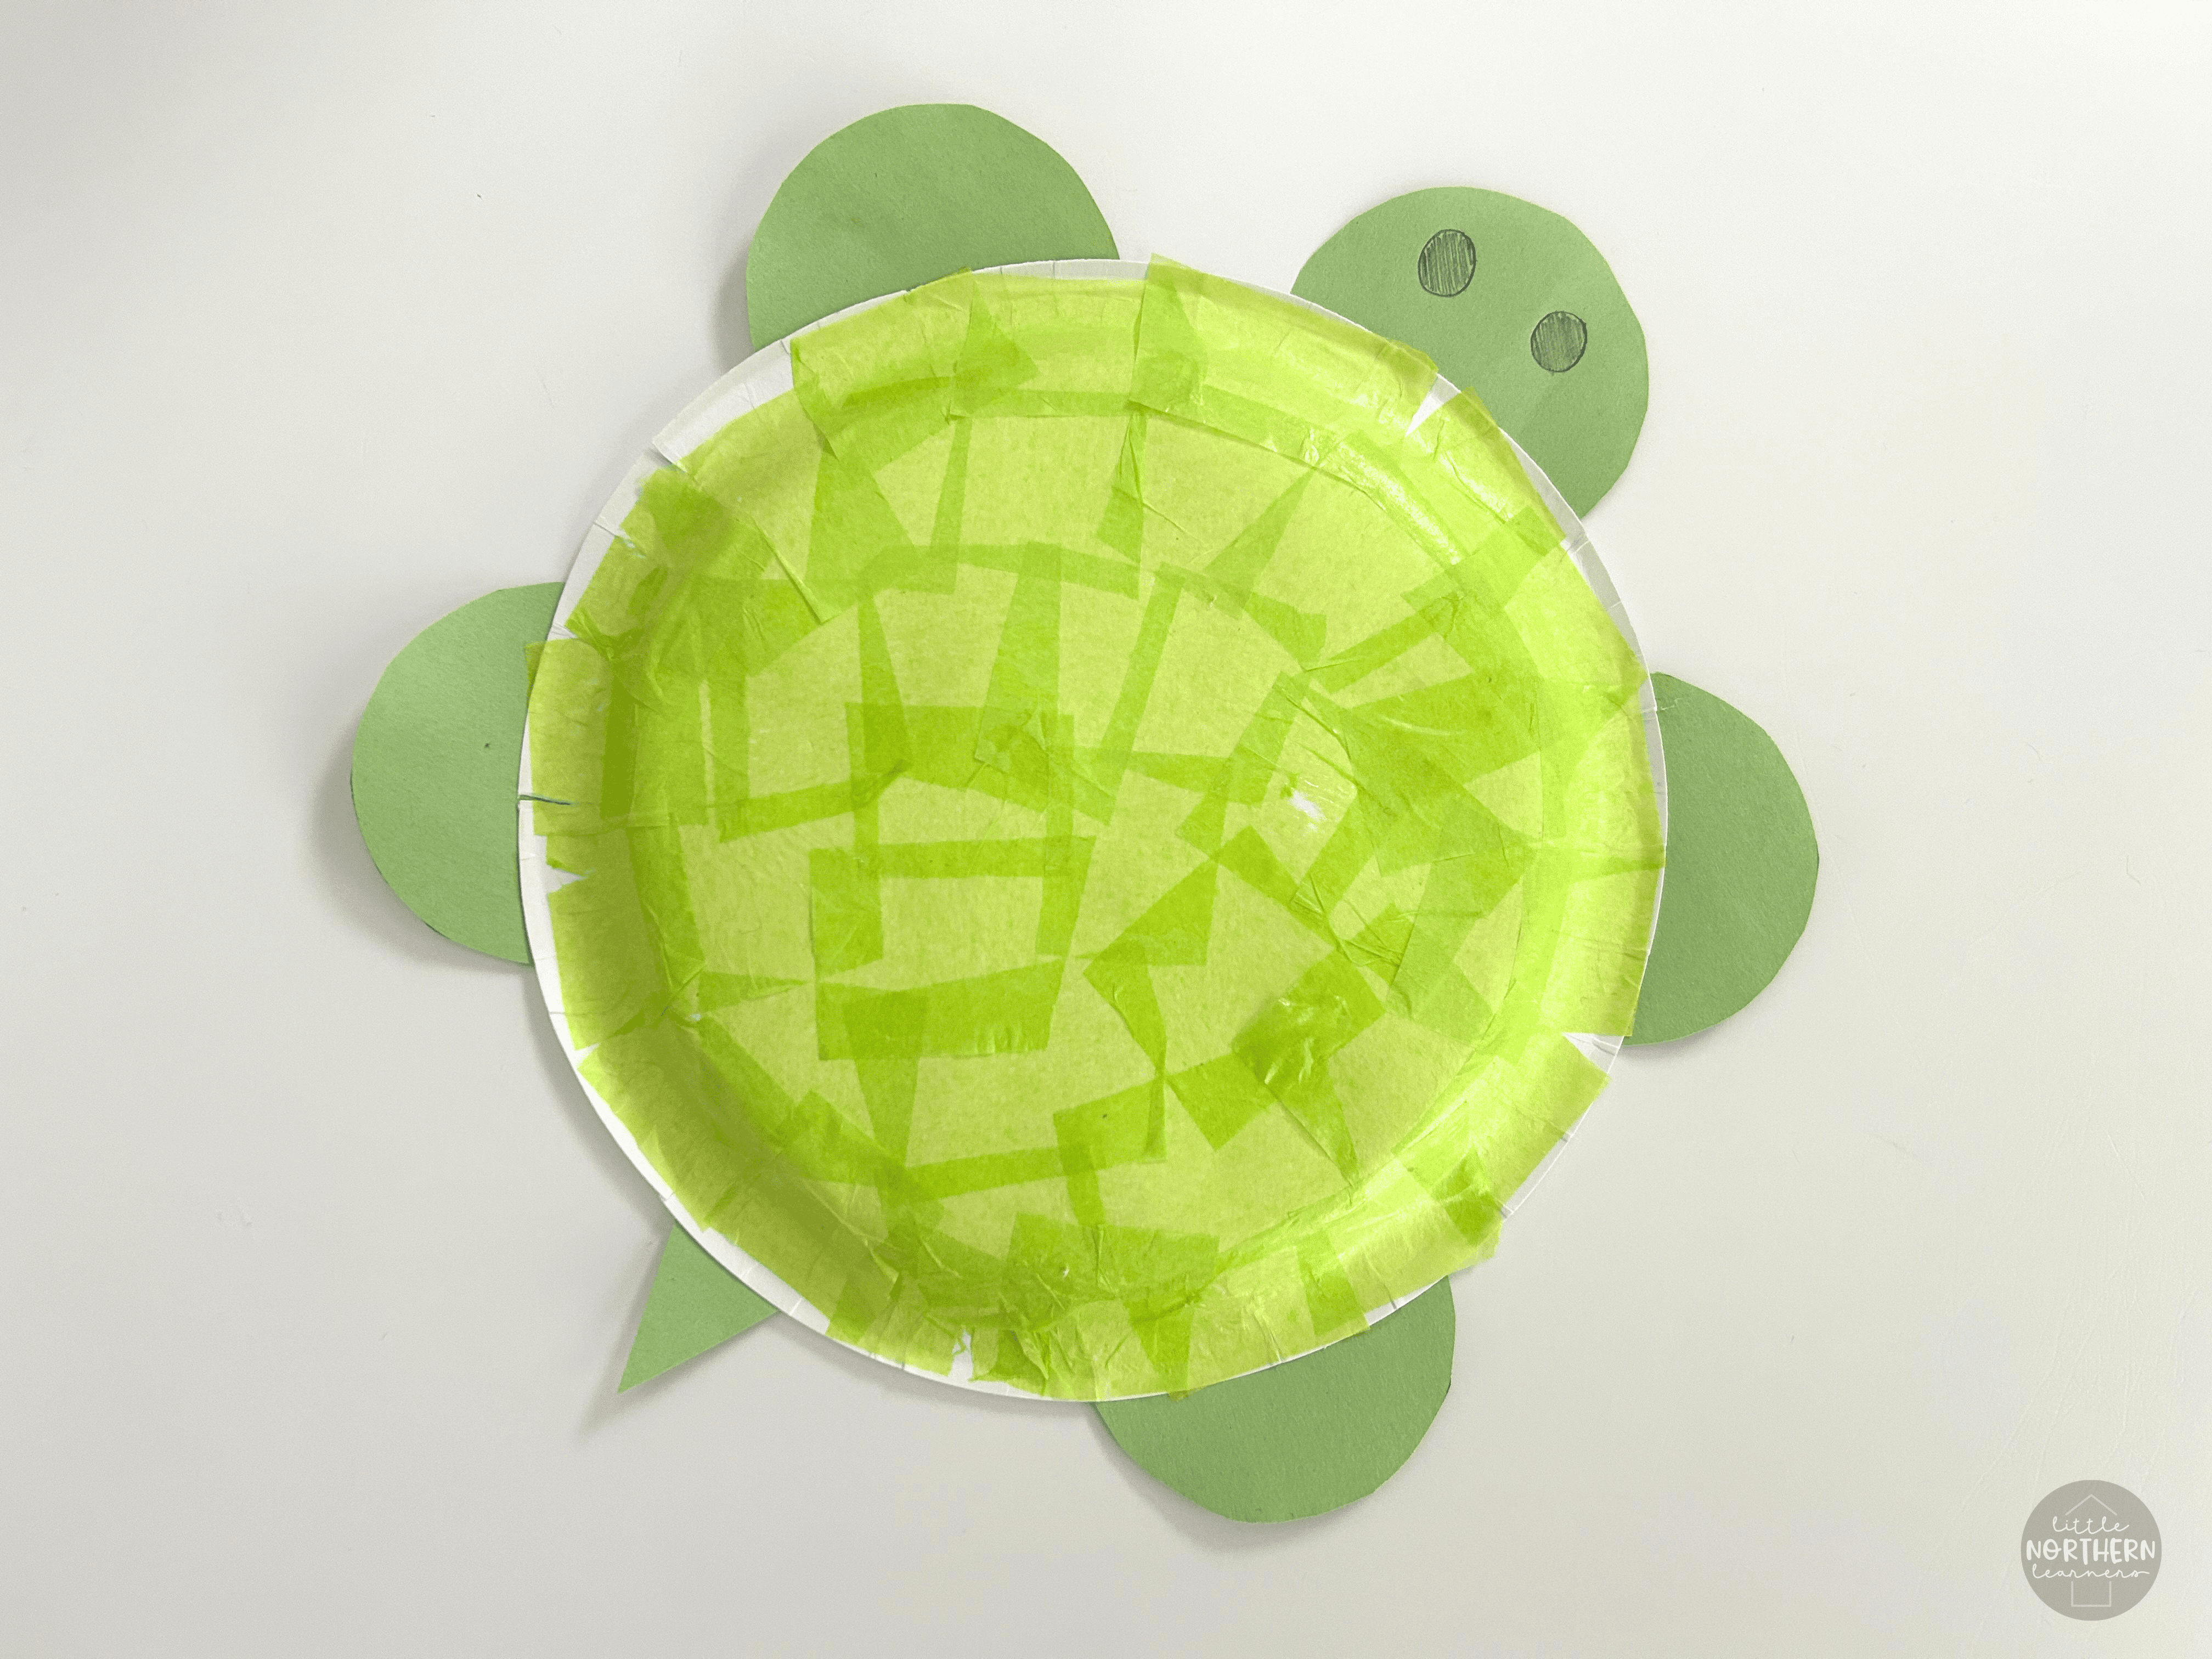
6. Draw: Once your turtle head, legs, and tail have been glued on, flip the turtle over and use the pencil to draw two circles for eyes on the head.
That's it! Let your turtle dry for a few minutes before playing with it or displaying it!
Did you enjoy this turtle craft? Let us know or tag us in your photos on instagram @littlenorthernlearners!