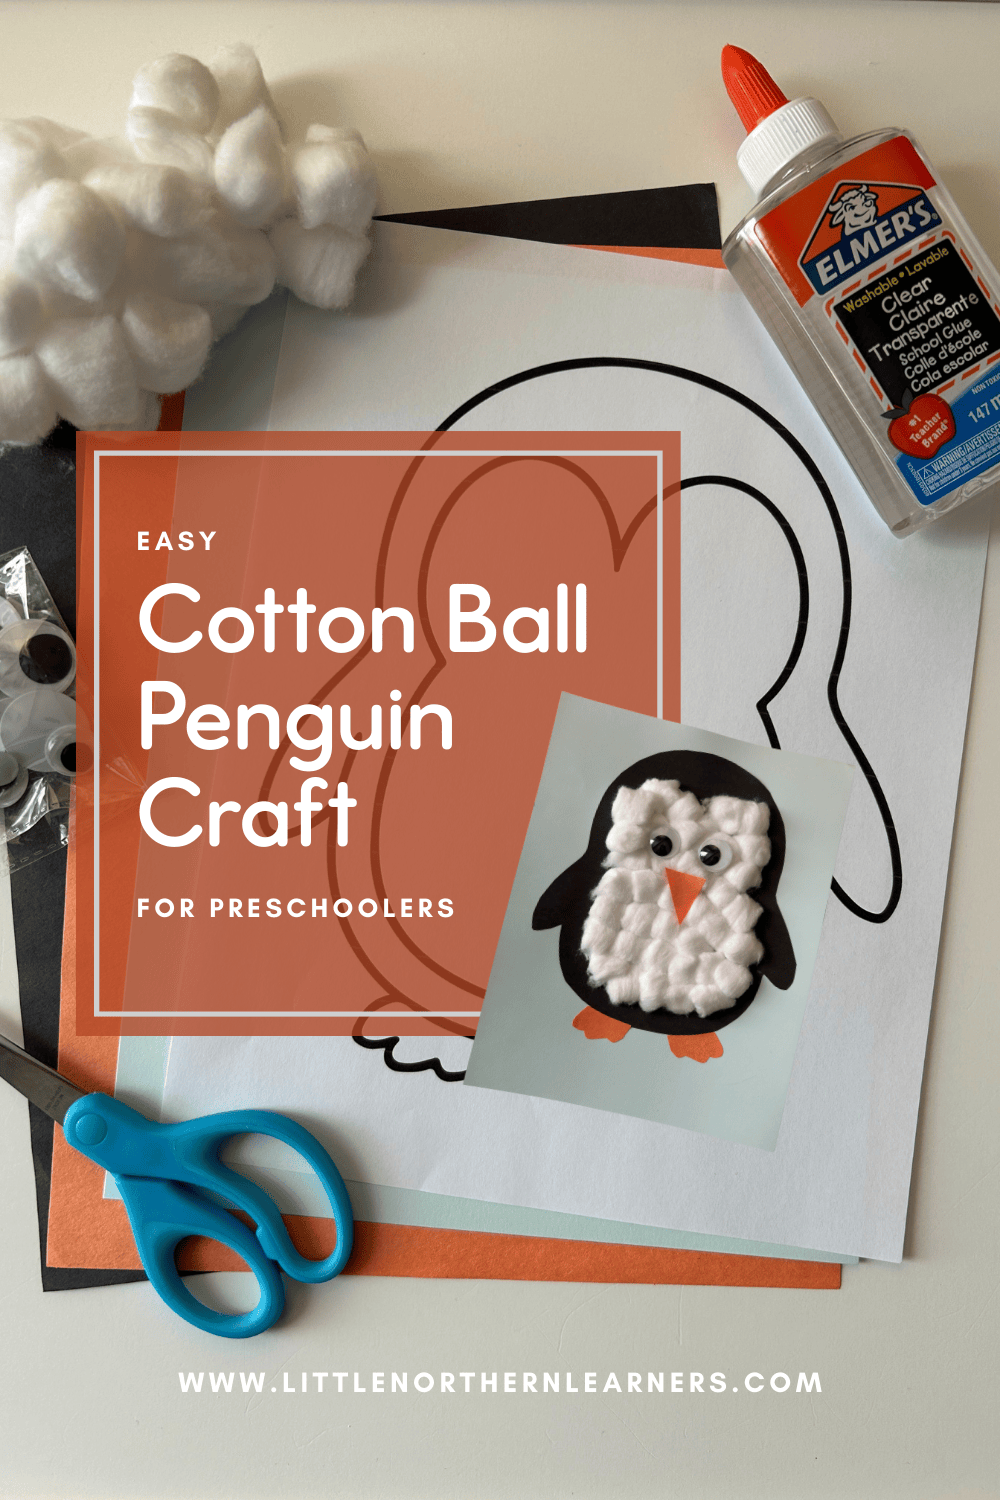
Whether you're planning a penguin-themed unit, or just looking for a fun winter-themed craft, you're in the right place! In this post, I'll be sharing a fun penguin art project that incorporates fine motor skills and can be modified for a variety of ages.

Gather These Items:
Cardstock or construction paper for background
Orange cardstock or construction paper for feet & beak
Black cardstock or construction paper for body
Cotton balls
Googly eyes
Liquid glue
Scissors
Penguin outline (optional) - do a quick Google search or keep it simple and draw your own!
Make the Penguin:
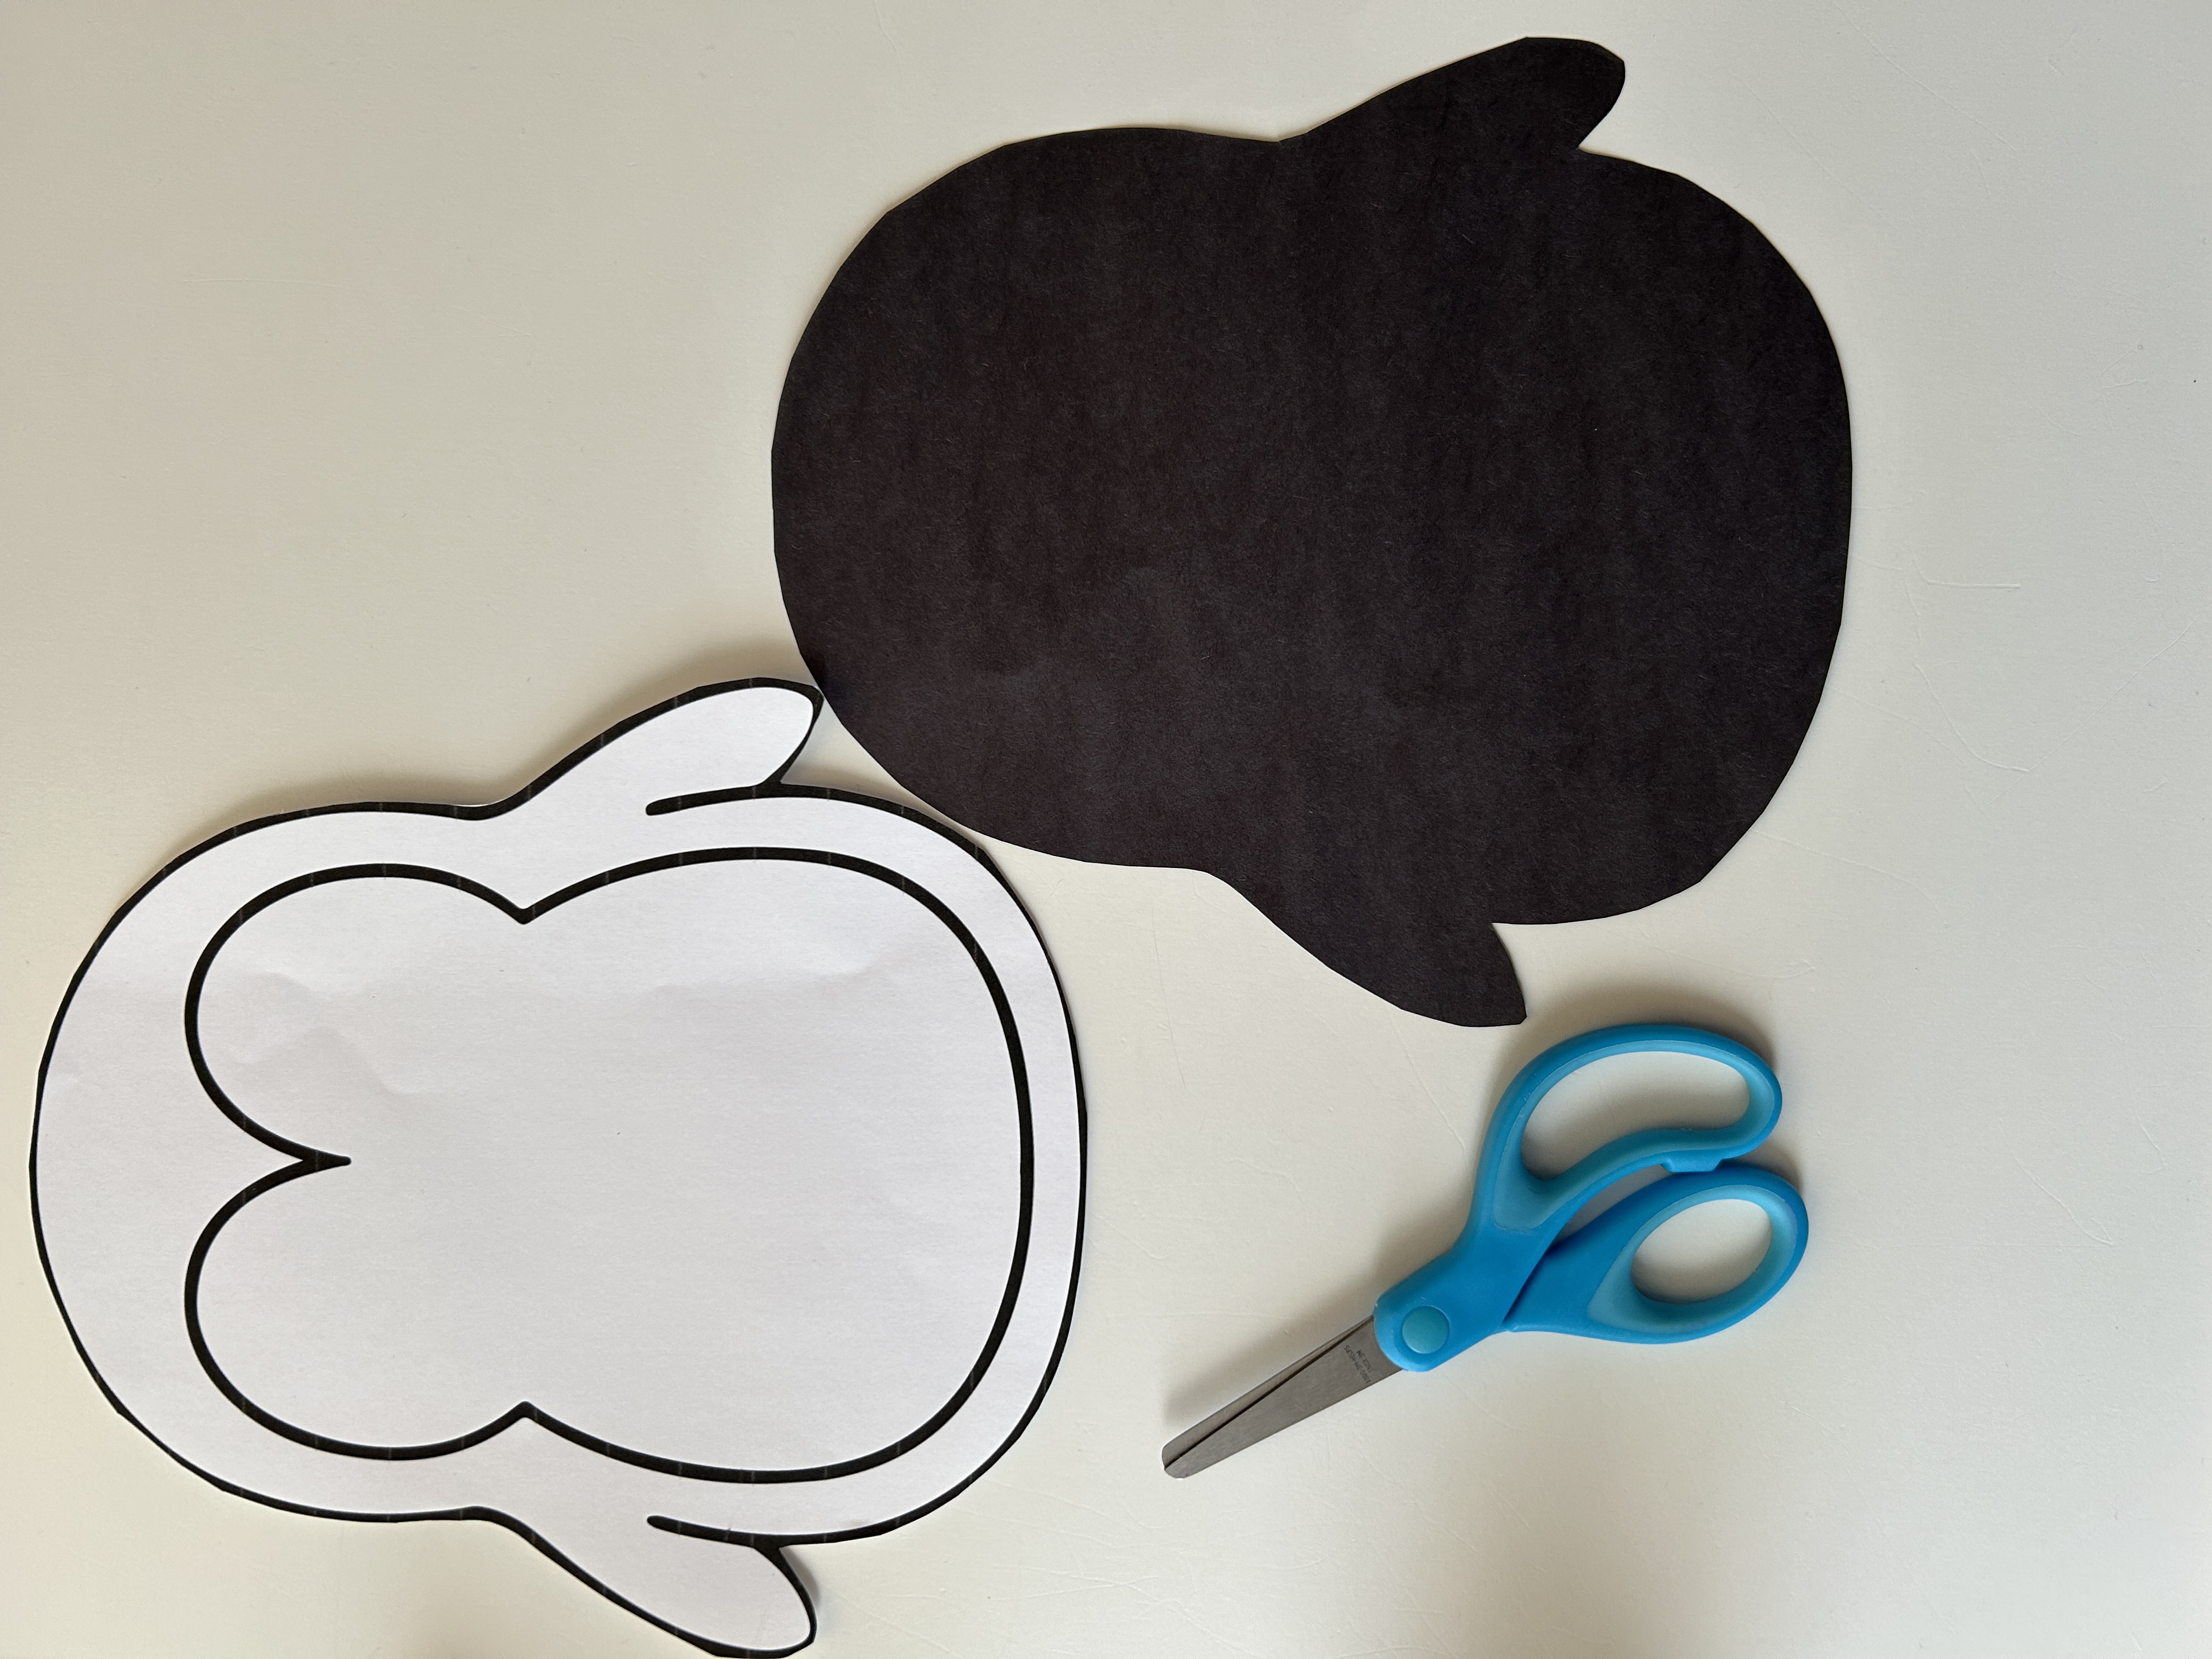
1. Cut: Start by cutting out a penguin-shaped outline from the black paper. You can use a template for this, or create your own - you really just need a large oval shape with some flippers on each side! If your child is comfortable using scissors, you can use a white crayon to draw the outline on the black paper and have them cut. Or, you can pre-cut the penguin shape for them.
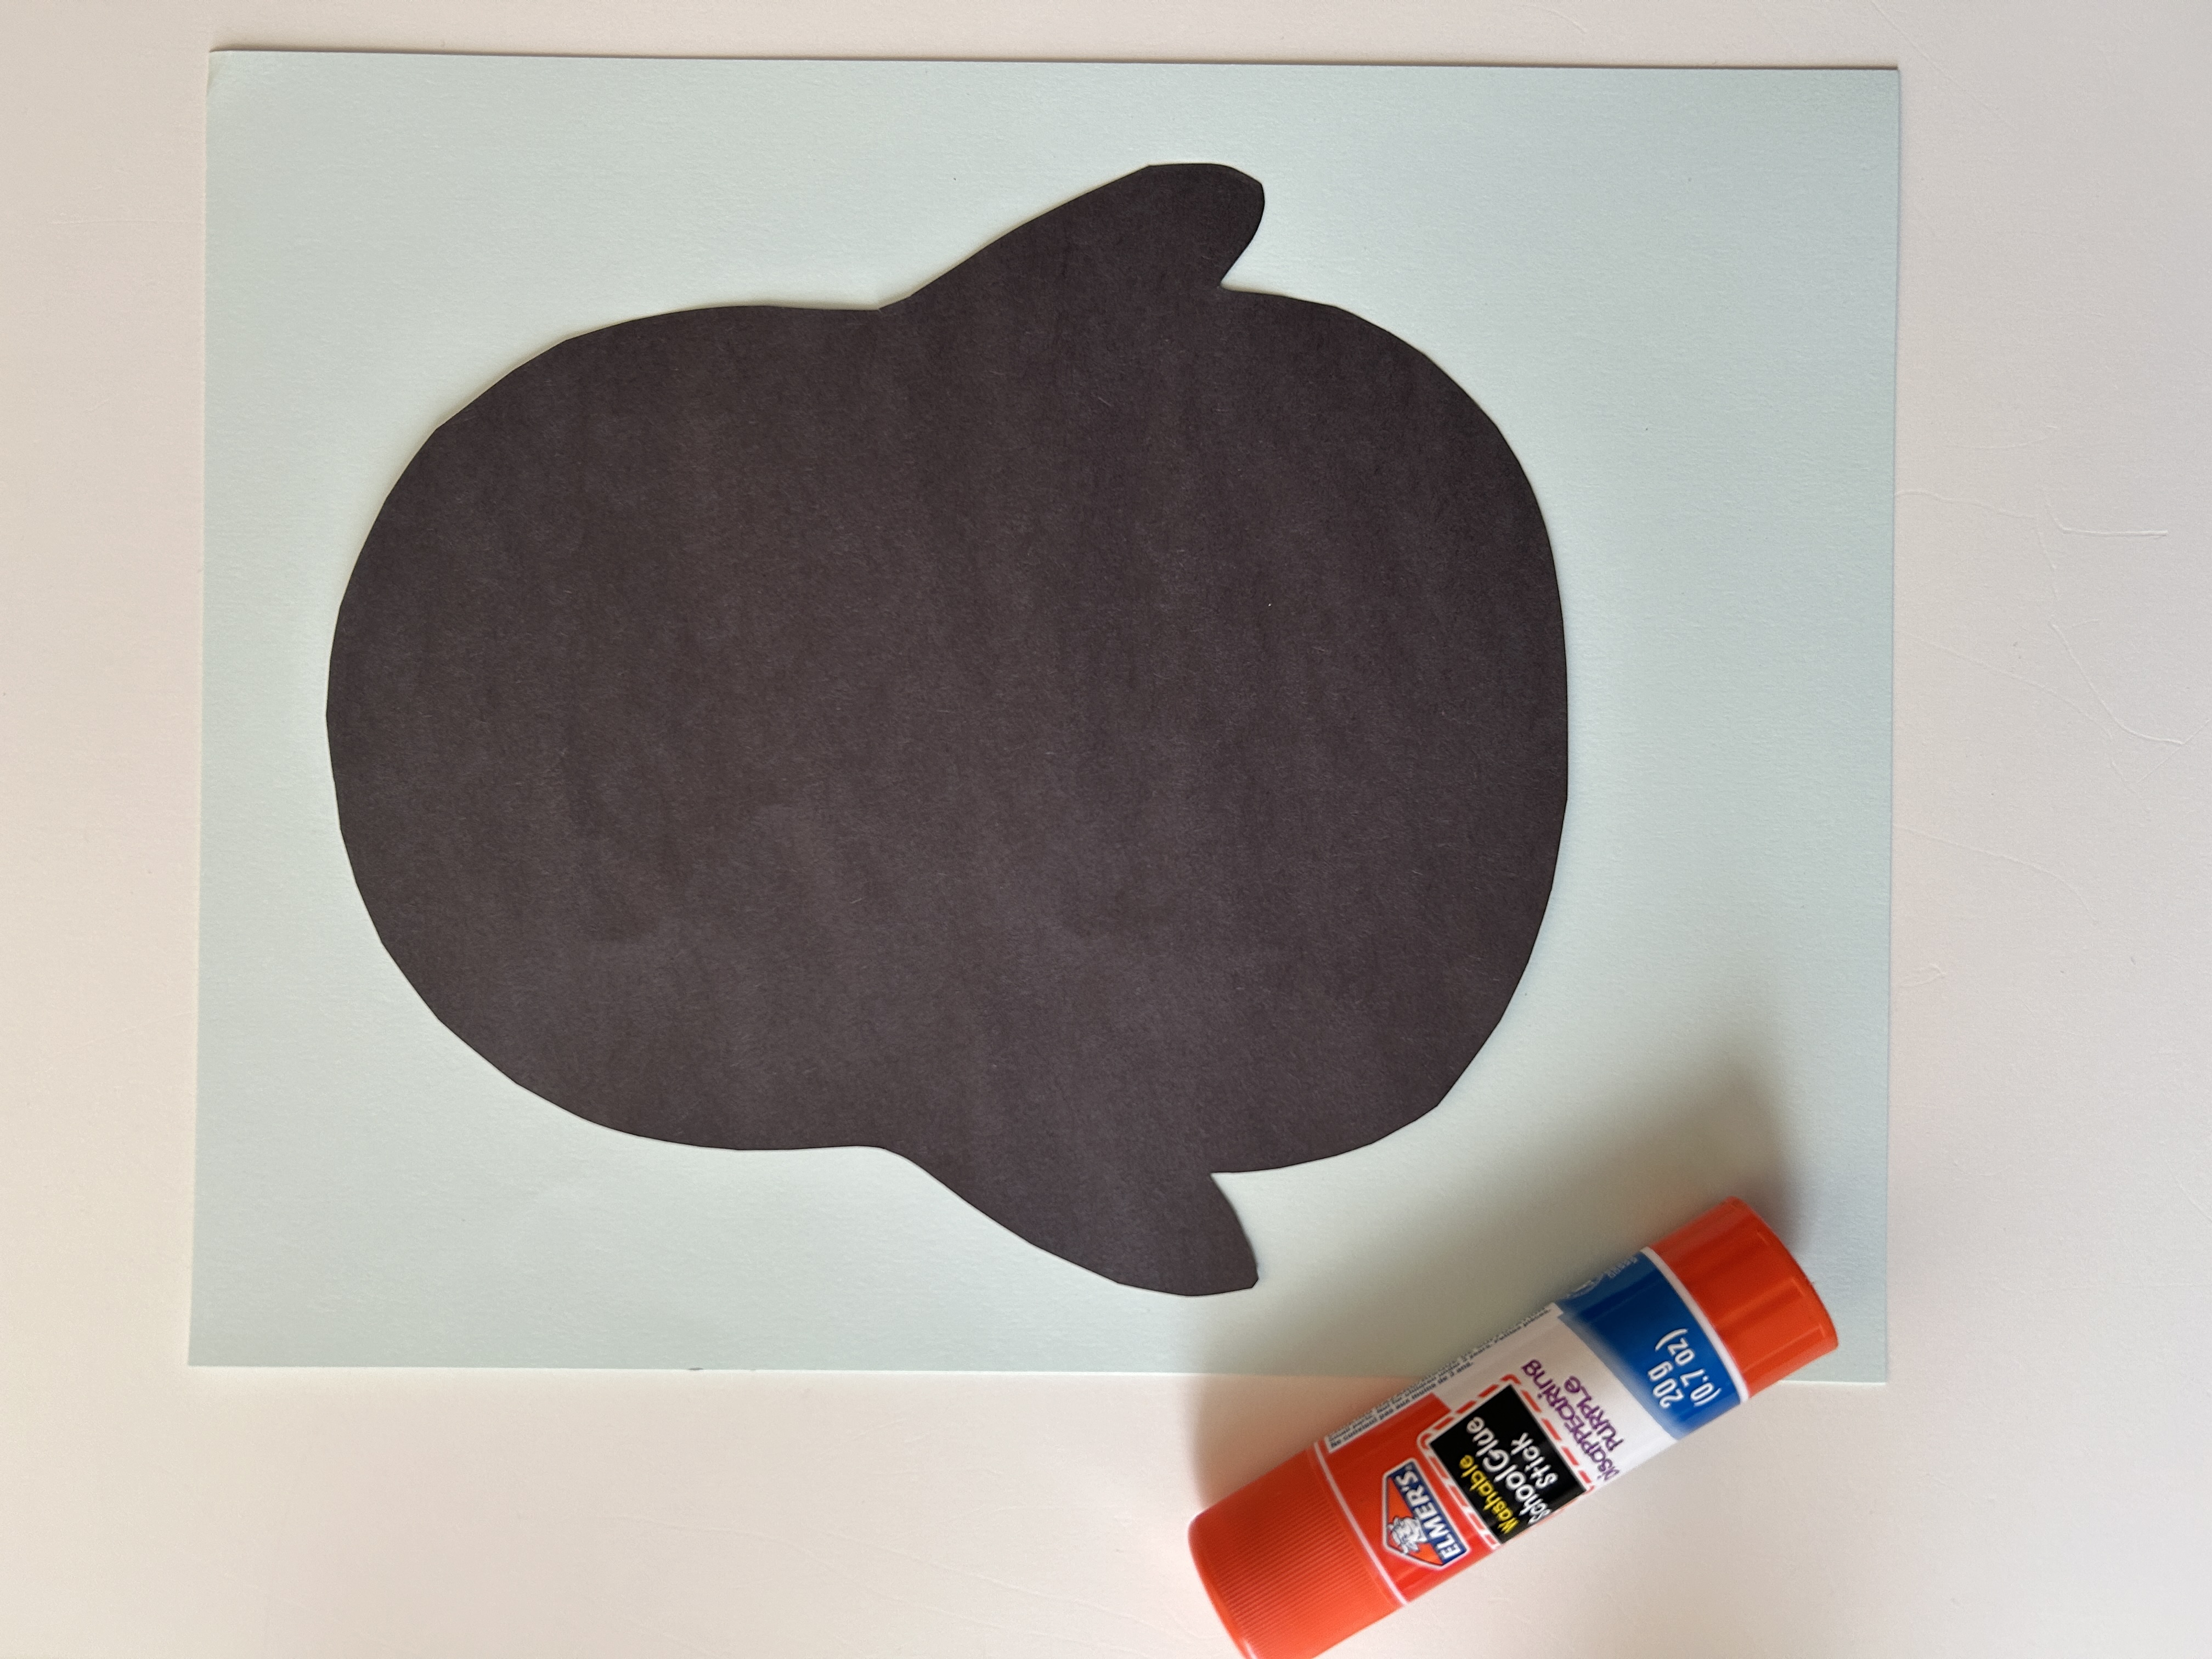
2. Glue: Glue the black penguin outline onto the background paper you have chosen.
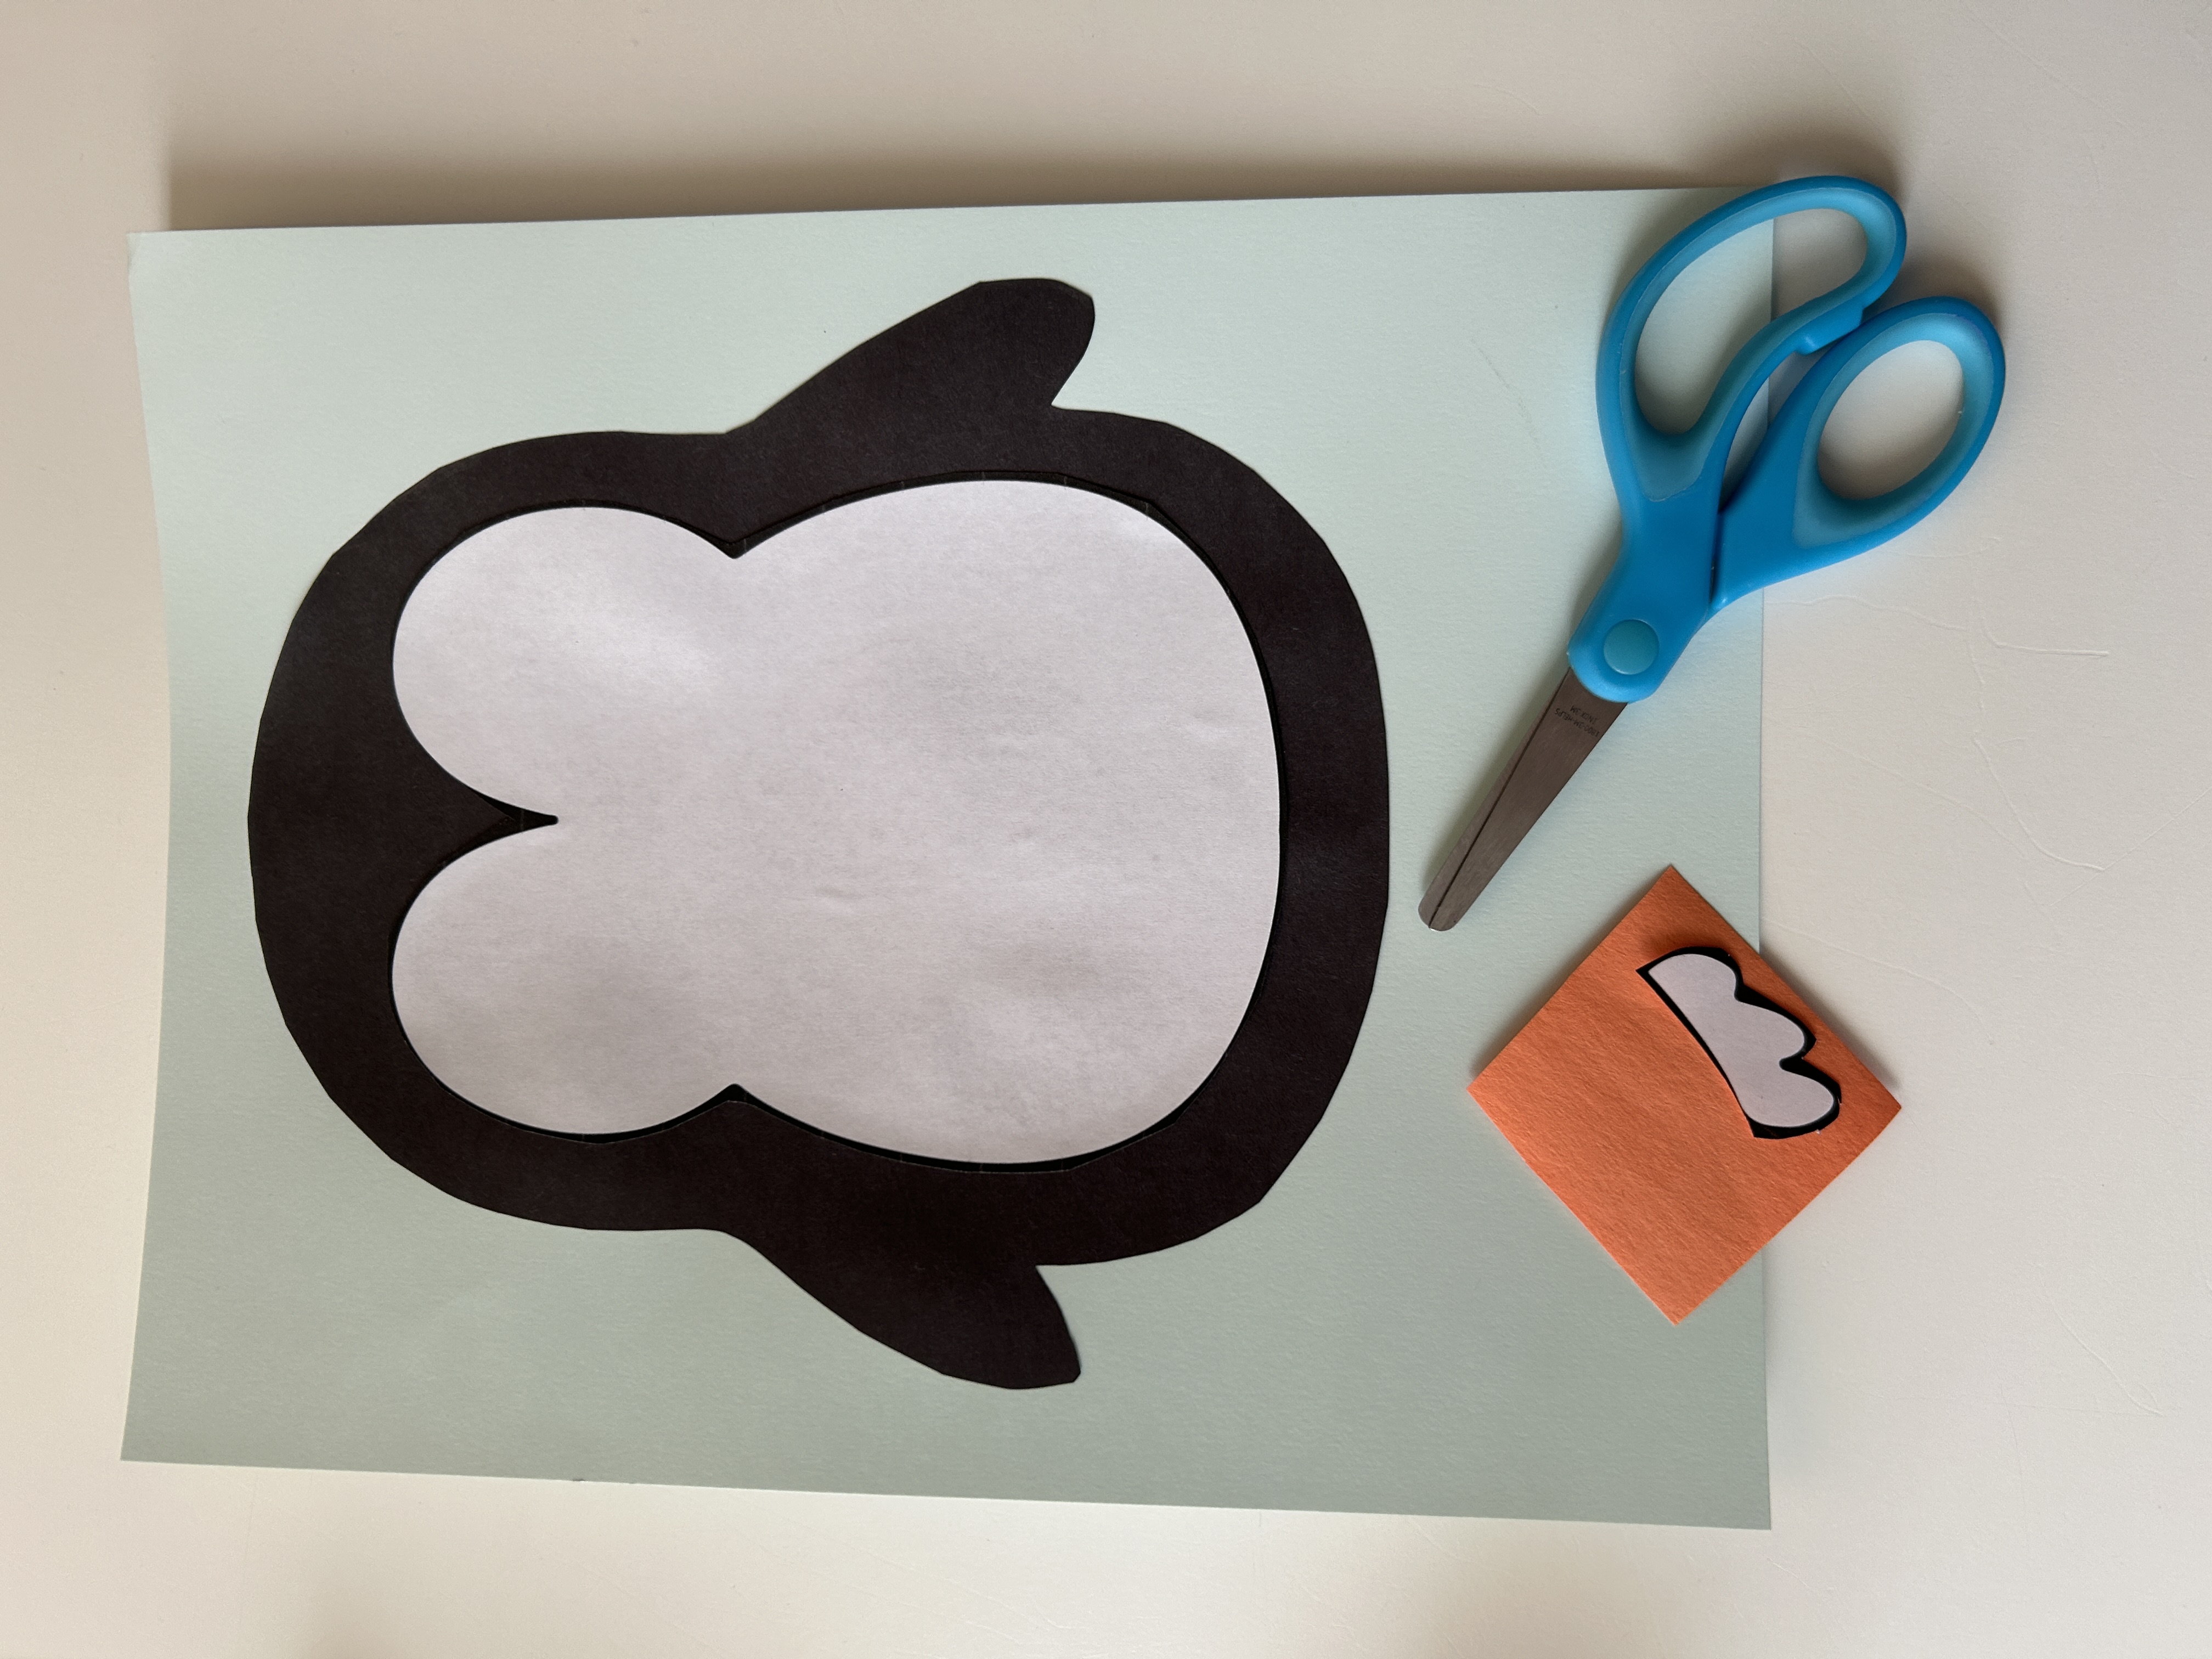
3. Cut: Cut two penguin feet and a beak from the orange construction paper. Use a template or make your own. If your child is comfortable with scissors, draw the feet for them and have them cut. Or, prepare this part ahead of time for your child.
Optional: Cut and glue a white section as a guide for your little one to fill in the cotton balls. This part is optional, but if you feel your little one needs a guide for where to place the cotton balls, this can be helpful.
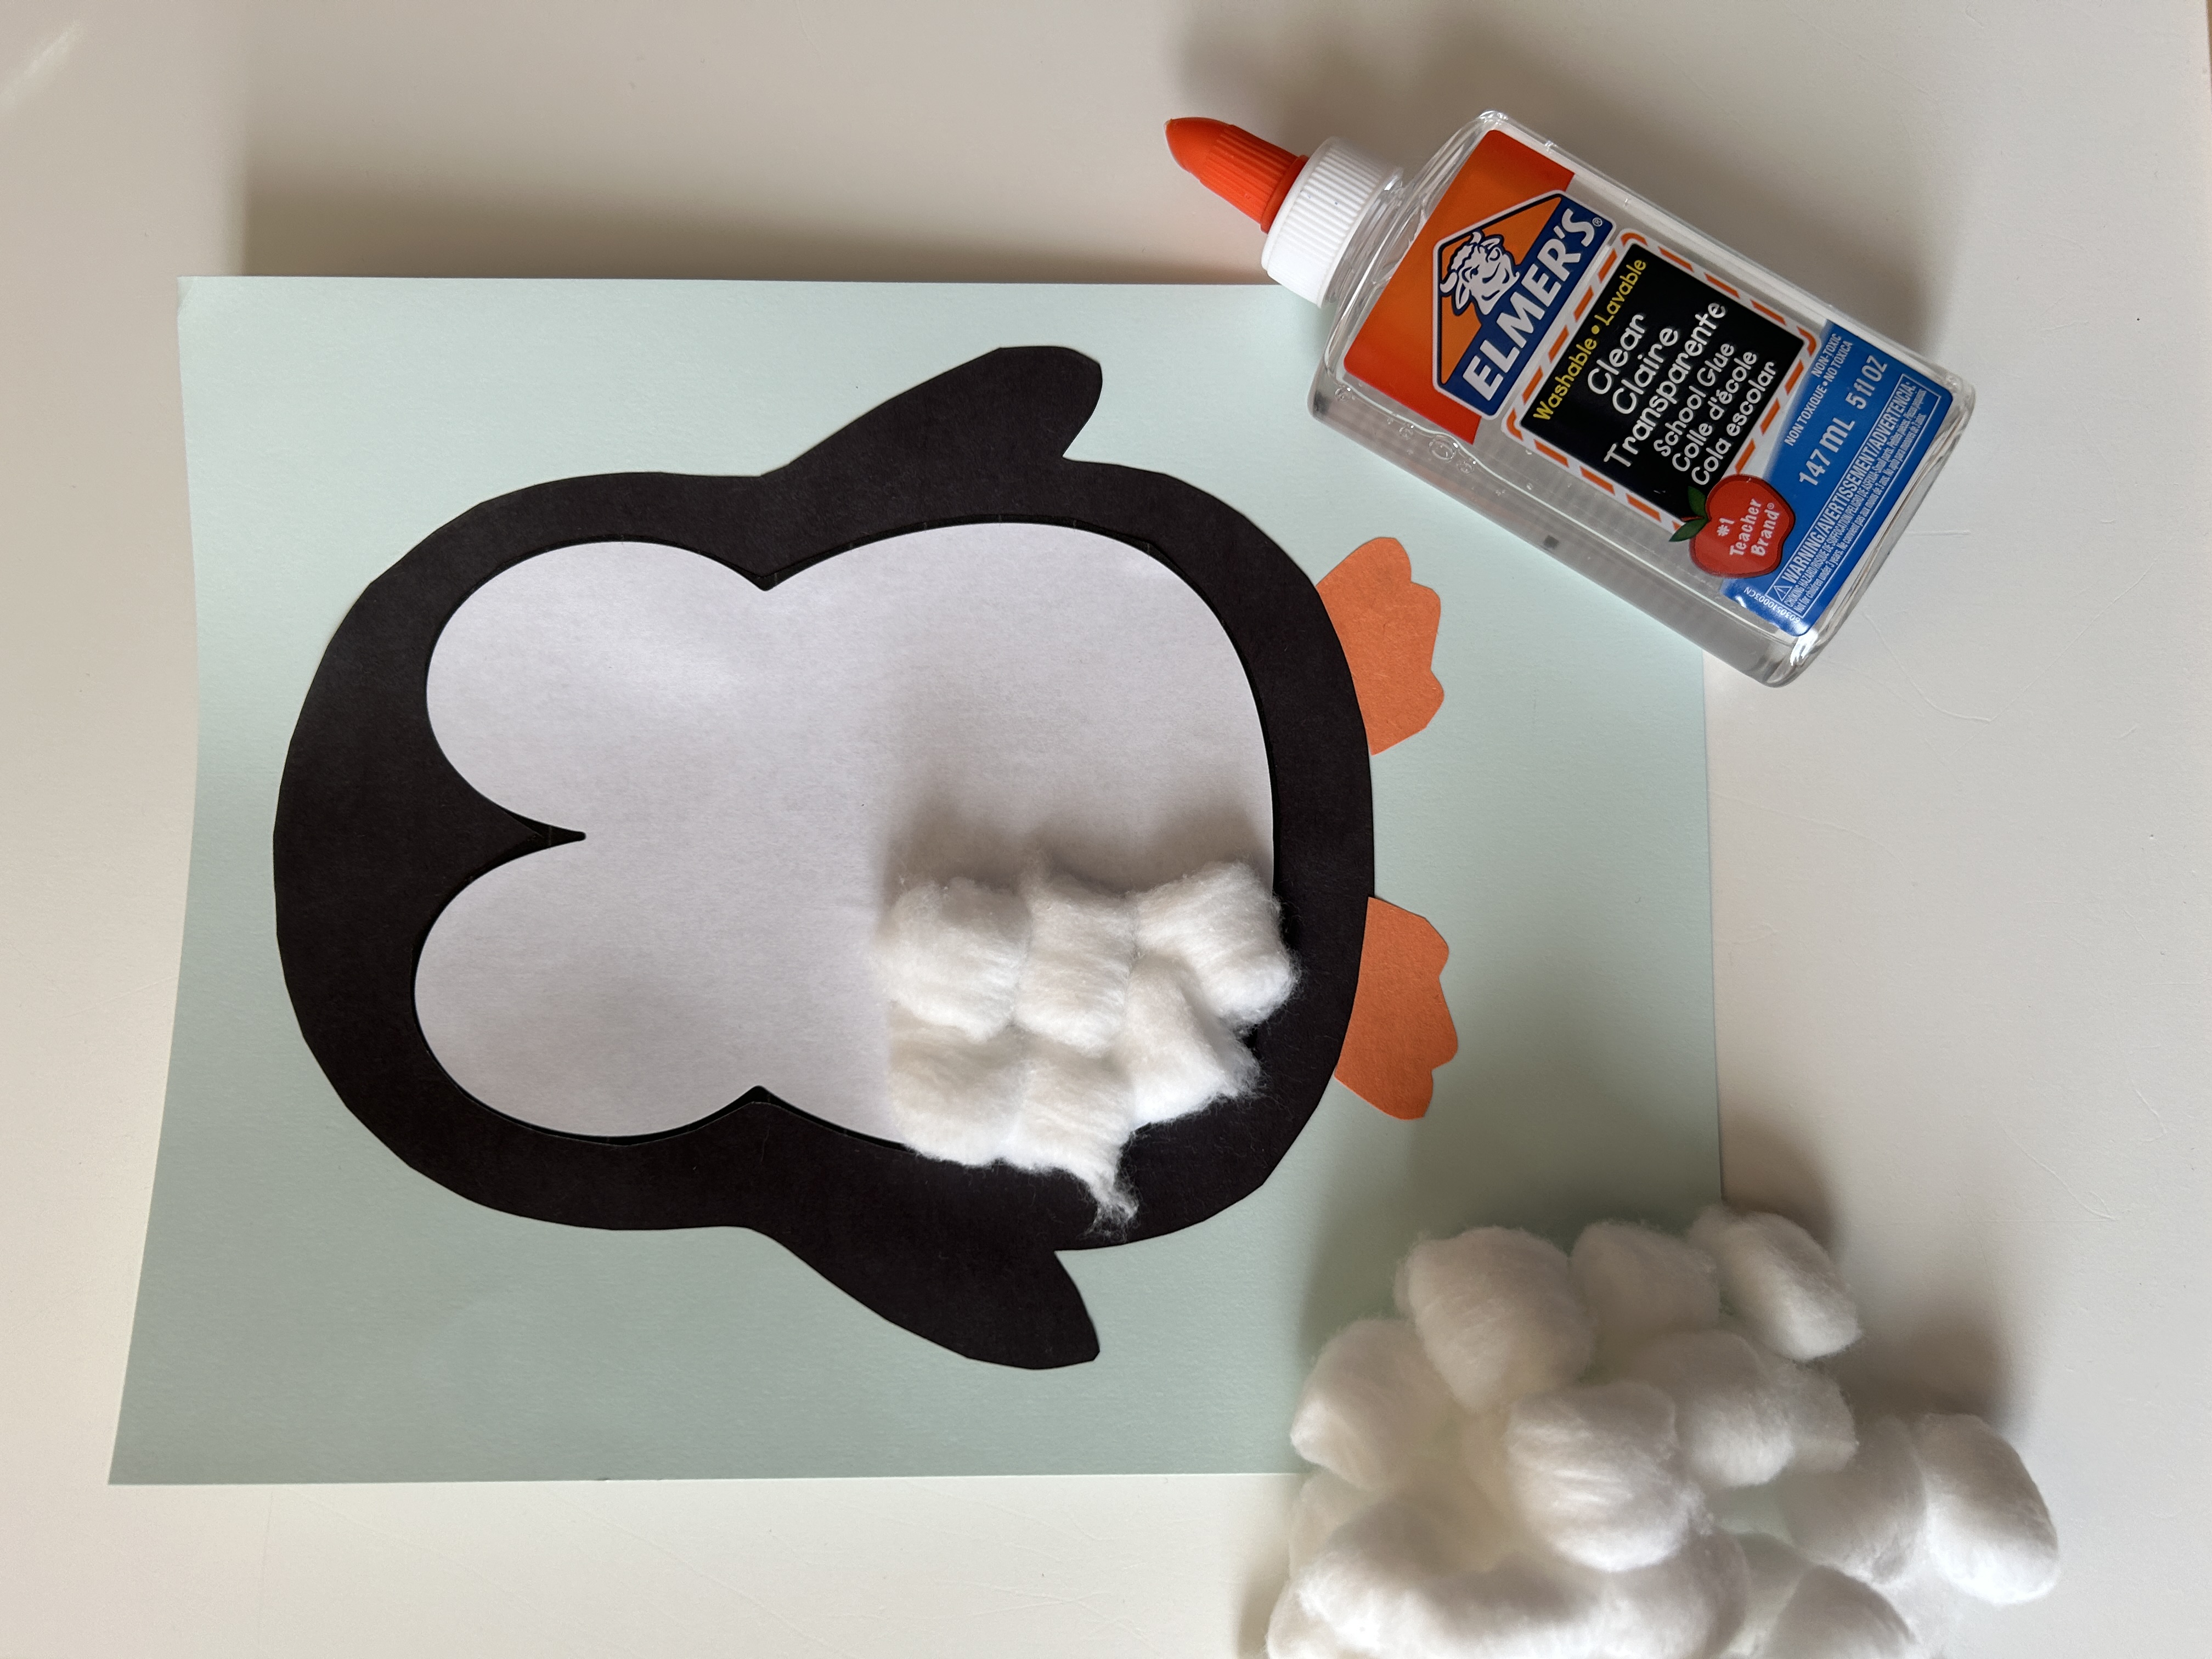
4. Glue: Glue the feet on the bottom of the penguin. Next, begin to glue the cotton balls to fill in the middle of the penguin. You can show your child how to squeeze a dab of glue from the bottle, or squeeze out some glue onto wax paper for them and then have them dip the cotton ball into the glue before placing on the penguin.
This is also a great time to incorporate sensory learning! Ask your child what they notice about how the cotton balls look and feel. What do they feel like? How do they feel when you rub them in your hands, or pull them apart?
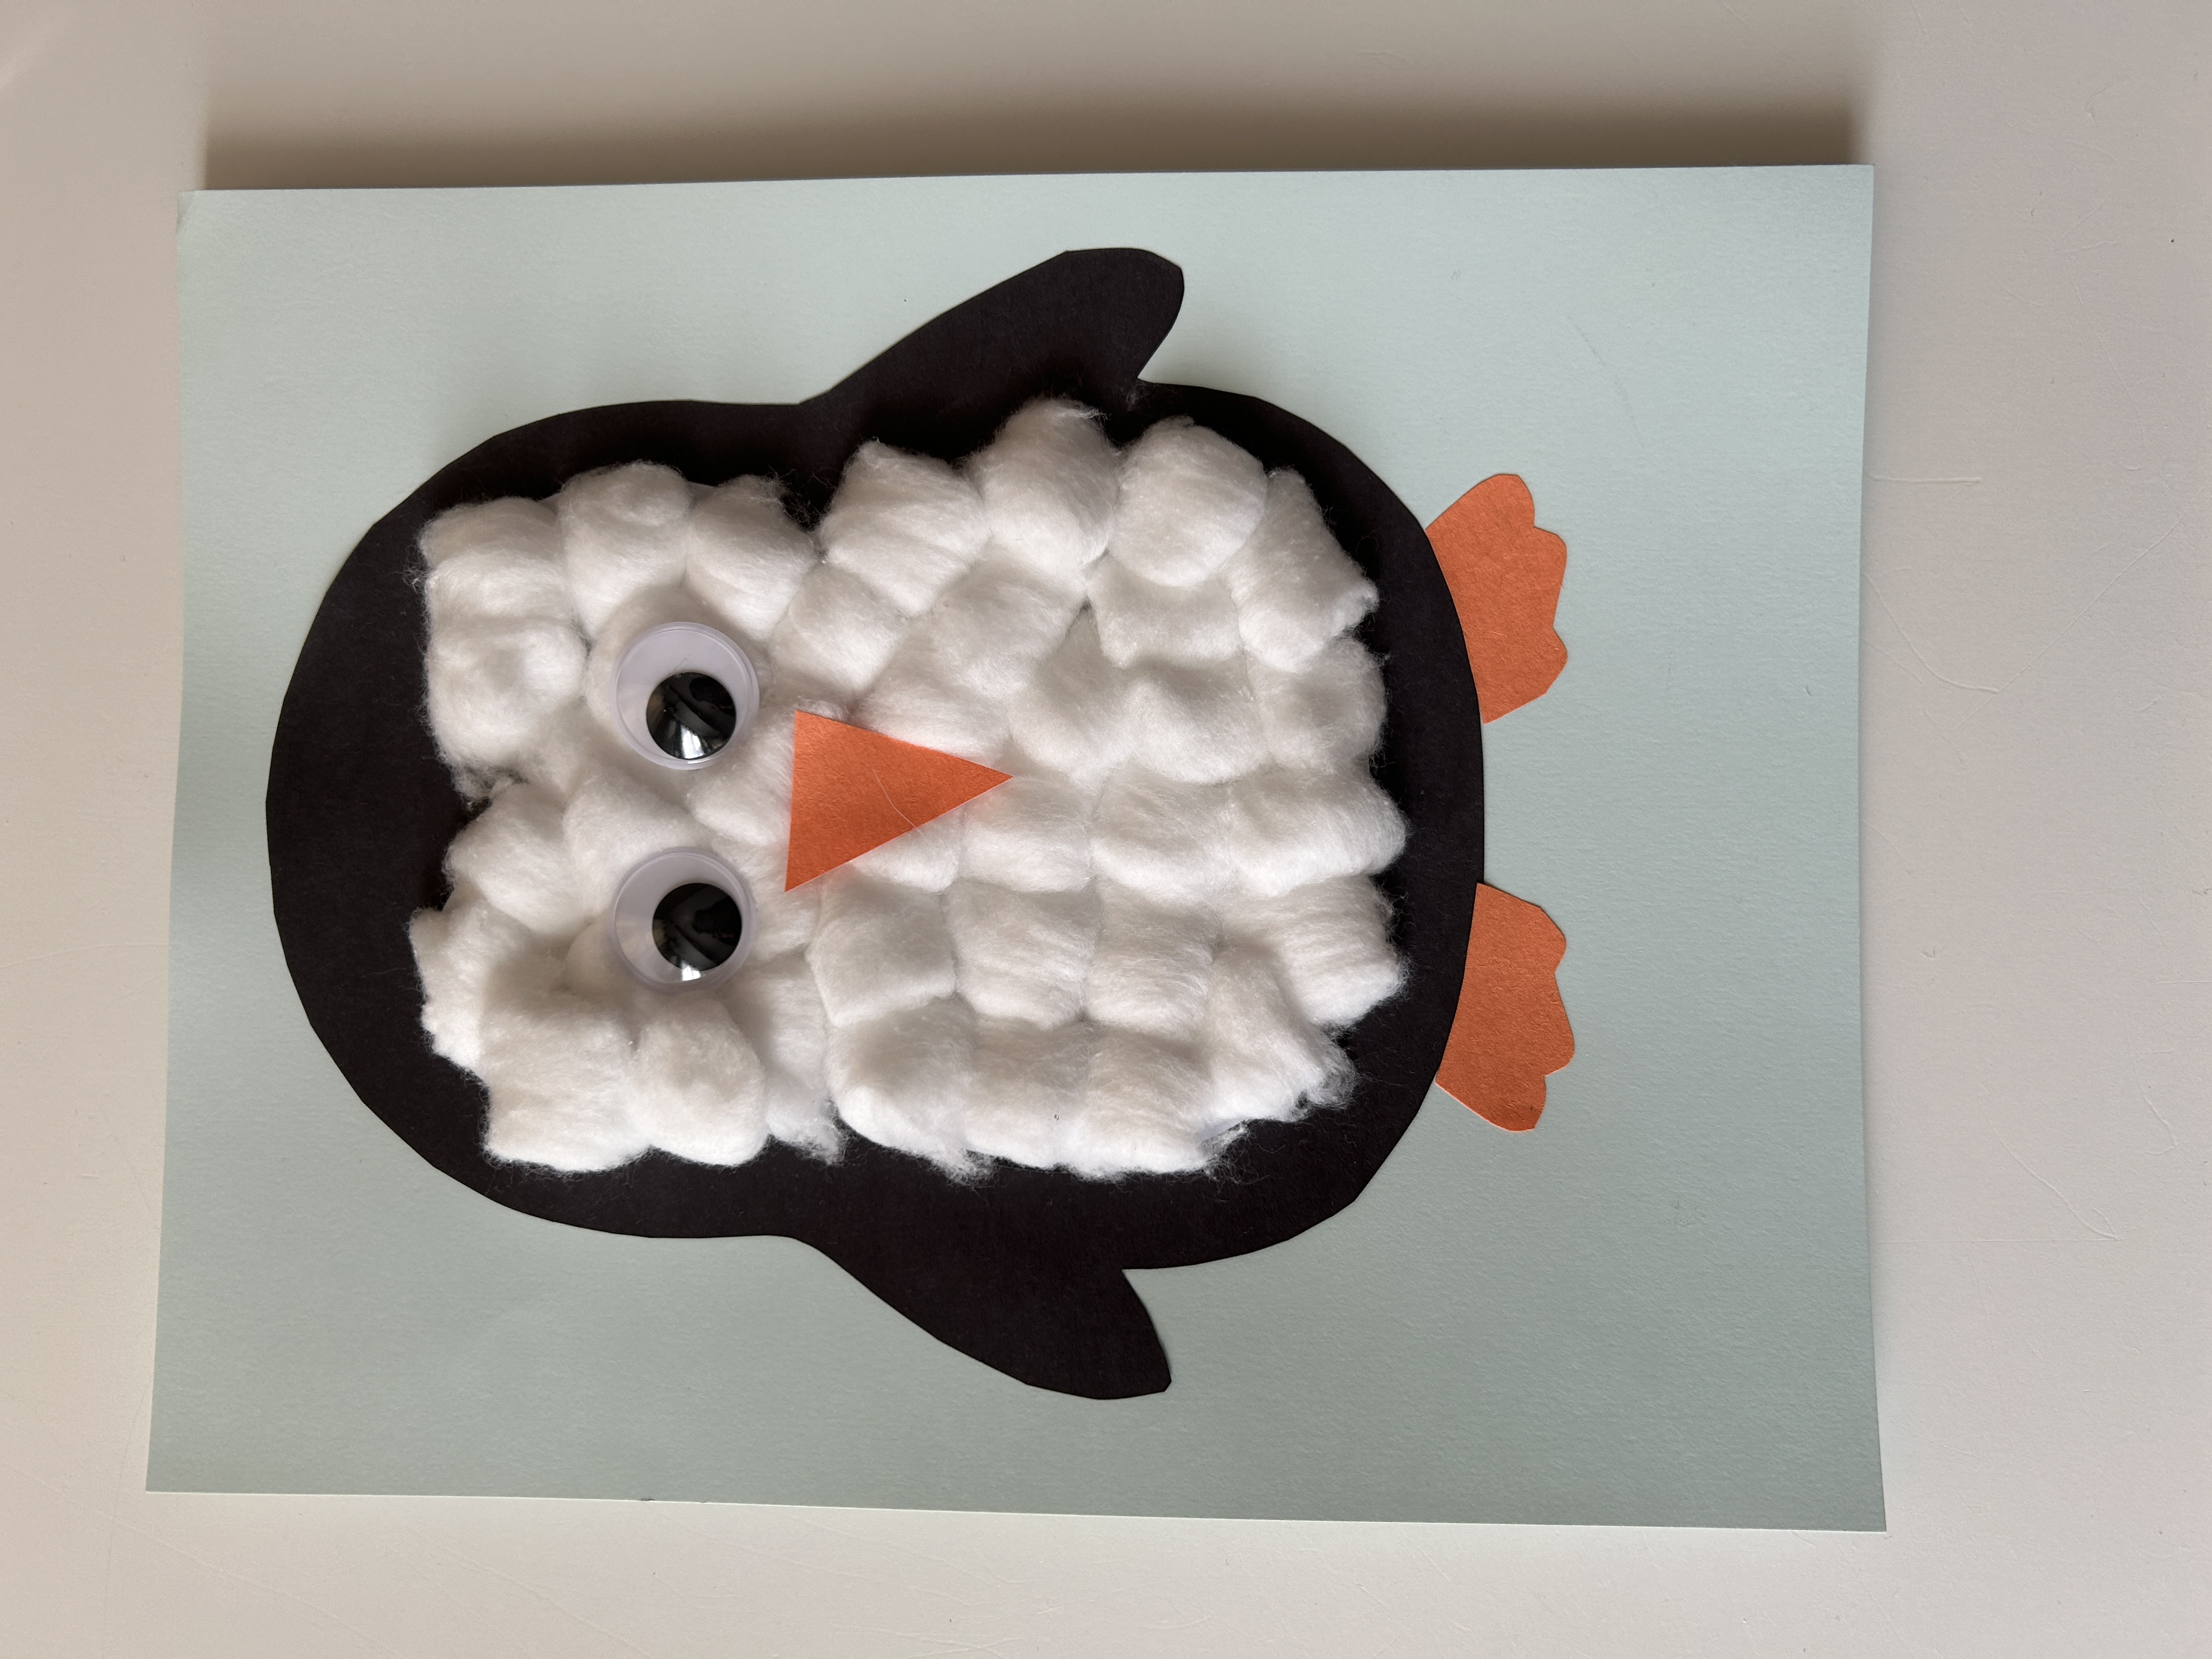
5. Glue: Once the cotton balls have all been placed and the middle section is filled in, use the liquid glue to glue the googly eyes and beak onto the cotton balls.
6. Dry: Allow glue to fully dry before hanging the picture up.
That's it! Your penguin is complete!
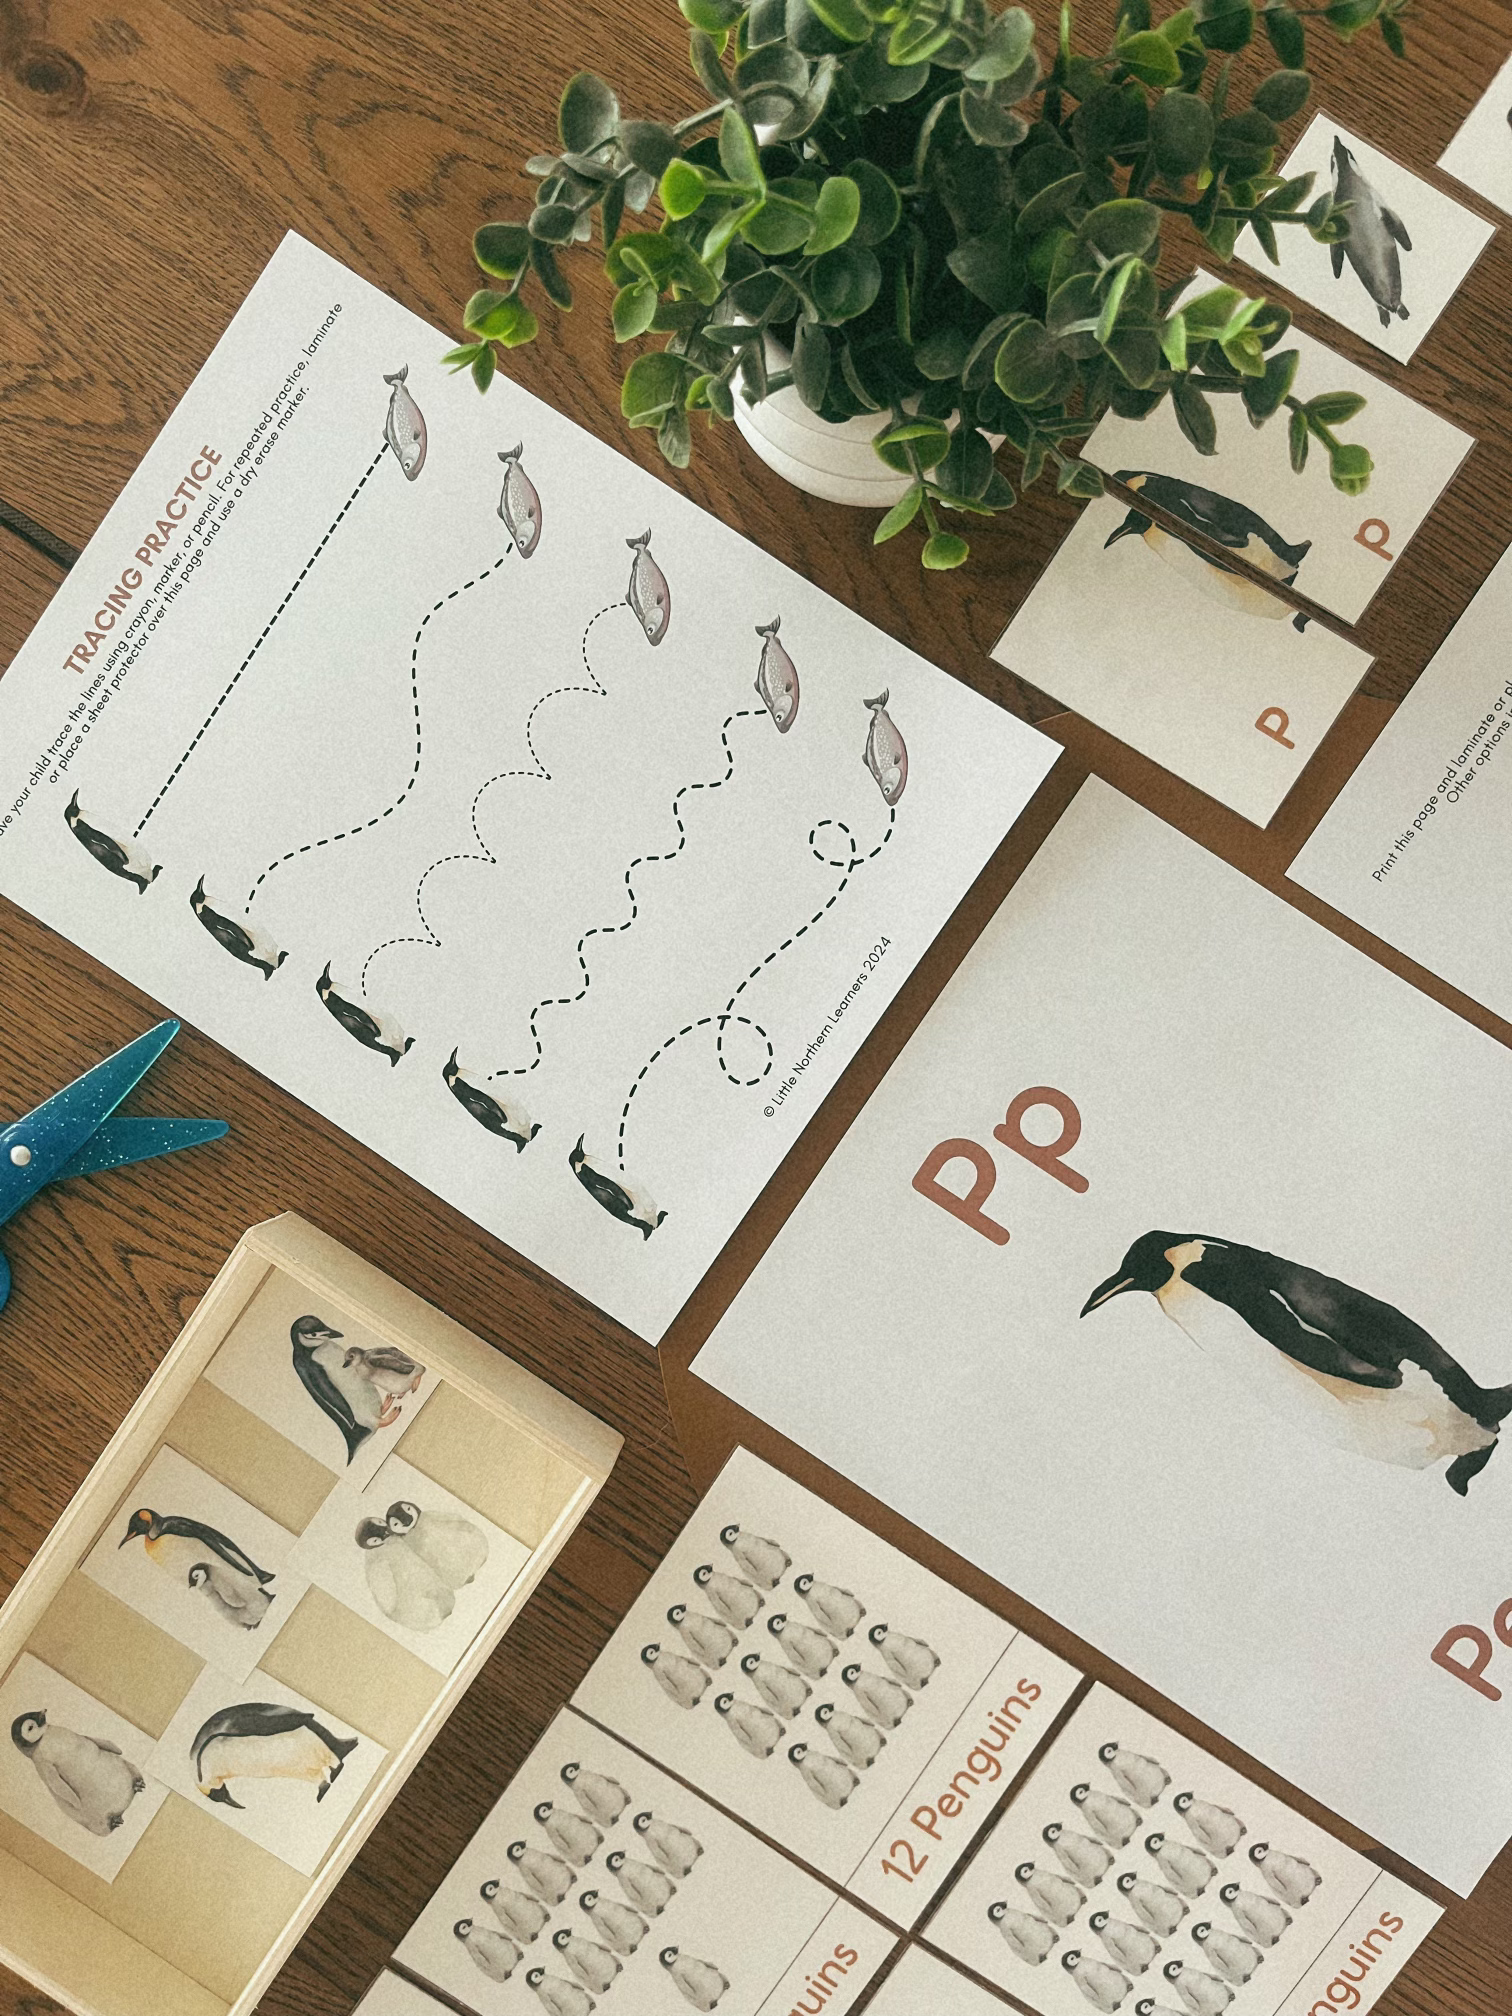
Looking for more penguin themed preschool activities? Our P is for Penguin letter study includes a variety of printable activities to engage your child in learning all about the letter P and penguins! Click below to get started!
Did you enjoy this penguin craft? Let us know or tag us in your photos on instagram @littlenorthernlearners!