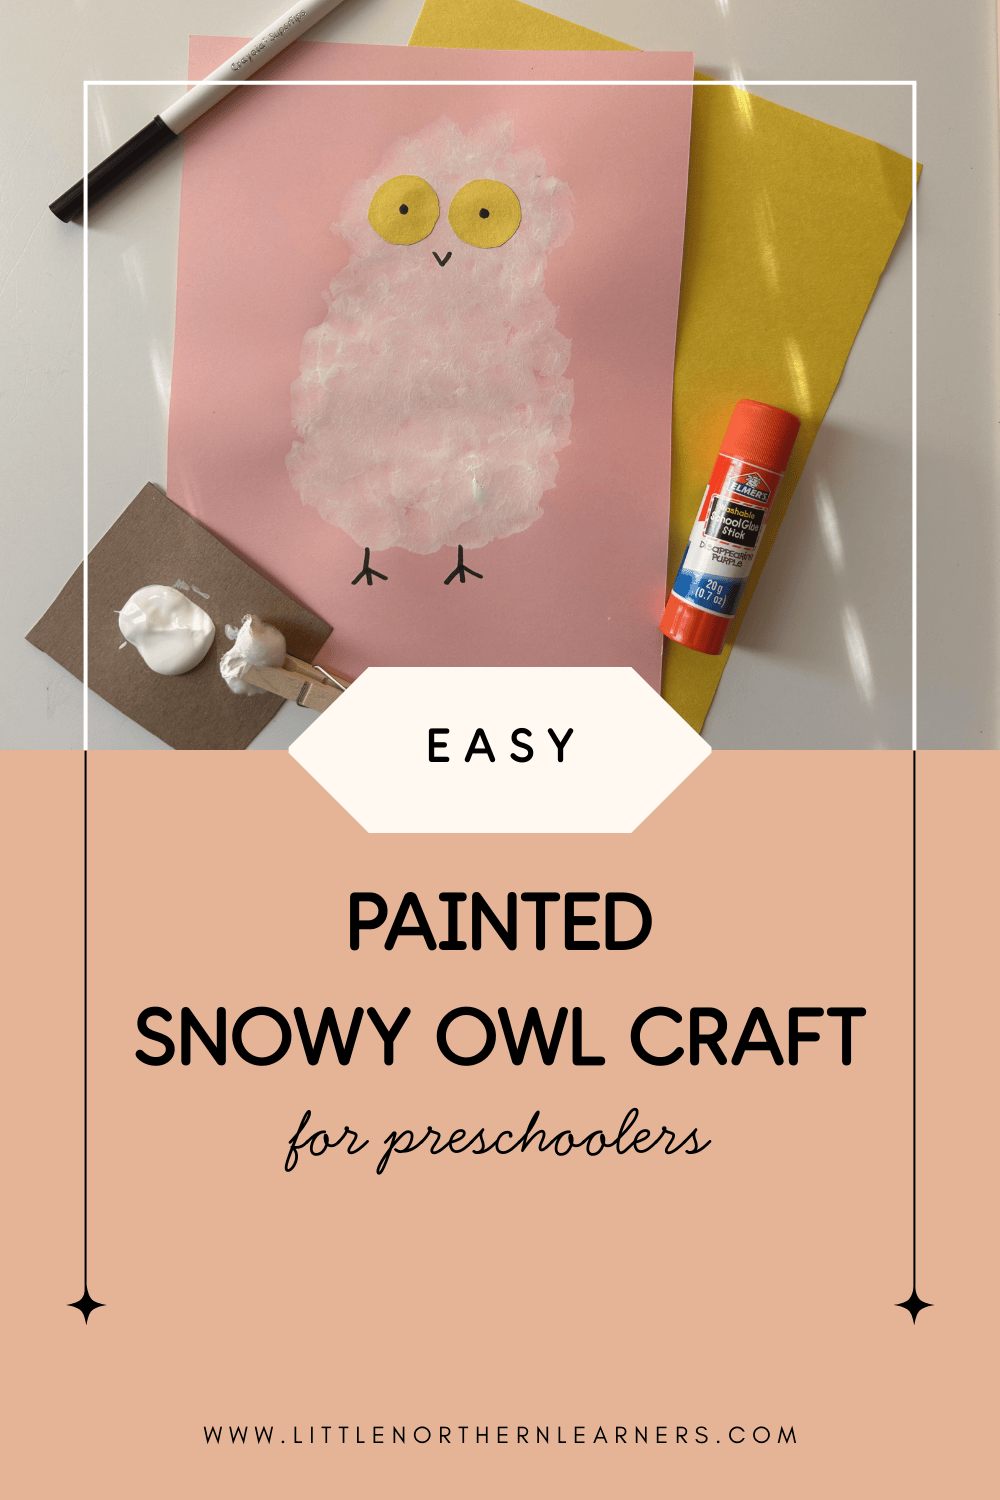
If you've been learning about arctic animals or owls, your little one may have found an interest in the snowy owl - a striking white bird with bright yellow eyes. Or, maybe you're just looking for an easy winter-themed art project - either way, you're in the right place! In this post, I'll be sharing a simple painted snowy owl craft for your little one with just a few simple steps and materials. Perfect for a snowy day in, this craft is easily adjustable for children ages 3-6!
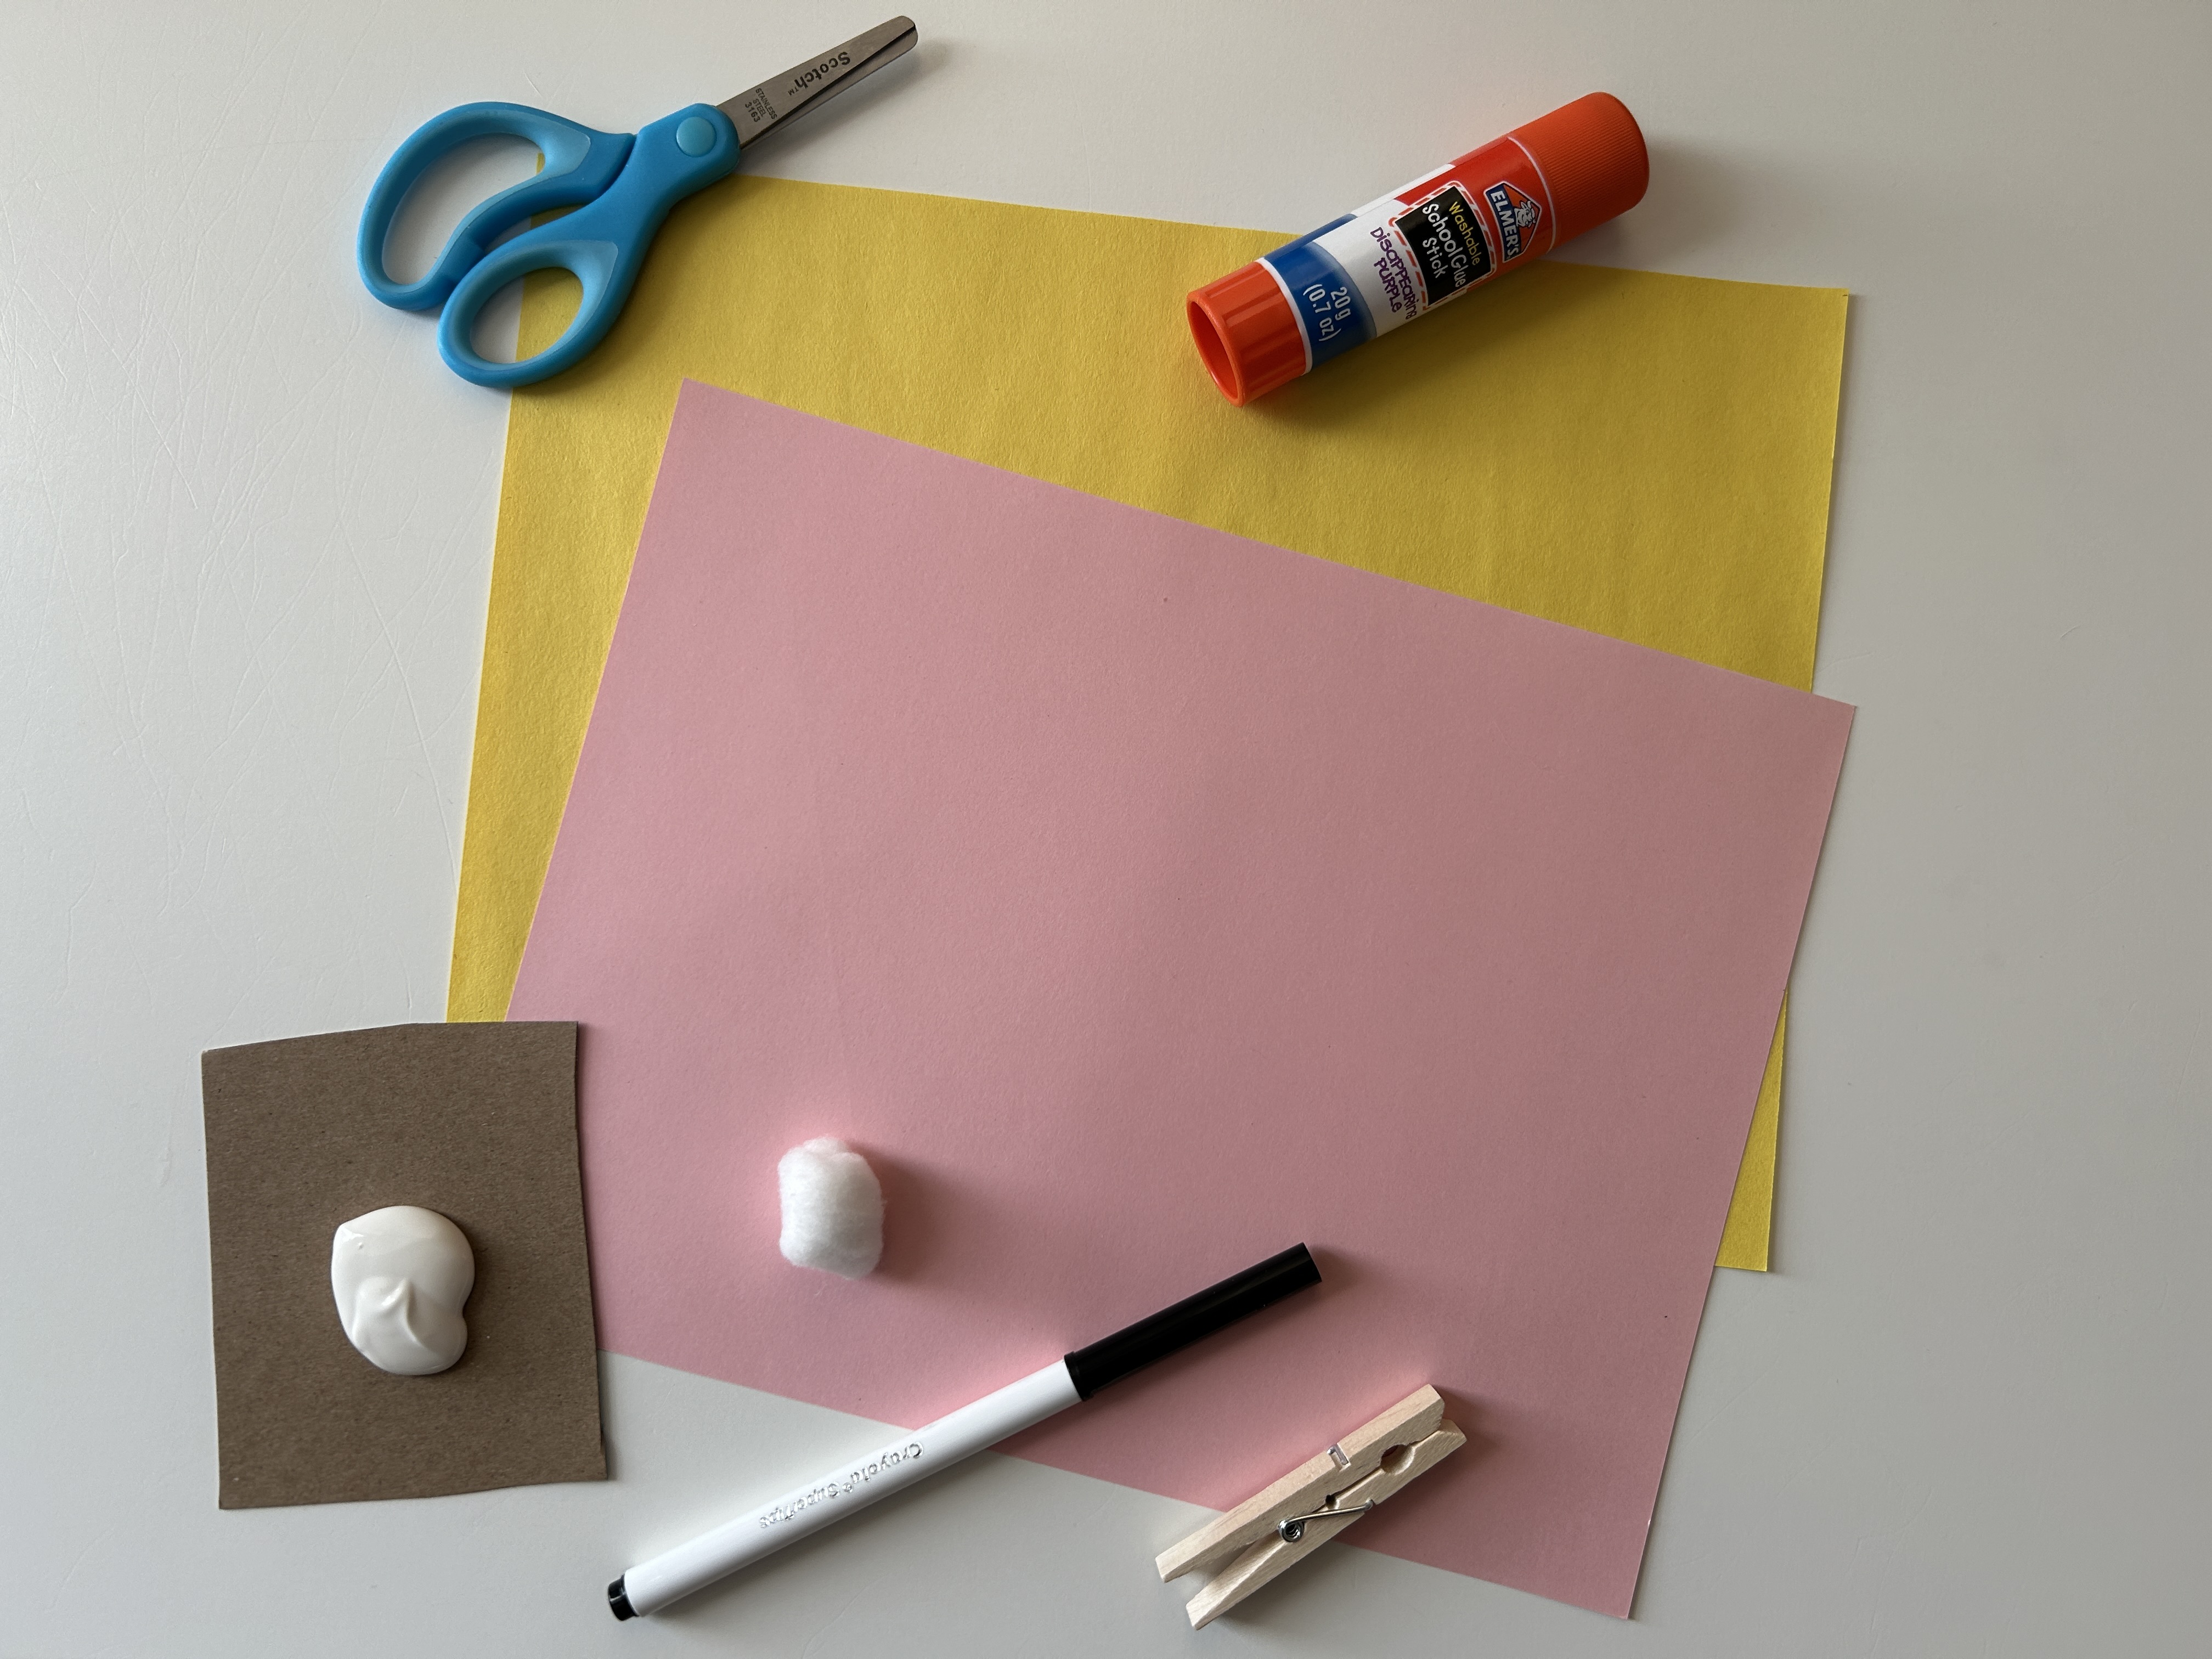
Gather These Items:
White paint (non-toxic and washable is best)
Clothespin
Cotton ball
Cardstock or construction paper (for background)
Yellow paper (for eyes)
Glue stick
Black marker
Make the Owl:
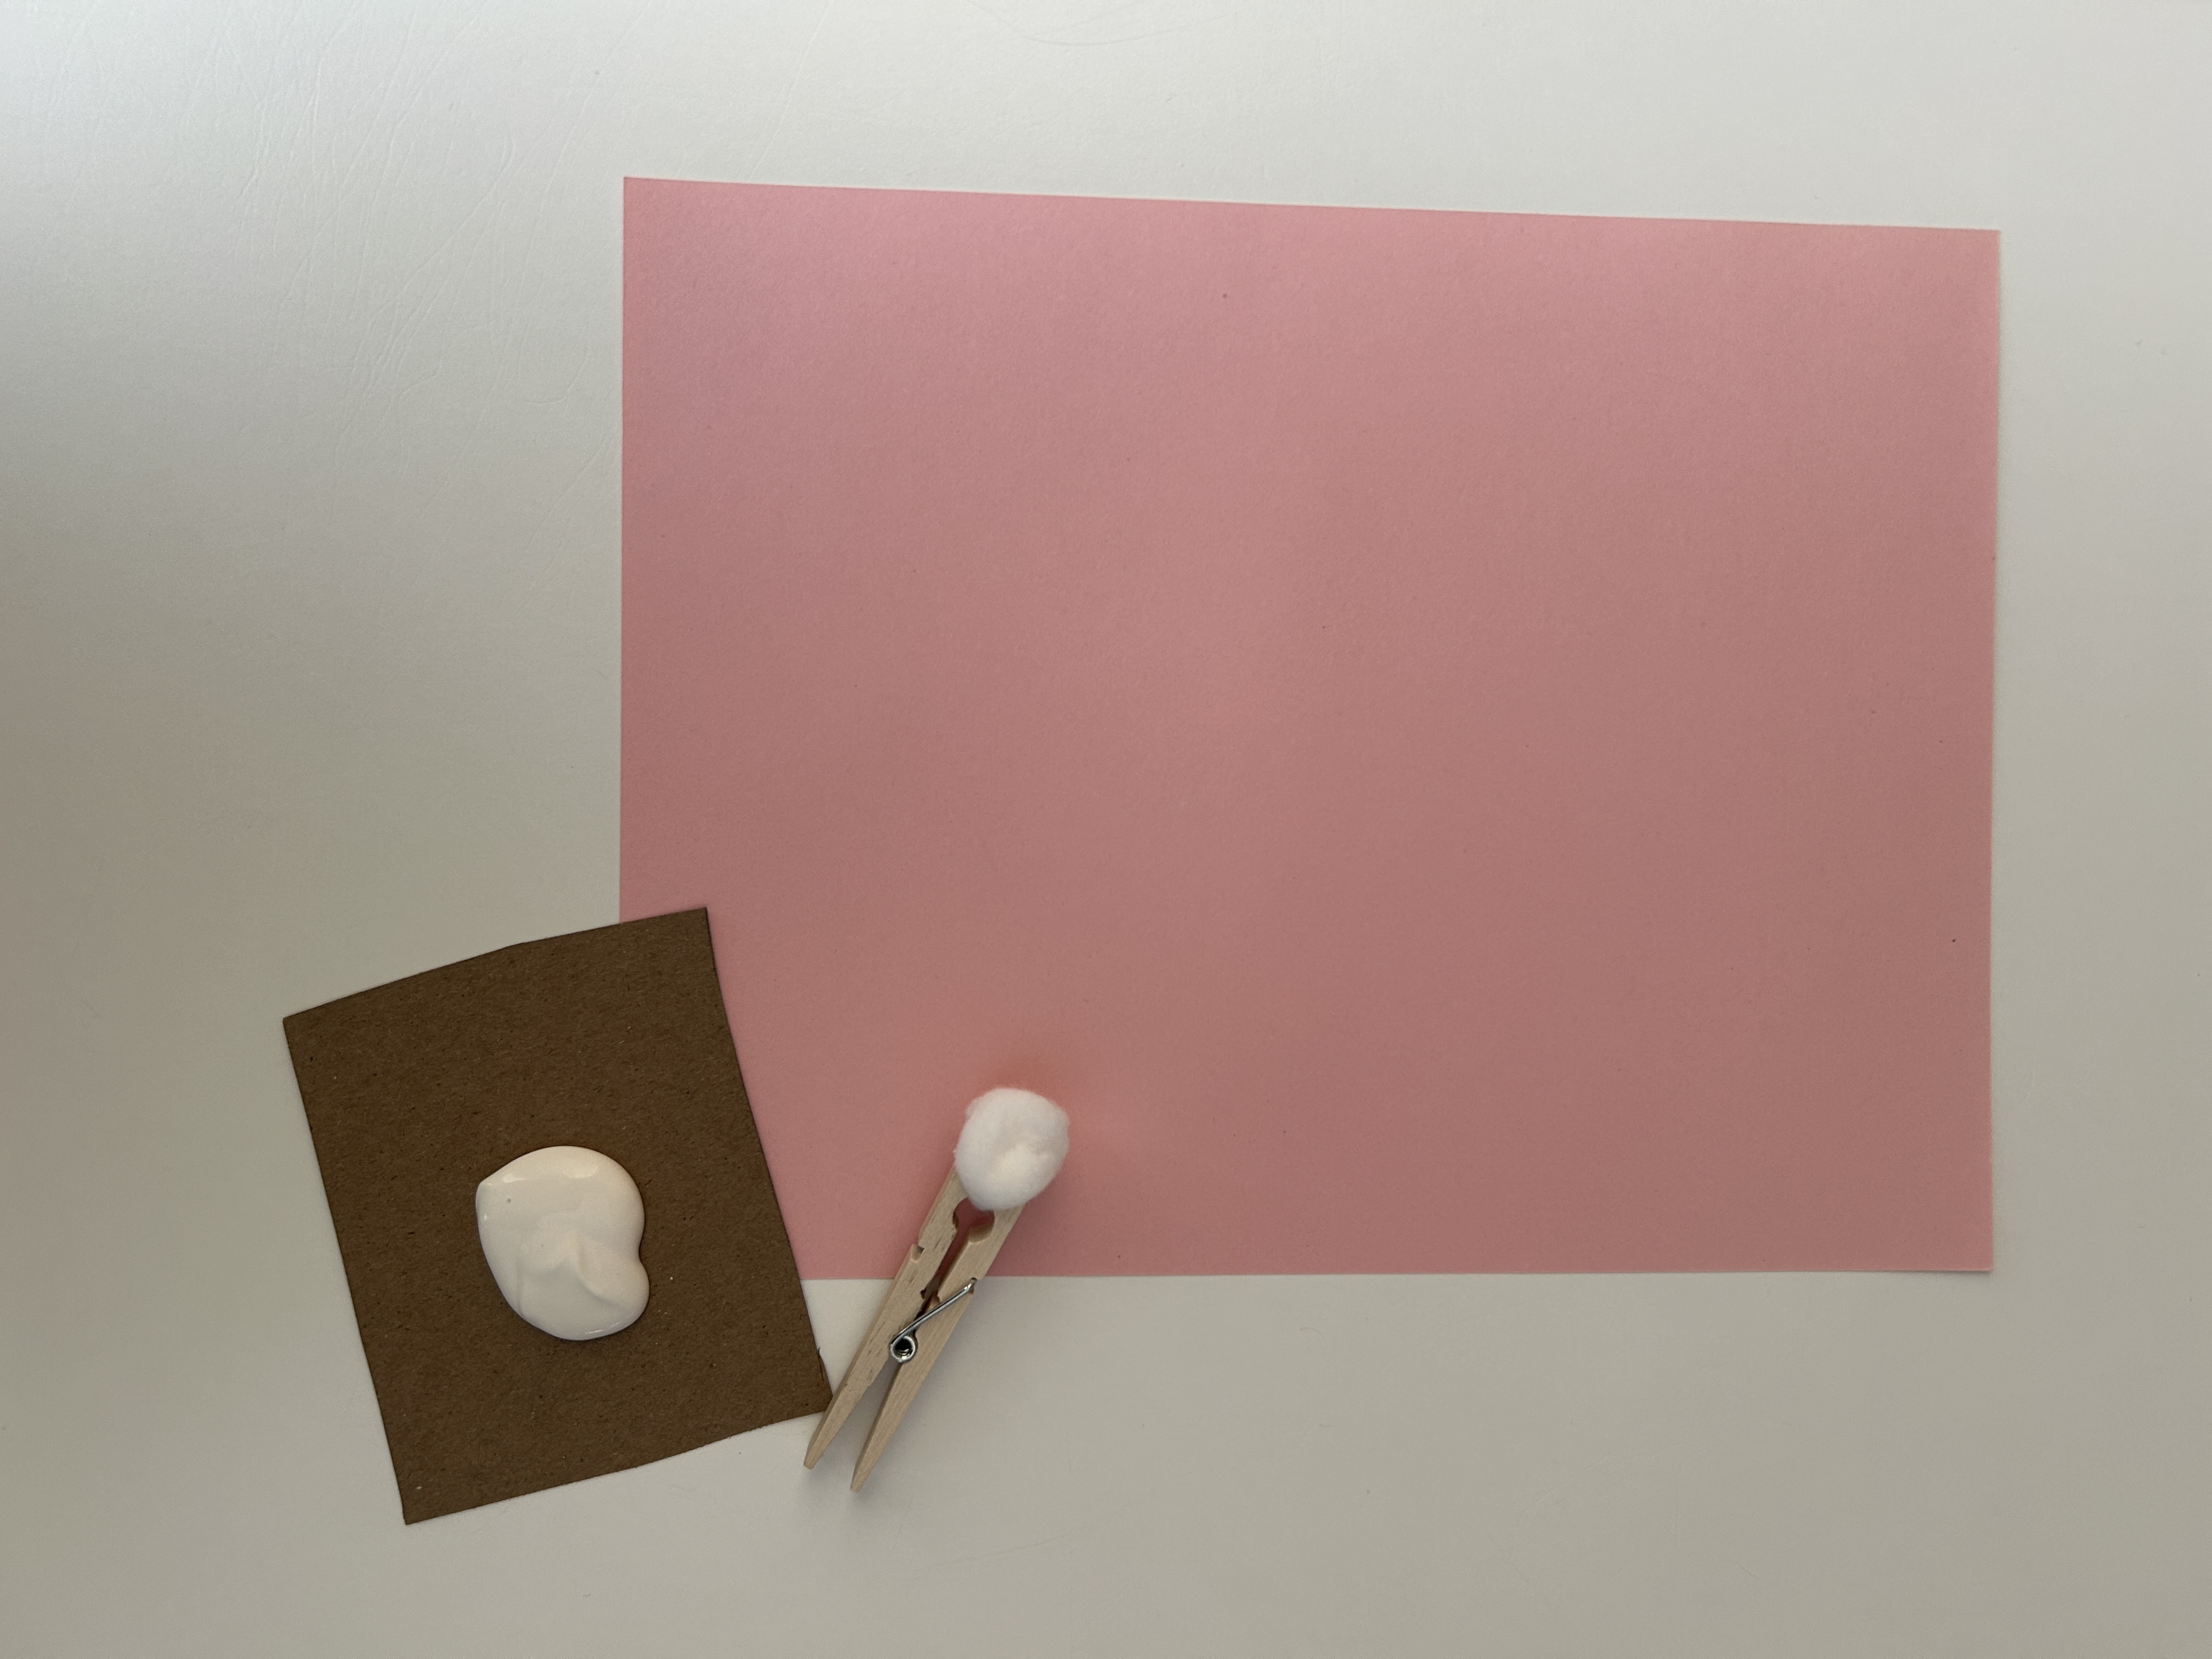
1. Prep: Start by preparing the paint for your child to use. Clip the cotton ball onto the end of the clothespin. Pour some paint out for your child to dip the cotton ball into. Have your child wear an art smock or paint-clothes just in case there is a mess.
Optional: You may want to trace an owl outline onto the paper if you think your child will need more guidance. We went for an oval shape for the body and a circular shape for the head.
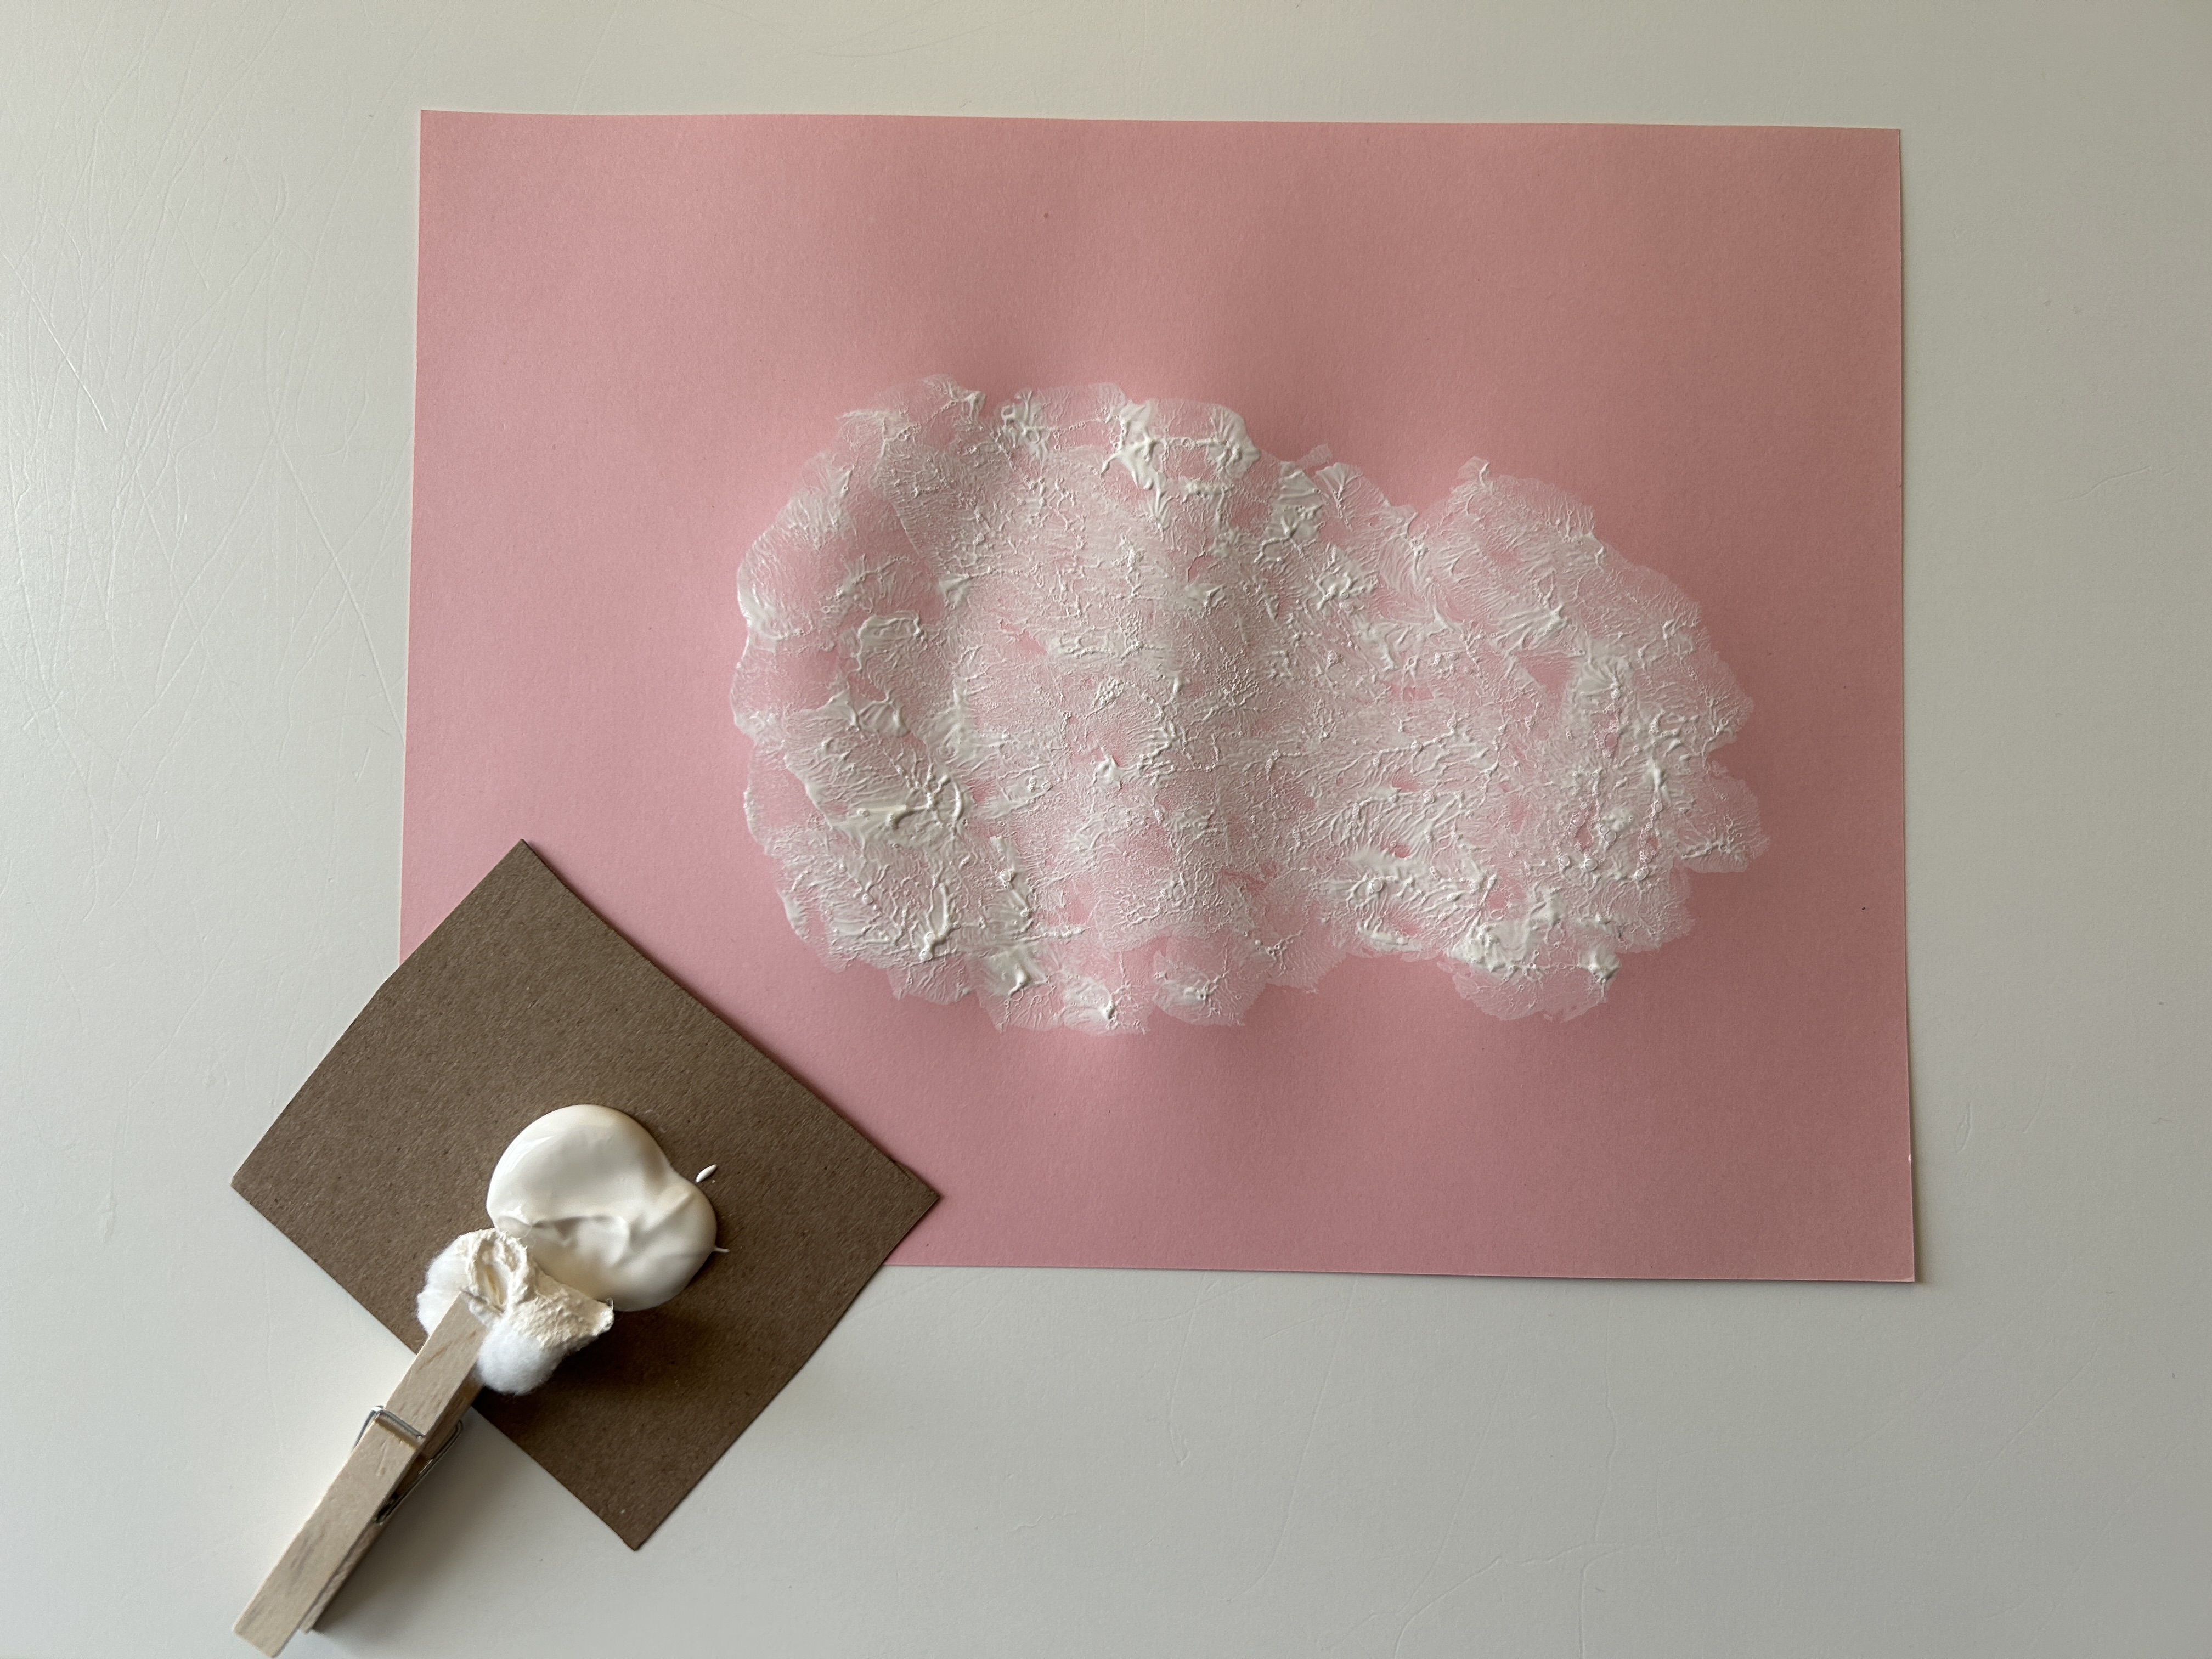
2. Paint: Have your child dip the cotton ball into the paint and then dab on the background paper. Continue this process until the owl shape is complete.
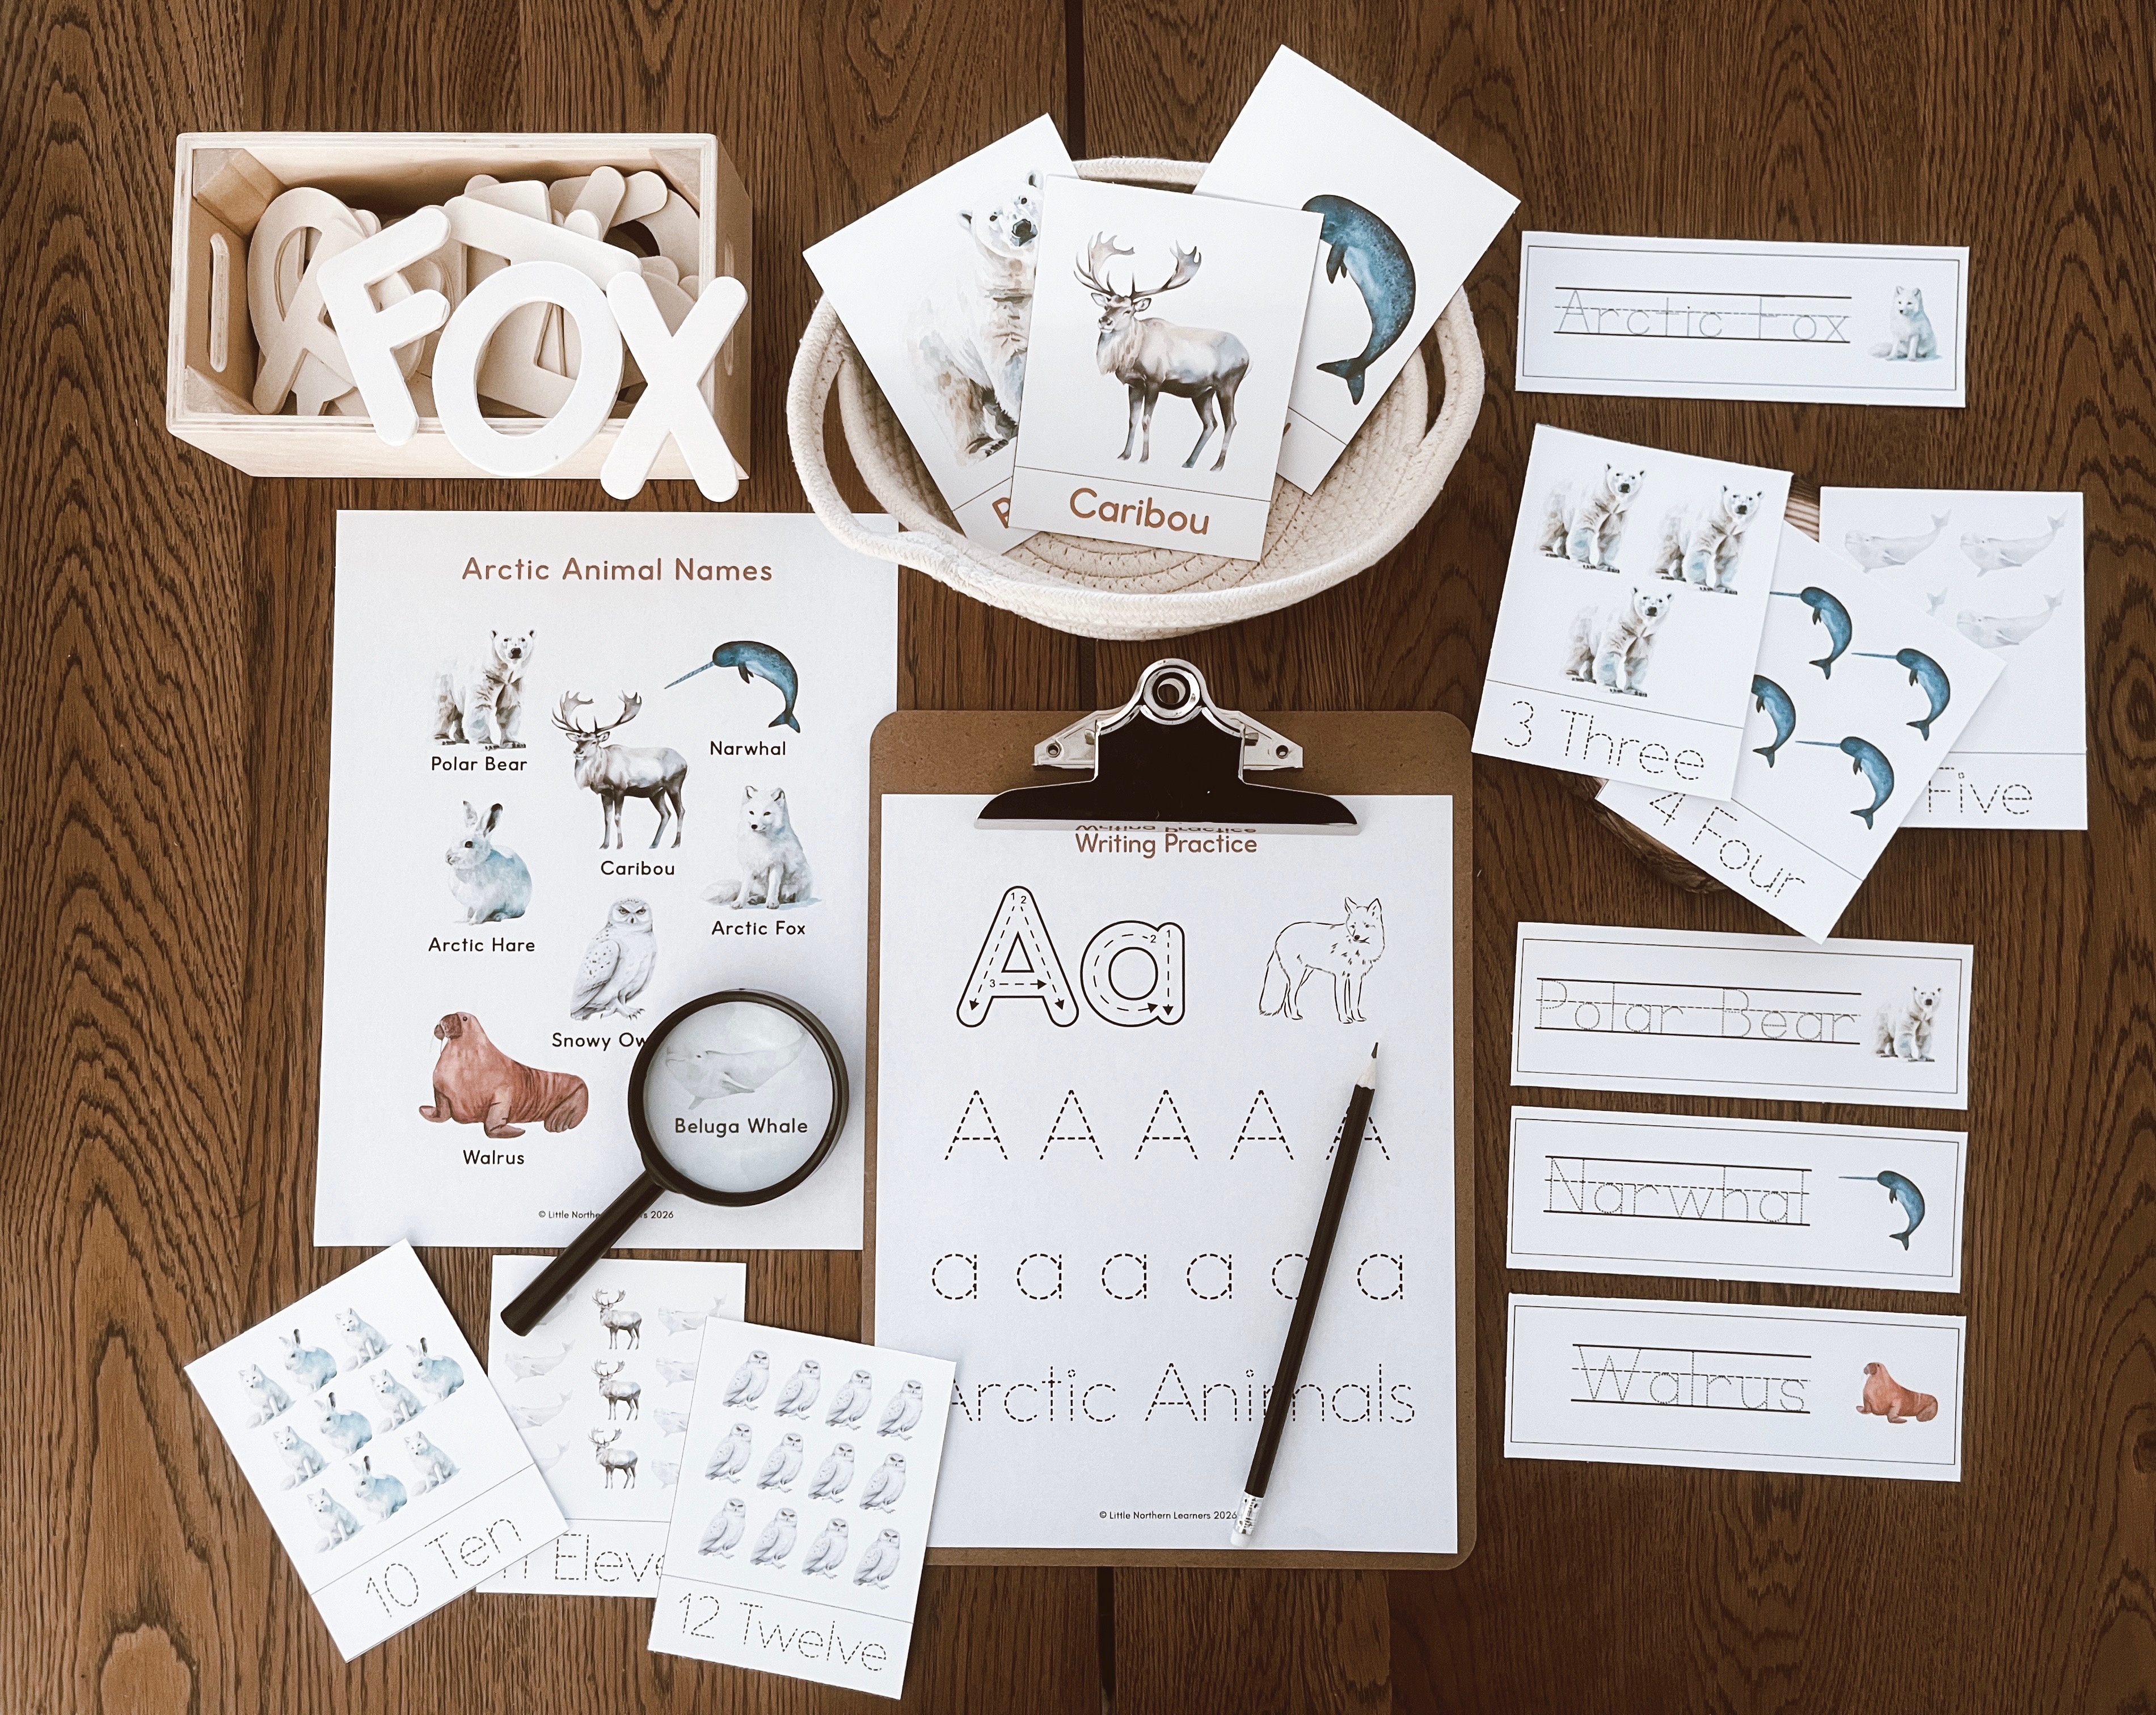
Are you looking for more winter themed learning opportunities? Our brand new Arctic Animals Unit Study is perfect for introducing scientific concepts and practicing literacy and numeracy in the early years (ages 4-6). Check it out below!
3. Dry: Allow the paint to fully dry. While waiting for the paint to dry, complete steps 4-5.
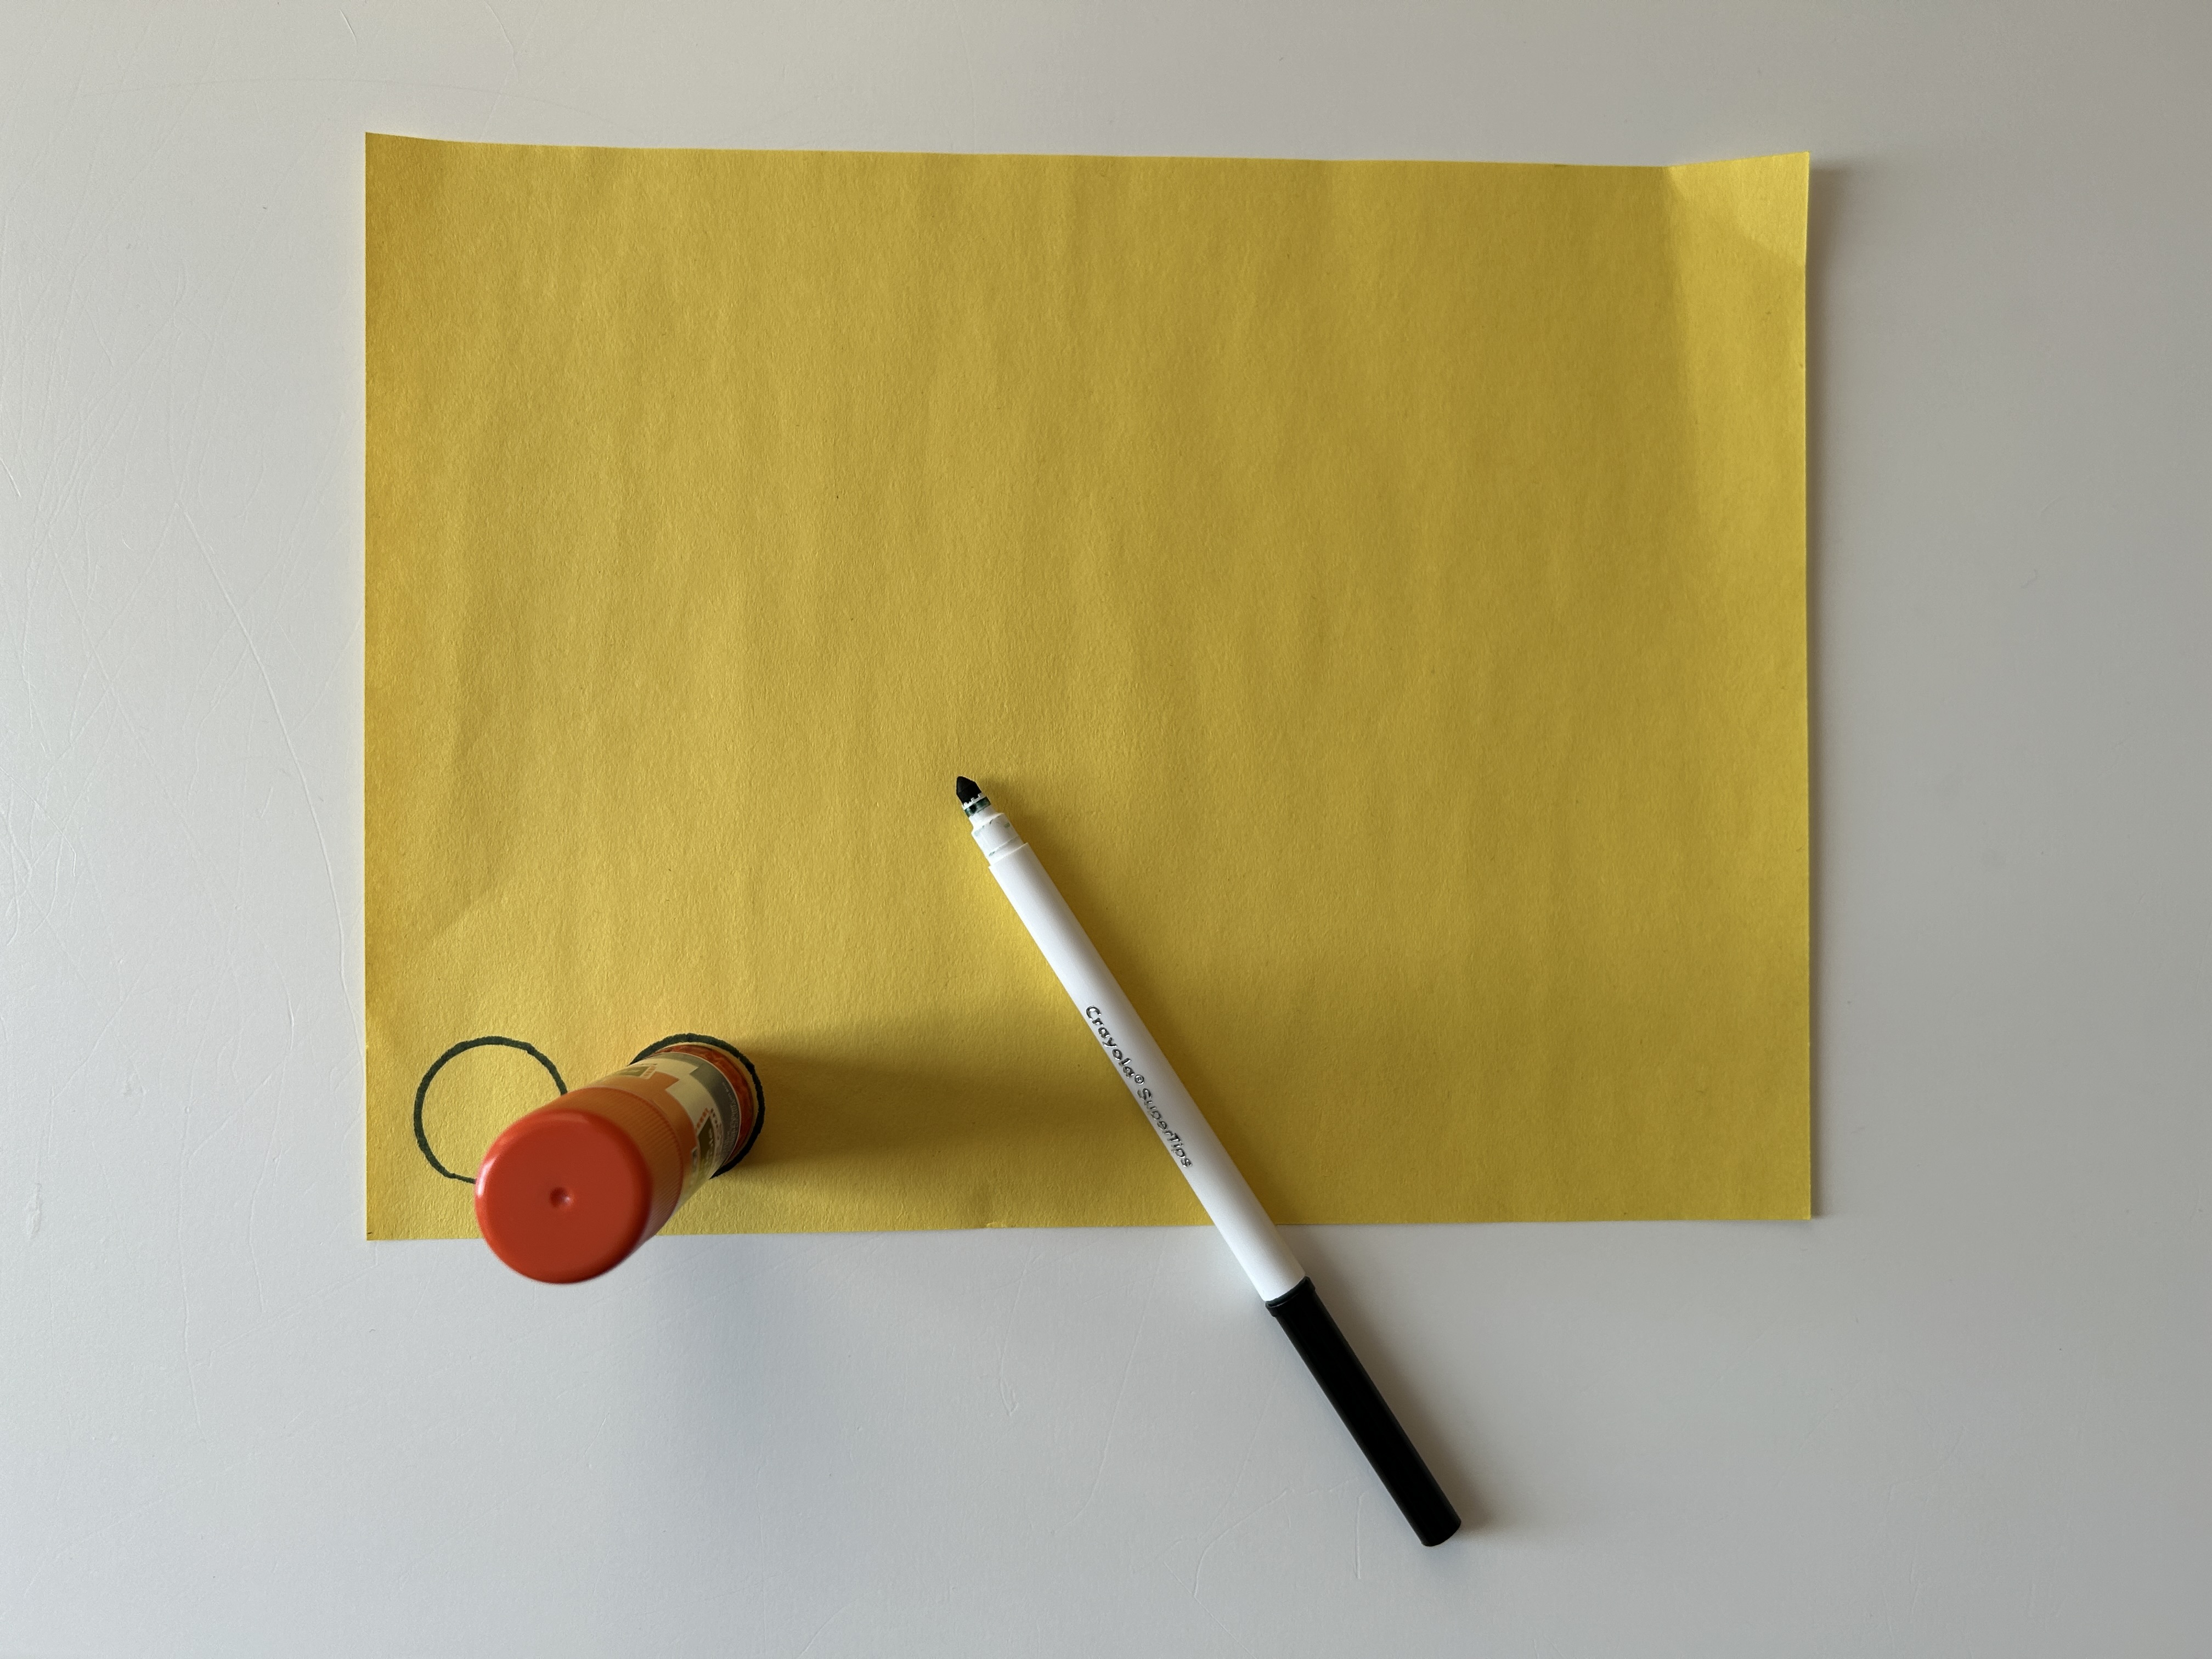
4. Trace: Use the glue stick to trace two circles onto the yellow paper. These will be the owl's eyes. Your child may be able to help with this part, or you can trace for them.
Did you know that snowy owls have yellow eyes to help them hunt during the day? Many owls hunt at night, but snowy owls hunt during both the night and day because of where they live. In the arctic, summertime brings twenty-four hour daylight, meaning there is no darkness to hunt in!
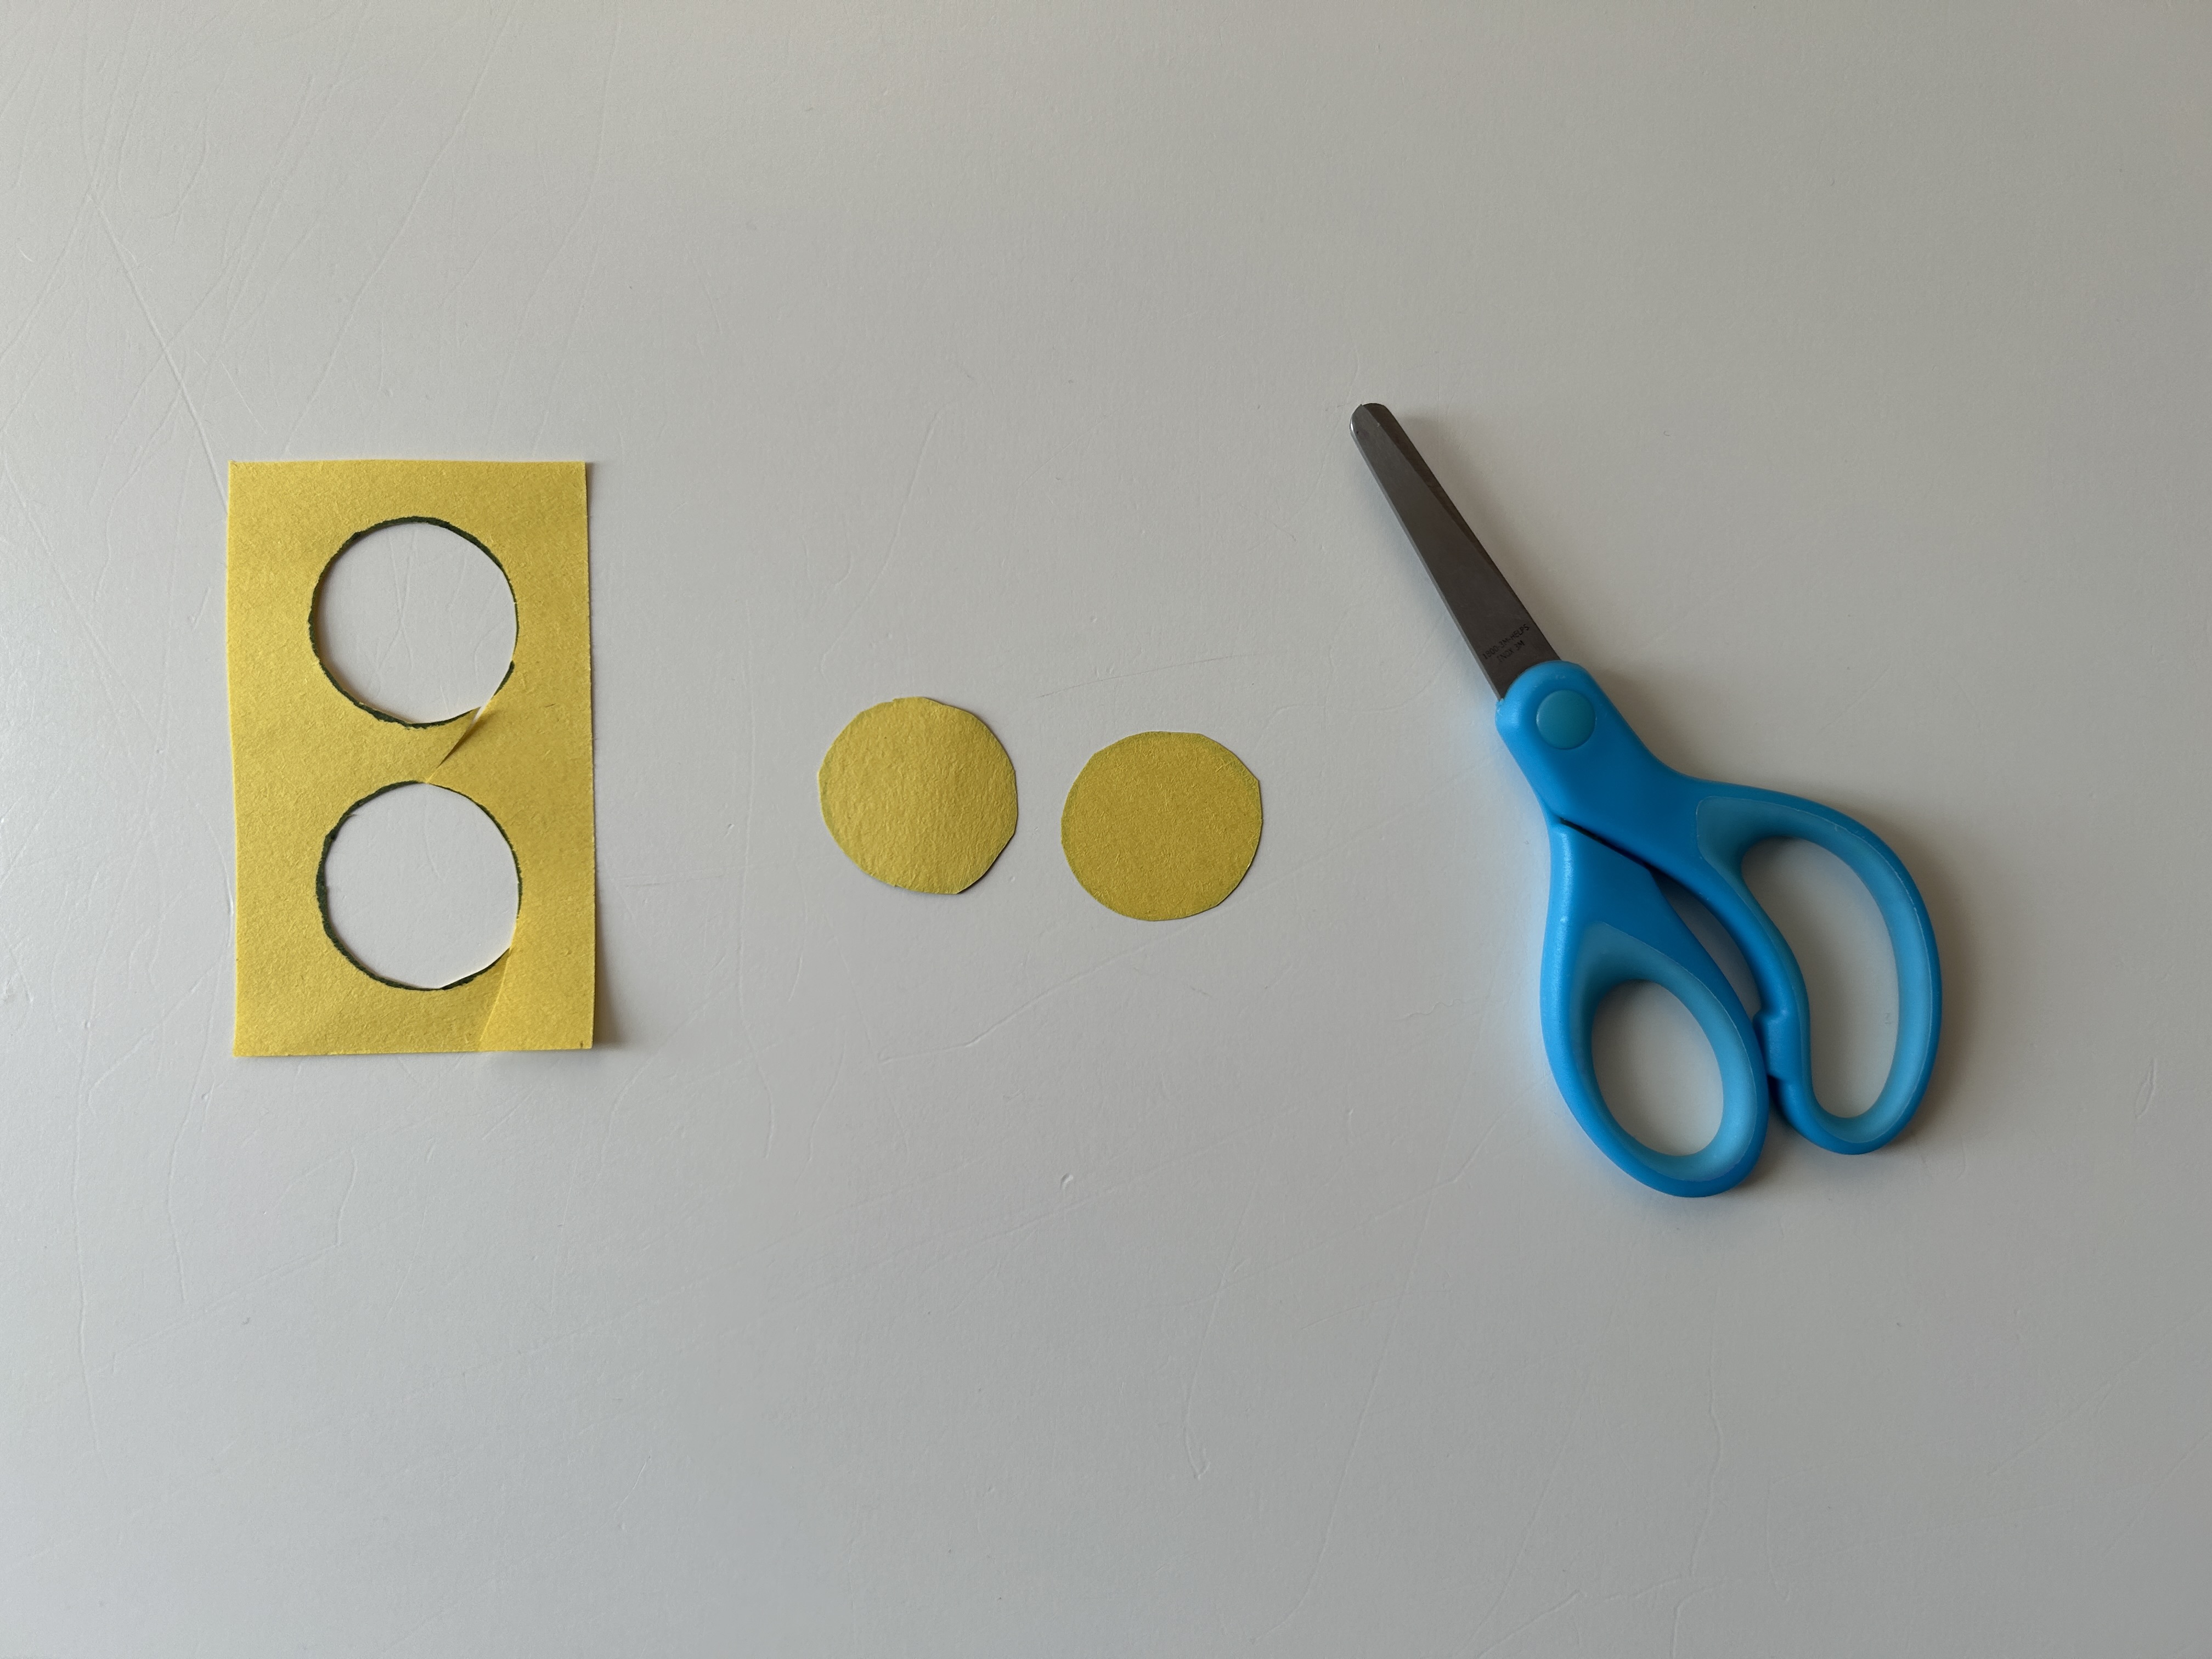
5. Cut: Have your child cut along the traced lines until you have two circles for eyes. If this is too difficult, you can cut the eyes for them.
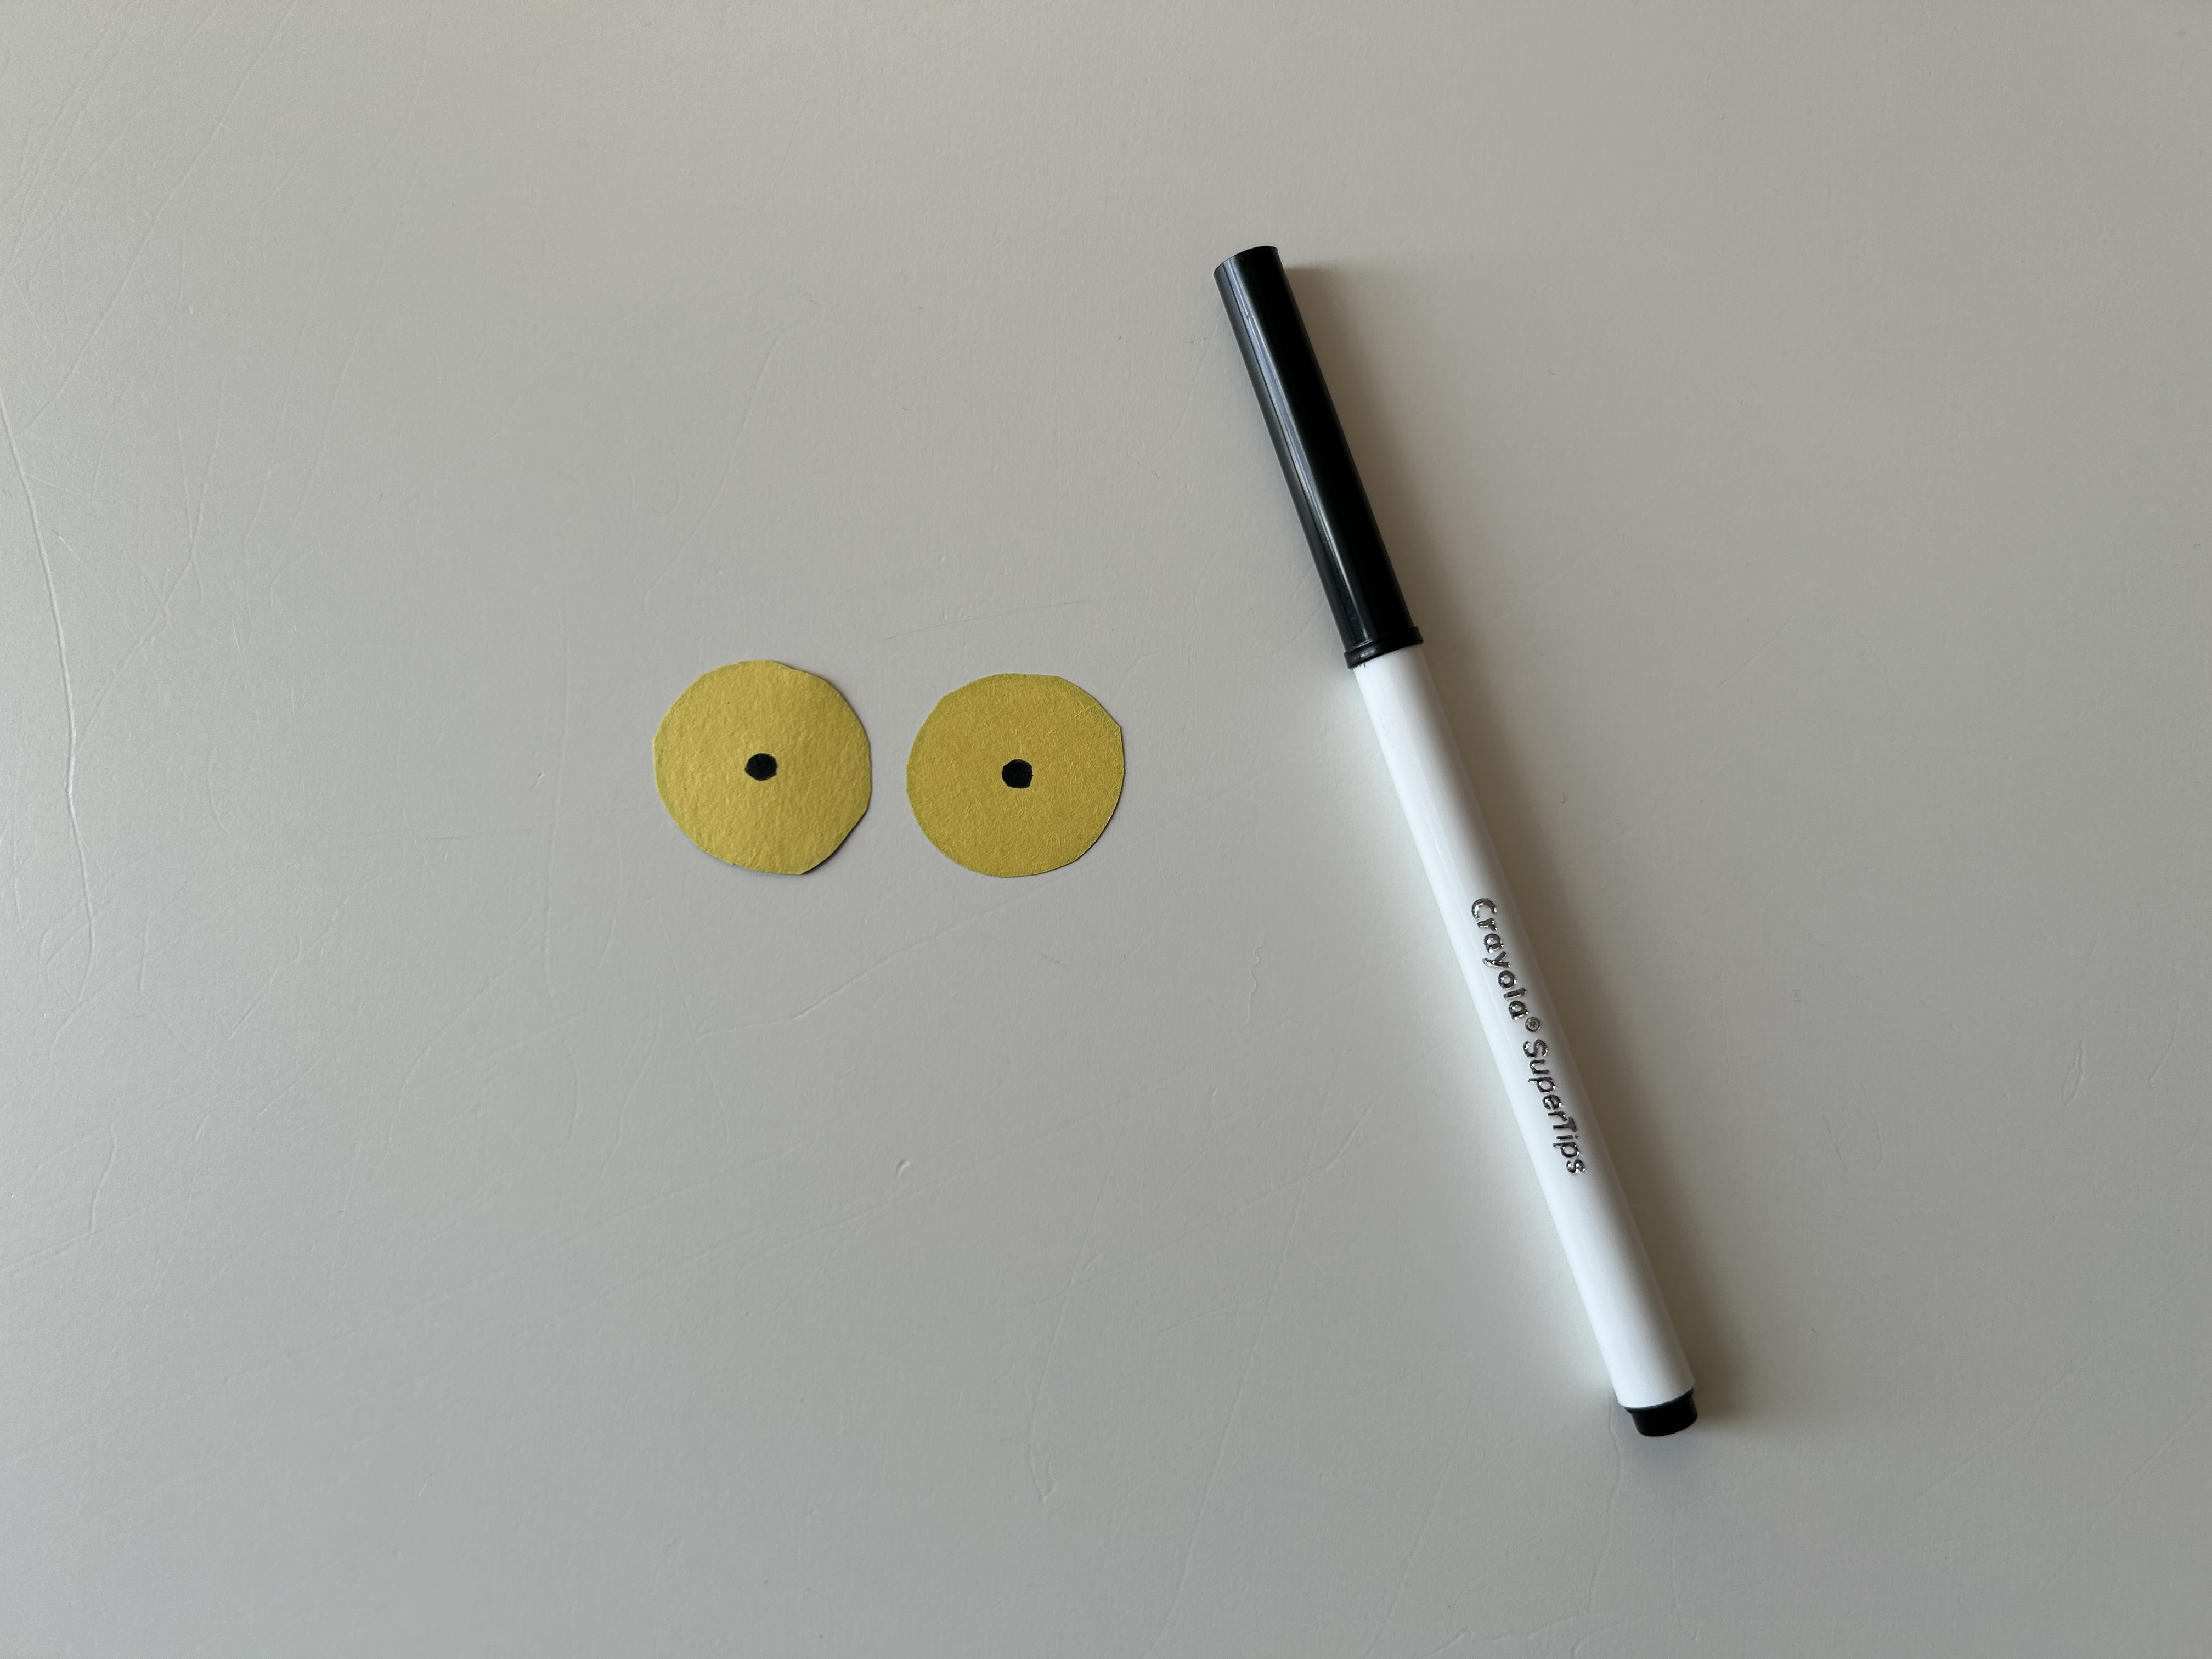
6. Draw: Draw a black circle in the center of each eye.
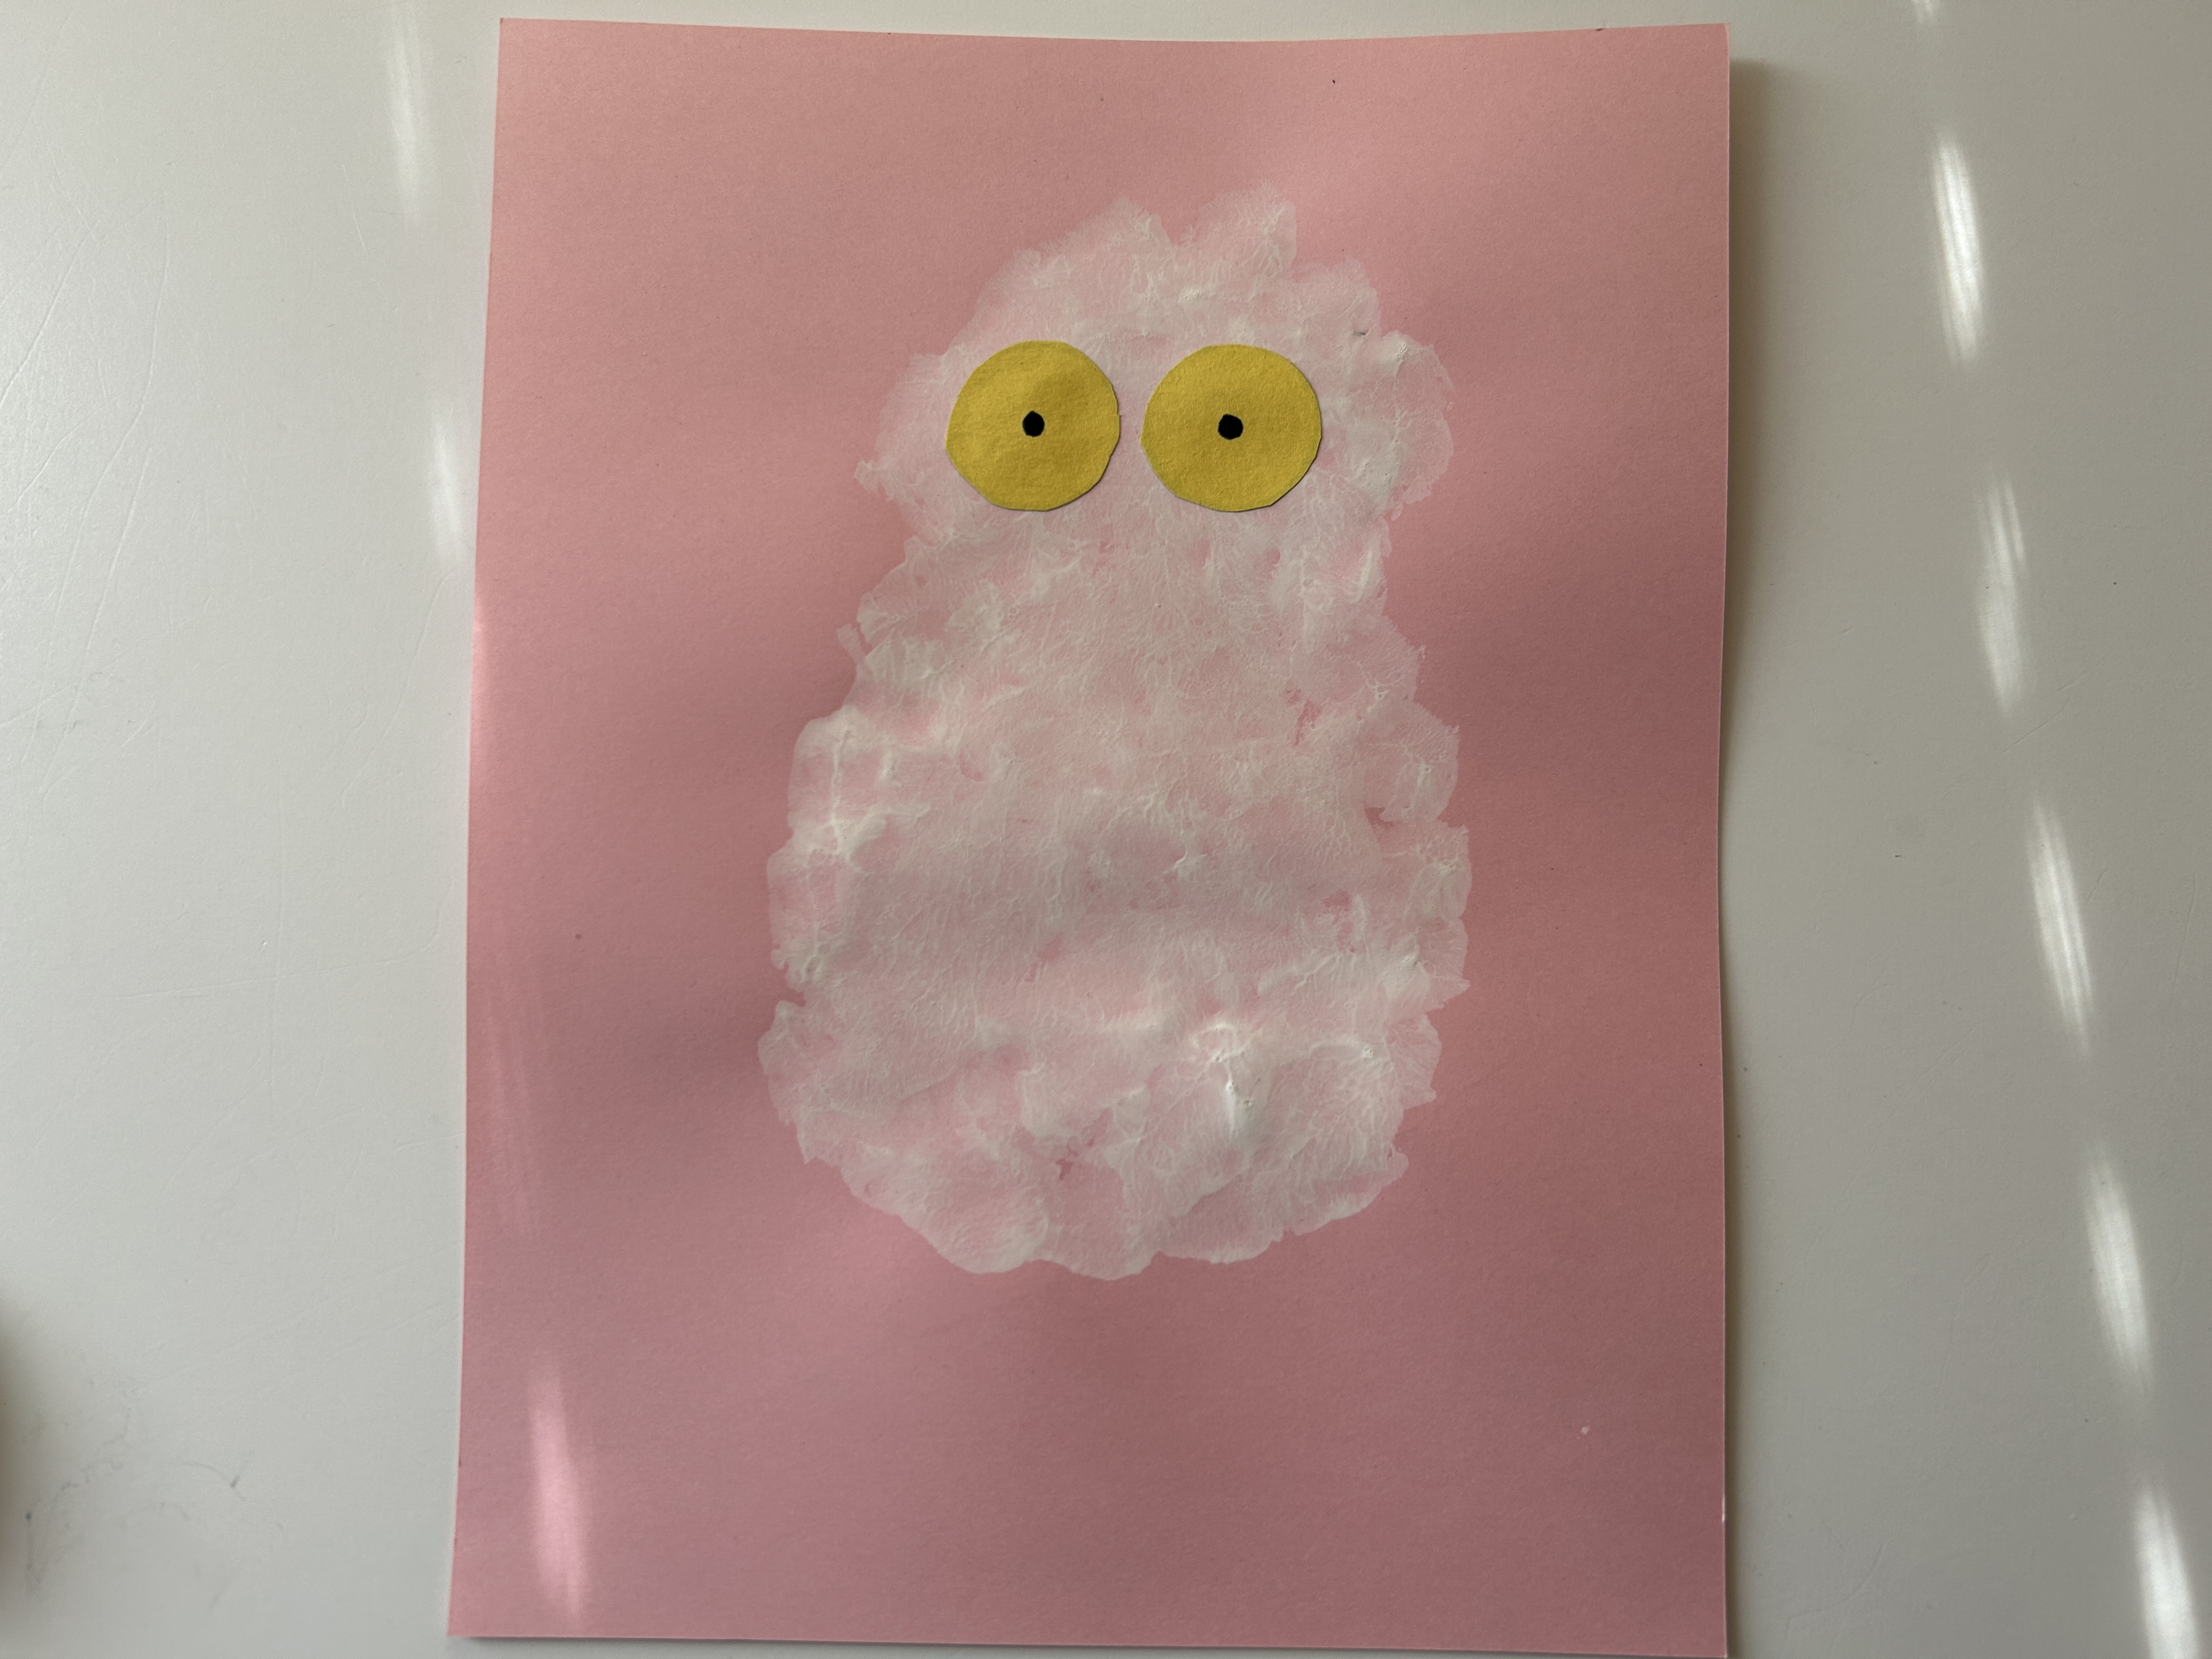
7. Glue: Once the paint has fully dried, have your child glue the eyes onto the owl.
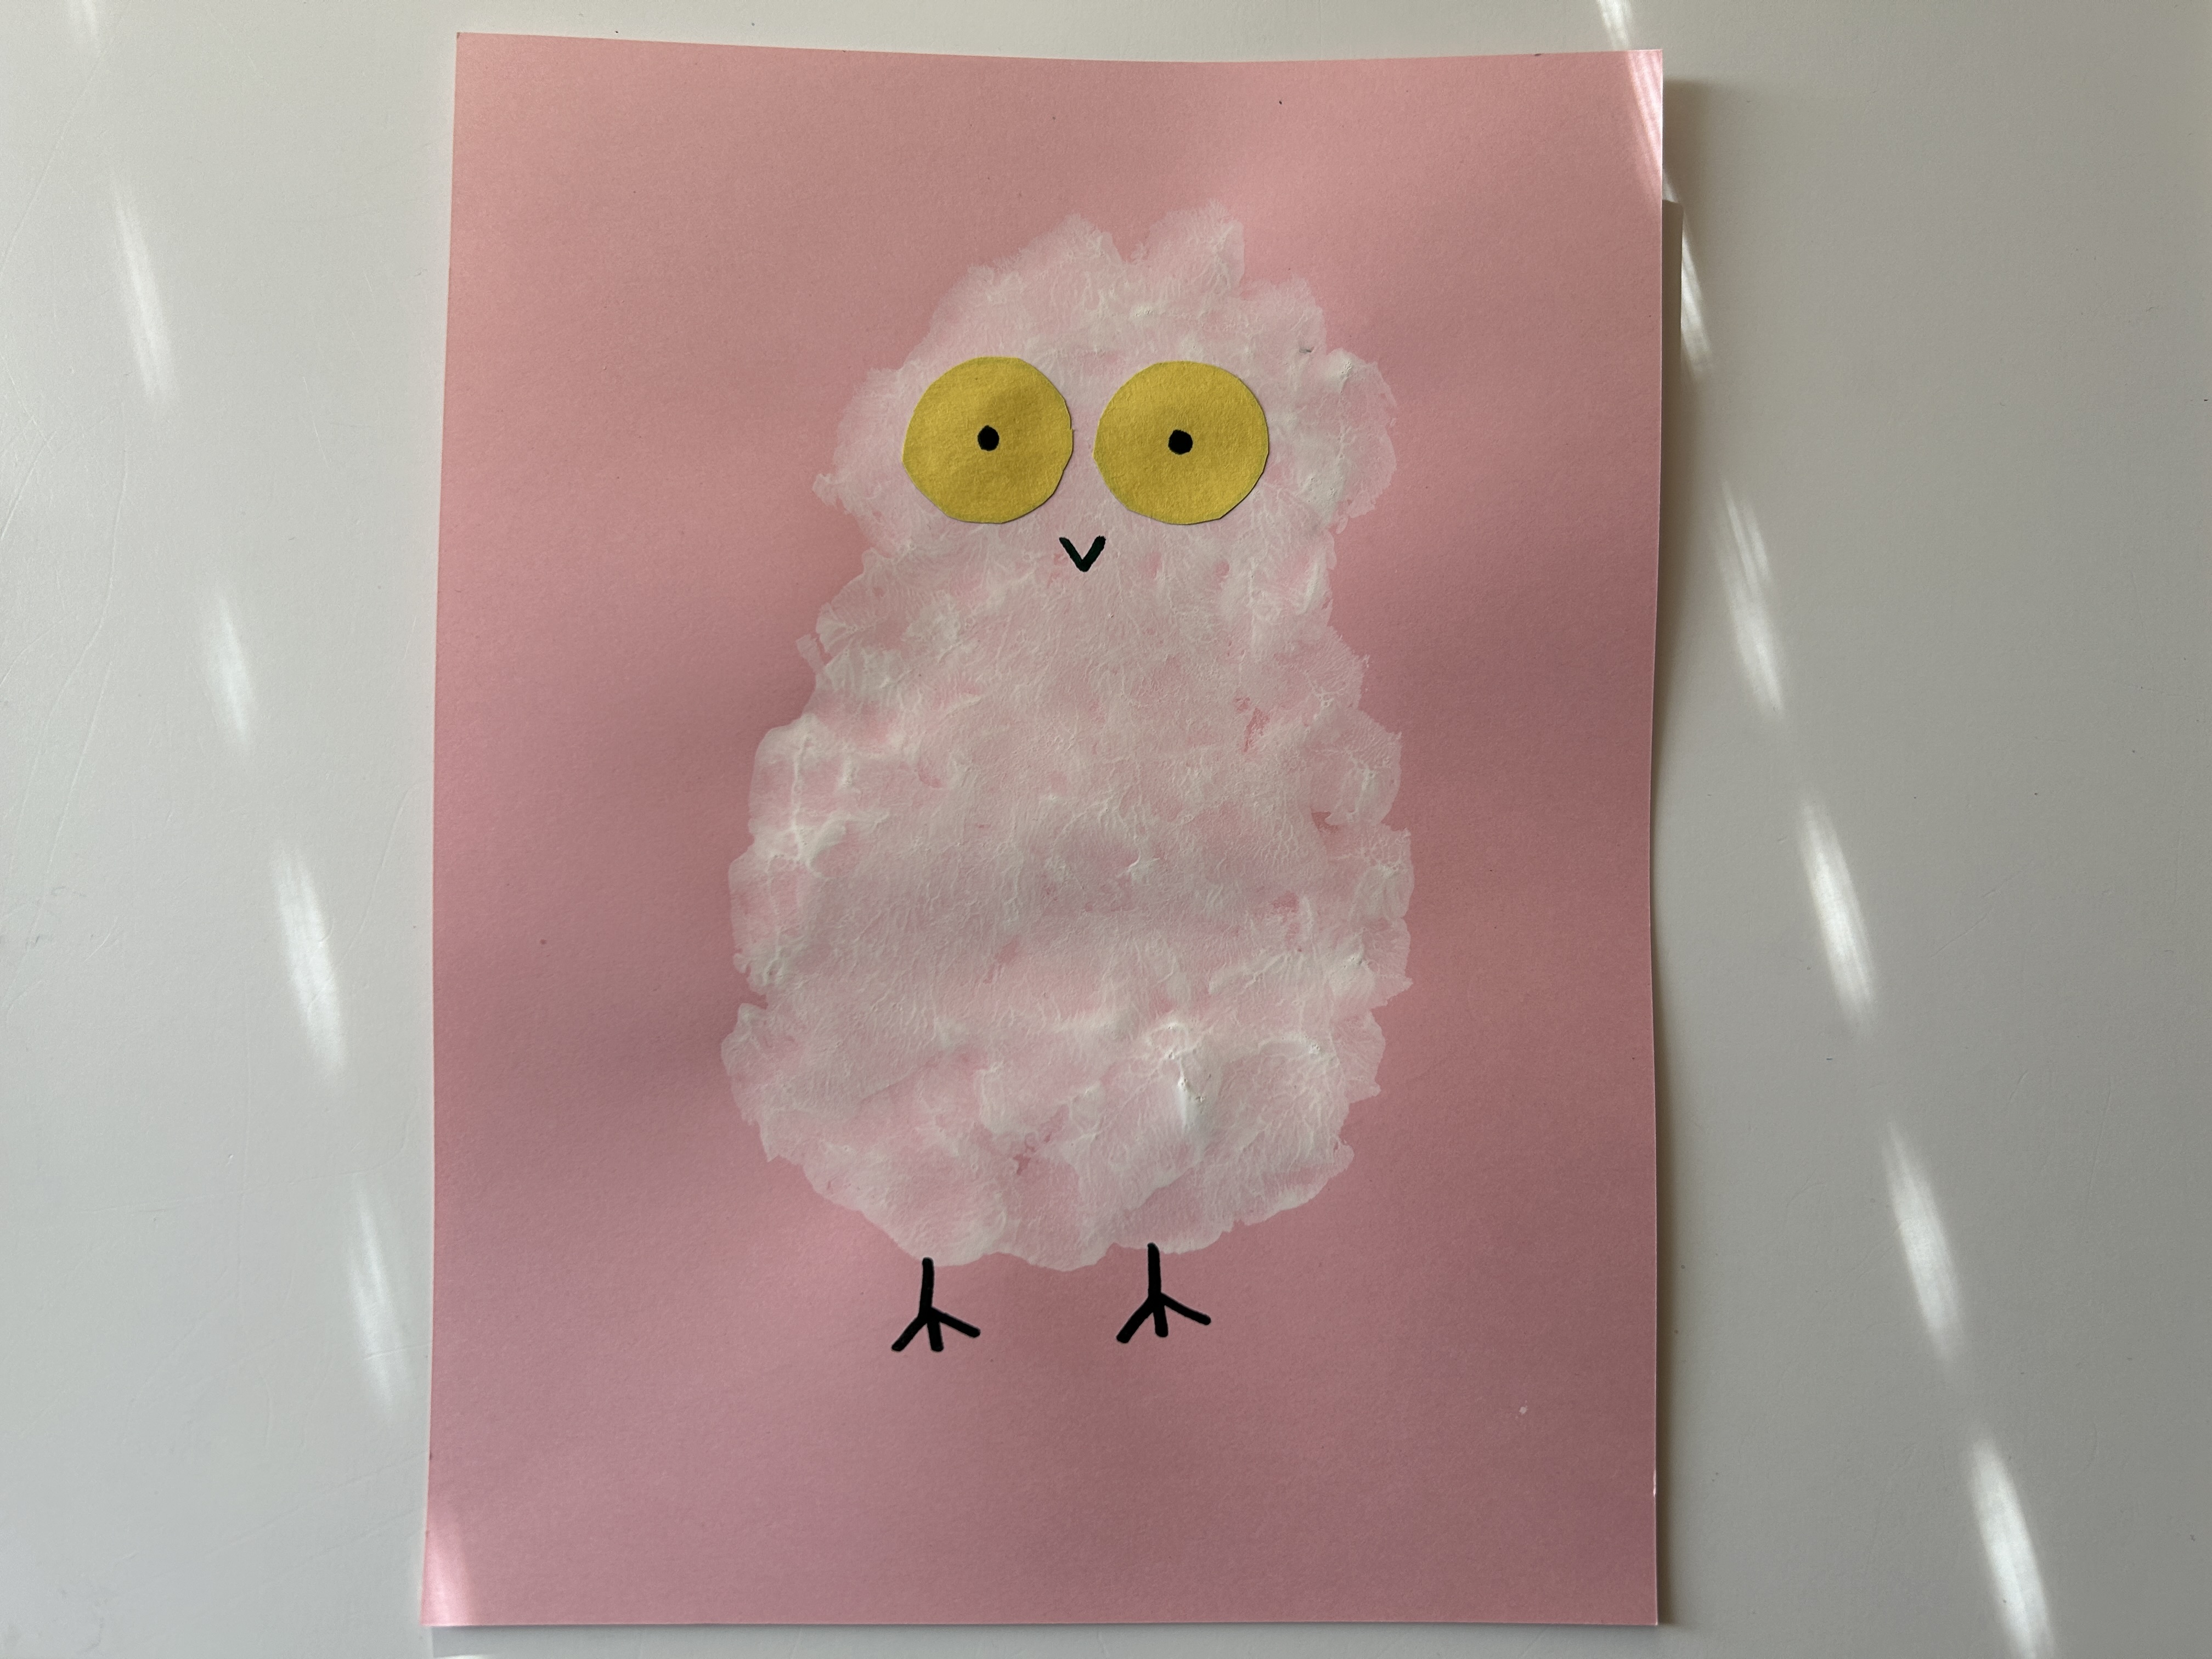
8. Draw: Have your child use the black marker to draw a beak and legs onto the owl.
That's it! Your snowy owl is complete!
Incorporate Numeracy Skills:
Looking to make this activity more educational? Here are some tips for incorporating numeracy skills!
Shapes: Work together with your child to find all the different shapes you've used to create your snowy owl. They might notice circles for eyes, circles or ovals for the body and head, or a triangle for the beak!
Did your little one enjoy this snowy owl art? Let us know or tag us in your photos on instagram @littlenorthernlearners!