- Mar 5
All About Colours For Preschoolers
- Little Northern Learners
- Tips for Homeschool 🏠
Your preschooler has likely picked up a lot about colours from their everyday experiences - conversations, books, and other areas of life! Even with this background knowledge, a unit study on colours is a great way to reinforce this knowledge and correct any misconceptions. In addition, a colours unit study can provide the opportunity to practice fine motor skills, letter and word recognition, scissor use, pencil grip, and more! It's also a great opportunity to get to know your child's individual strengths, weaknesses, and attention span for learning activities.
In this post, I'll be sharing how we have implemented a colours unit study using our Colours Preschool Starter Pack at home. We used this study at ages 3 and 5, and I found this to be a perfect age range! For my three-year-old, we focused more on identifying colours and practicing fine motor skills. For my five-year-old, the focus was on reading colour words, reinforcing letter sounds, printing practice, and problem-solving strategies.
Preparing the study:
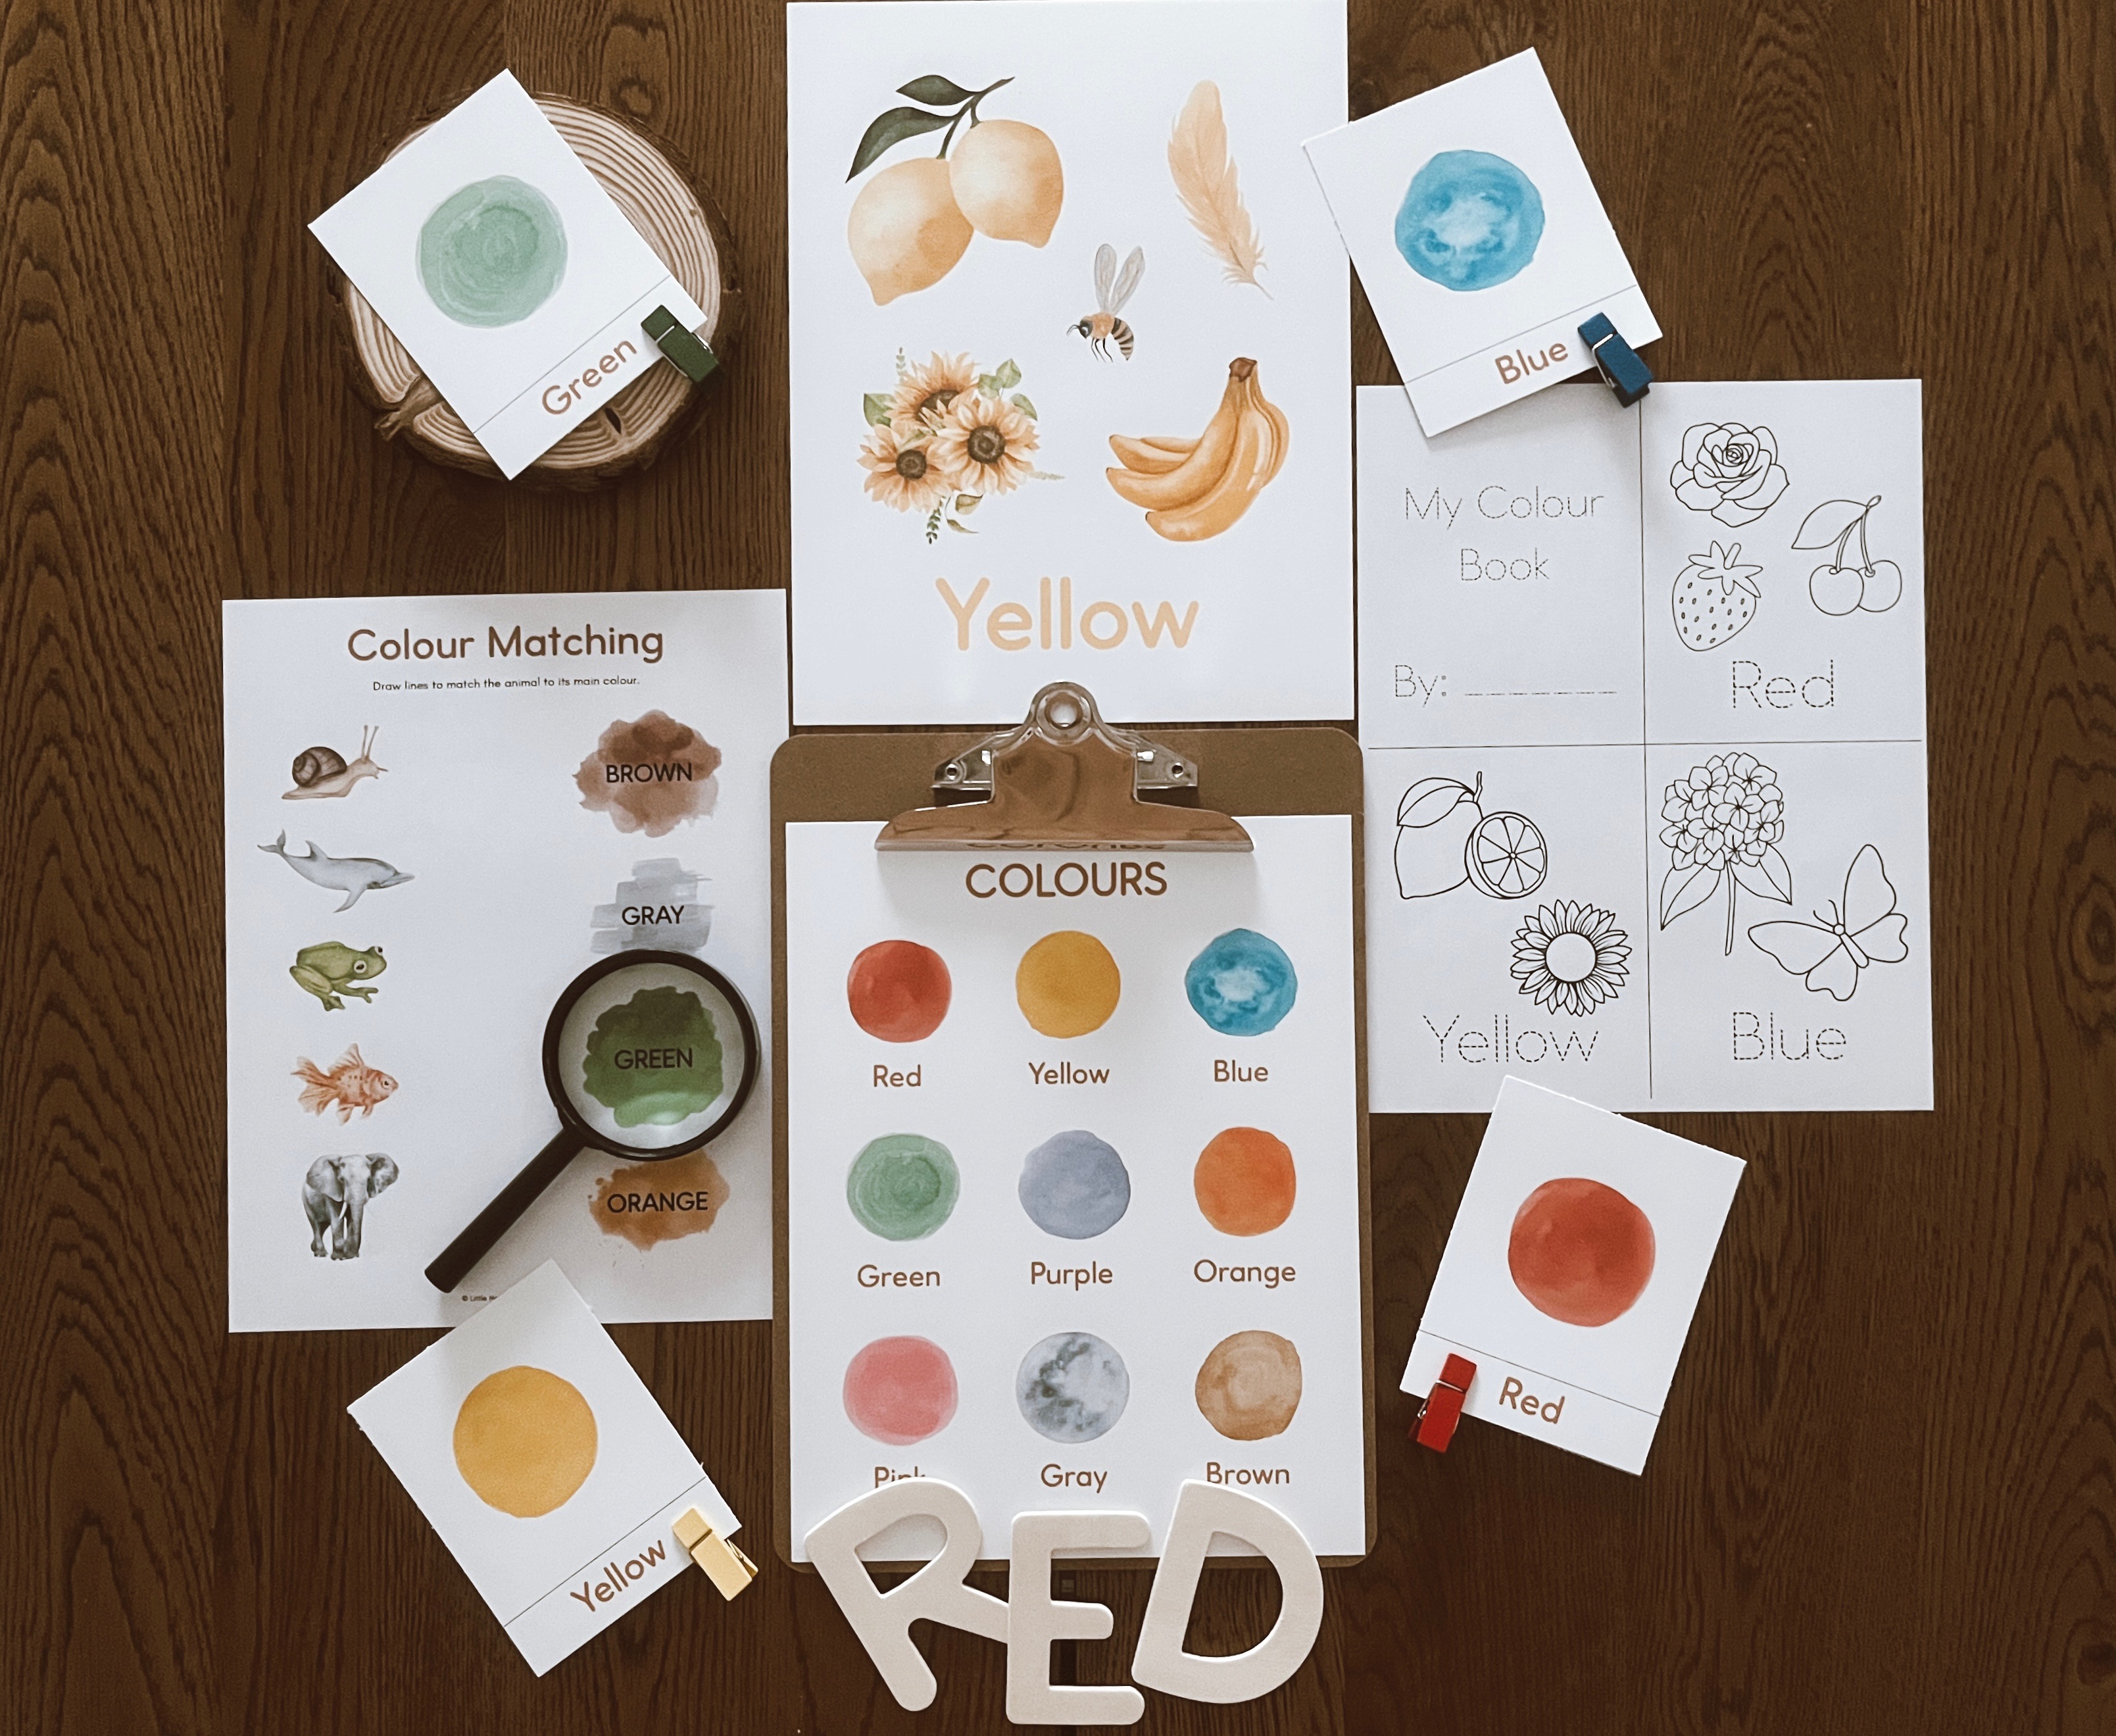
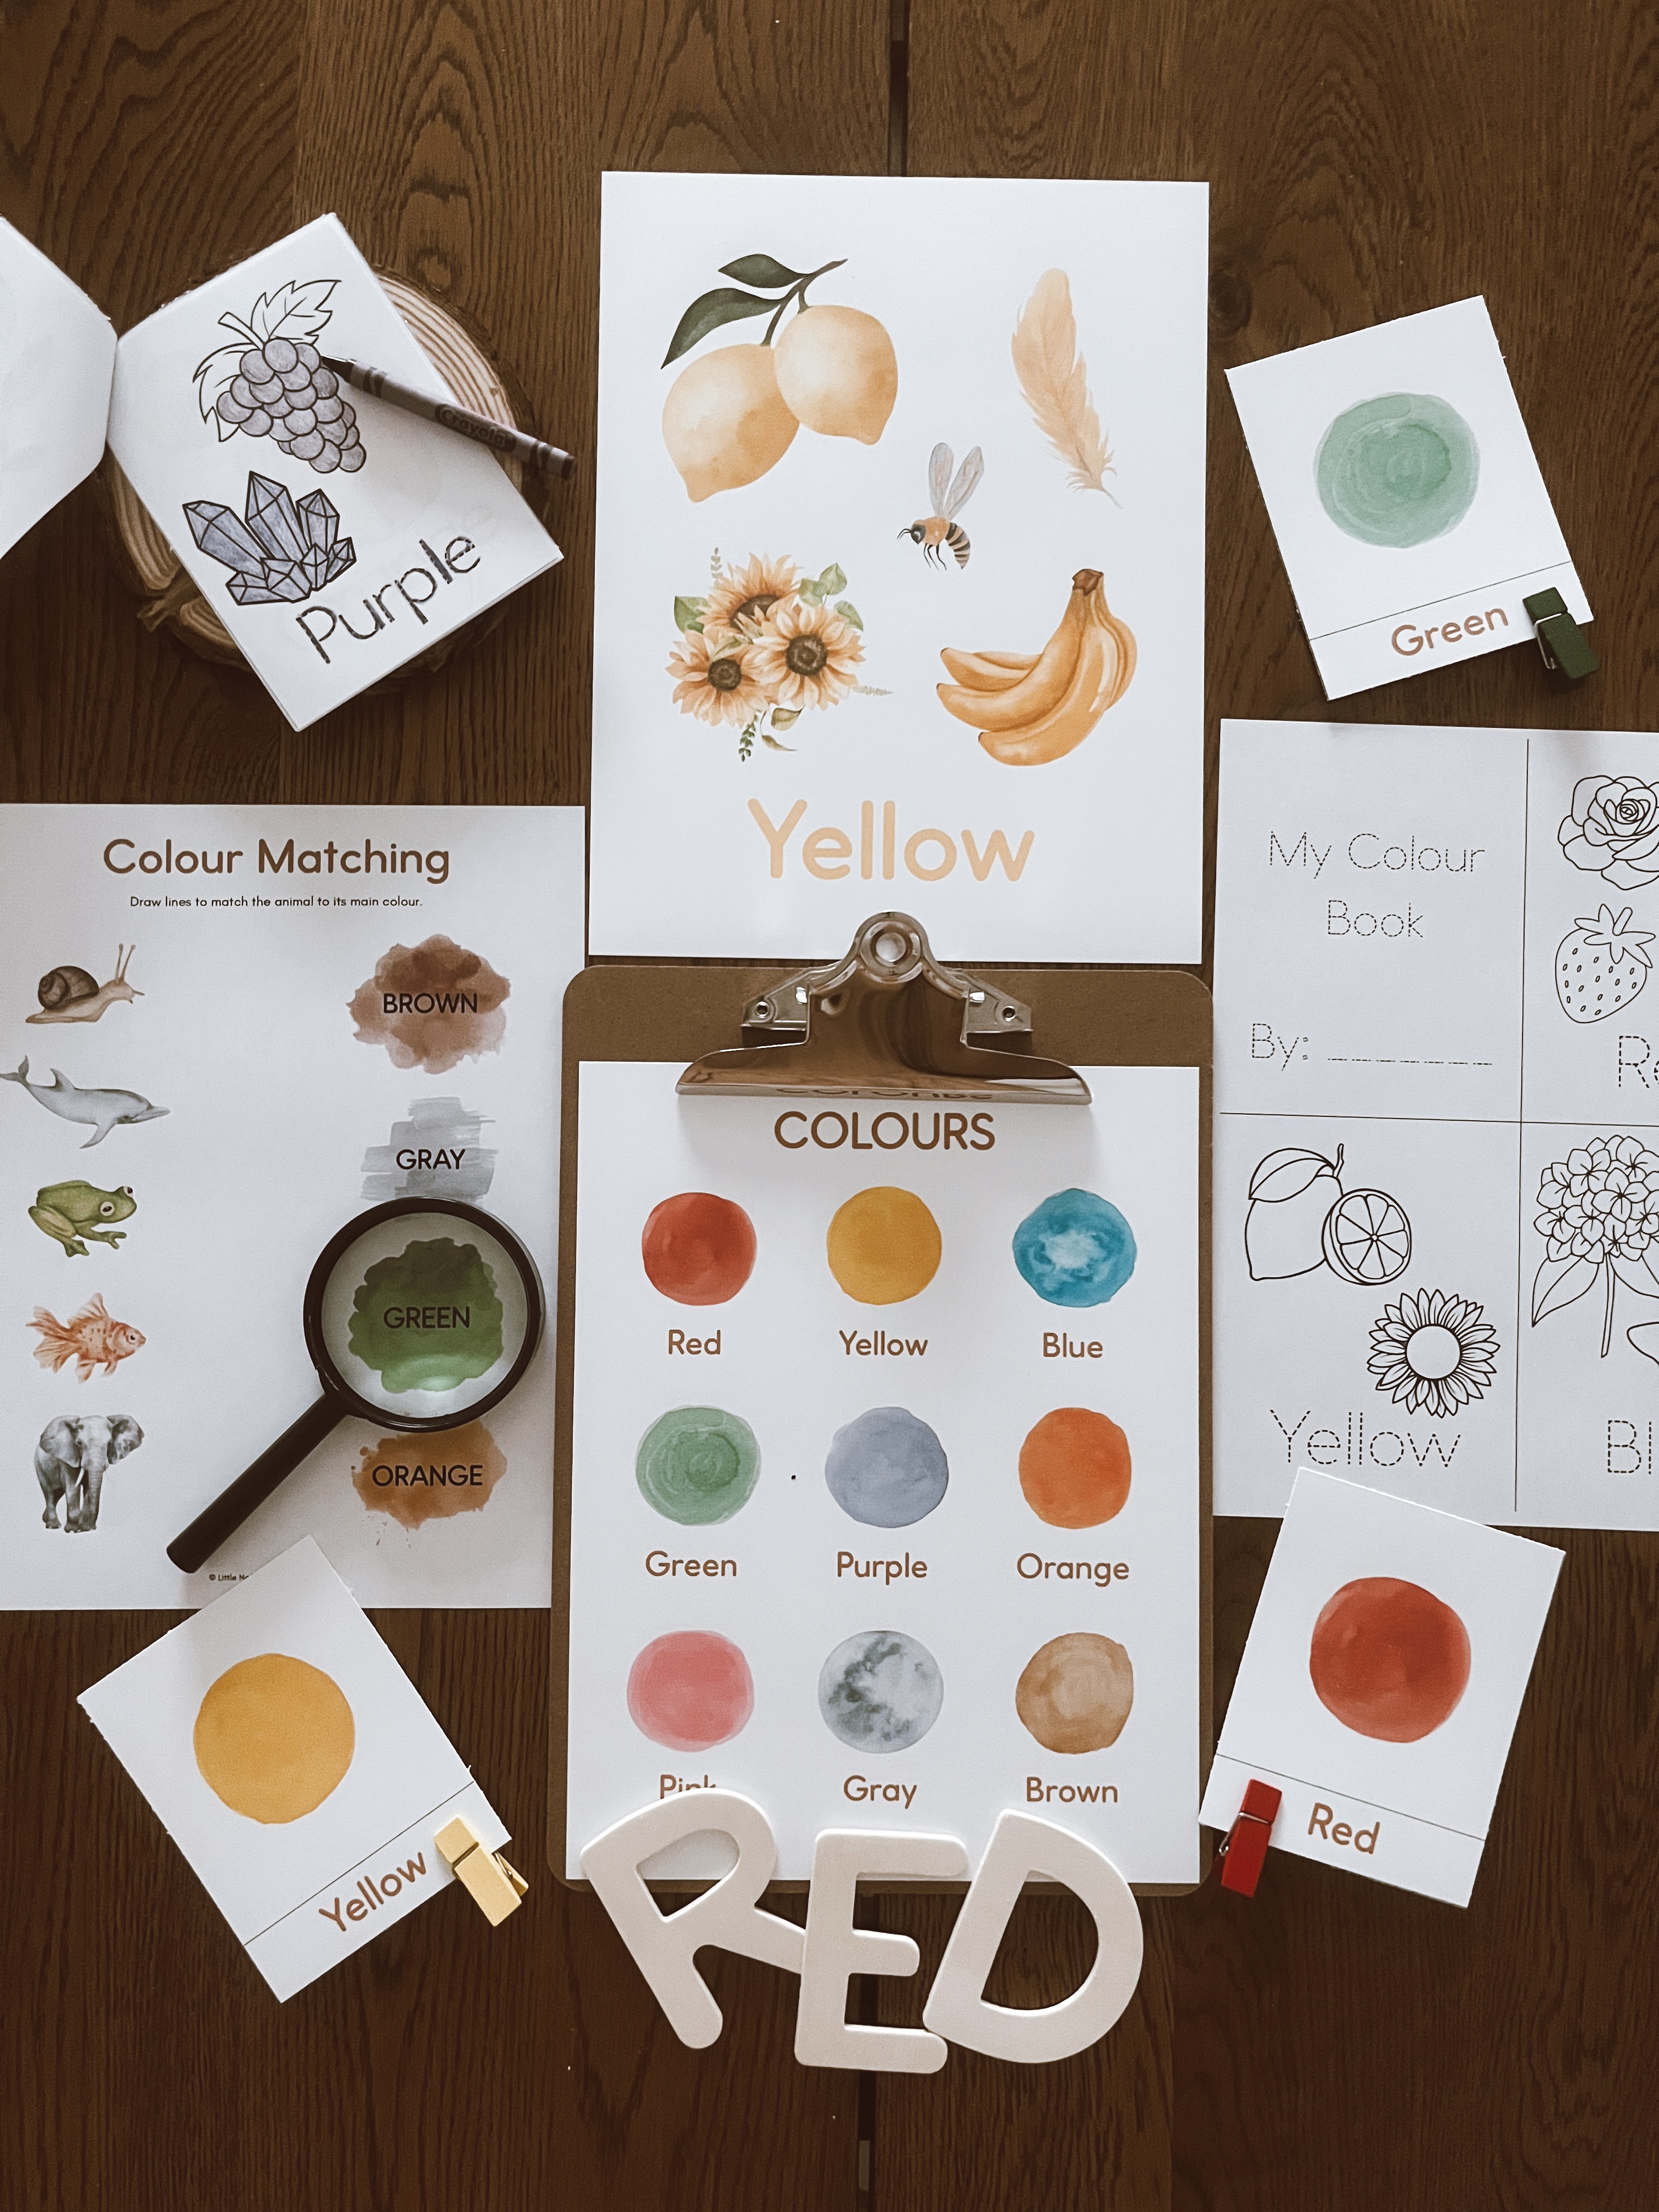
I started by prepping all the materials I wanted to use. For our study, I chose to print the cut & paste activities and the mini colour book single-sided on regular copy paper. I printed two of each of these so each child would have their own copy. I also printed the colour posters on cardstock. For the posters, I set my print settings to two per page, because I wanted a smaller size to fit on our wall. I then laminated the posters to make them more sturdy.
I skipped the flash cards for this one, as I felt the posters were enough, but flash cards can be a great tool for some kids - and if your child is ready, the bottom section can be removed so your child can practice matching the colour picture to the colour word!
You can grab all the printables we're using in our Colours Preschool Pack - click below to check it out!
Extra materials I gathered for our study:
-Child sized scissors
-Glue sticks
-Markers and crayons in ten colours (red, blue, yellow, orange, green, purple, pink, gray, brown, black)
Getting started:
There are nine main colours in the study. I planned to do about one colour per day, plus the colours mini book to wrap up the unit. In total, I planned for us to spend about 10-14 days on this study, keeping flexibility and buffer time in mind.
We started off with the colour yellow - no reason in particular, but I found it fairly easy for the kids to think of examples of yellow things around us. After the initial colour, my kids took turns choosing the next colour we did. One day, they were so eager to do their colours that we did two!
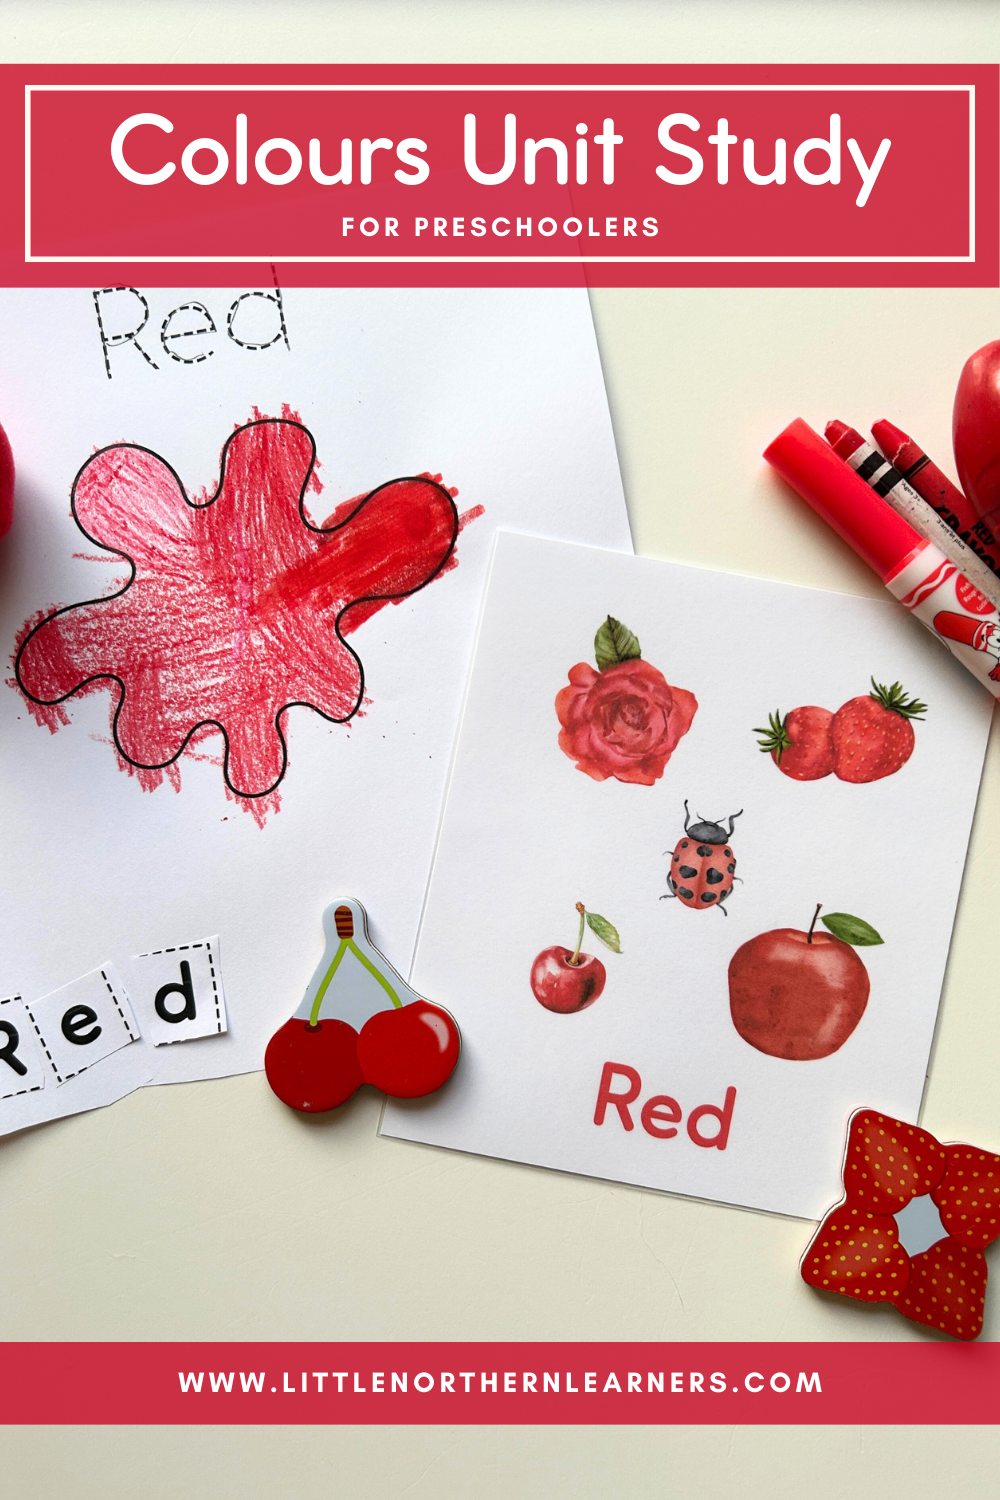
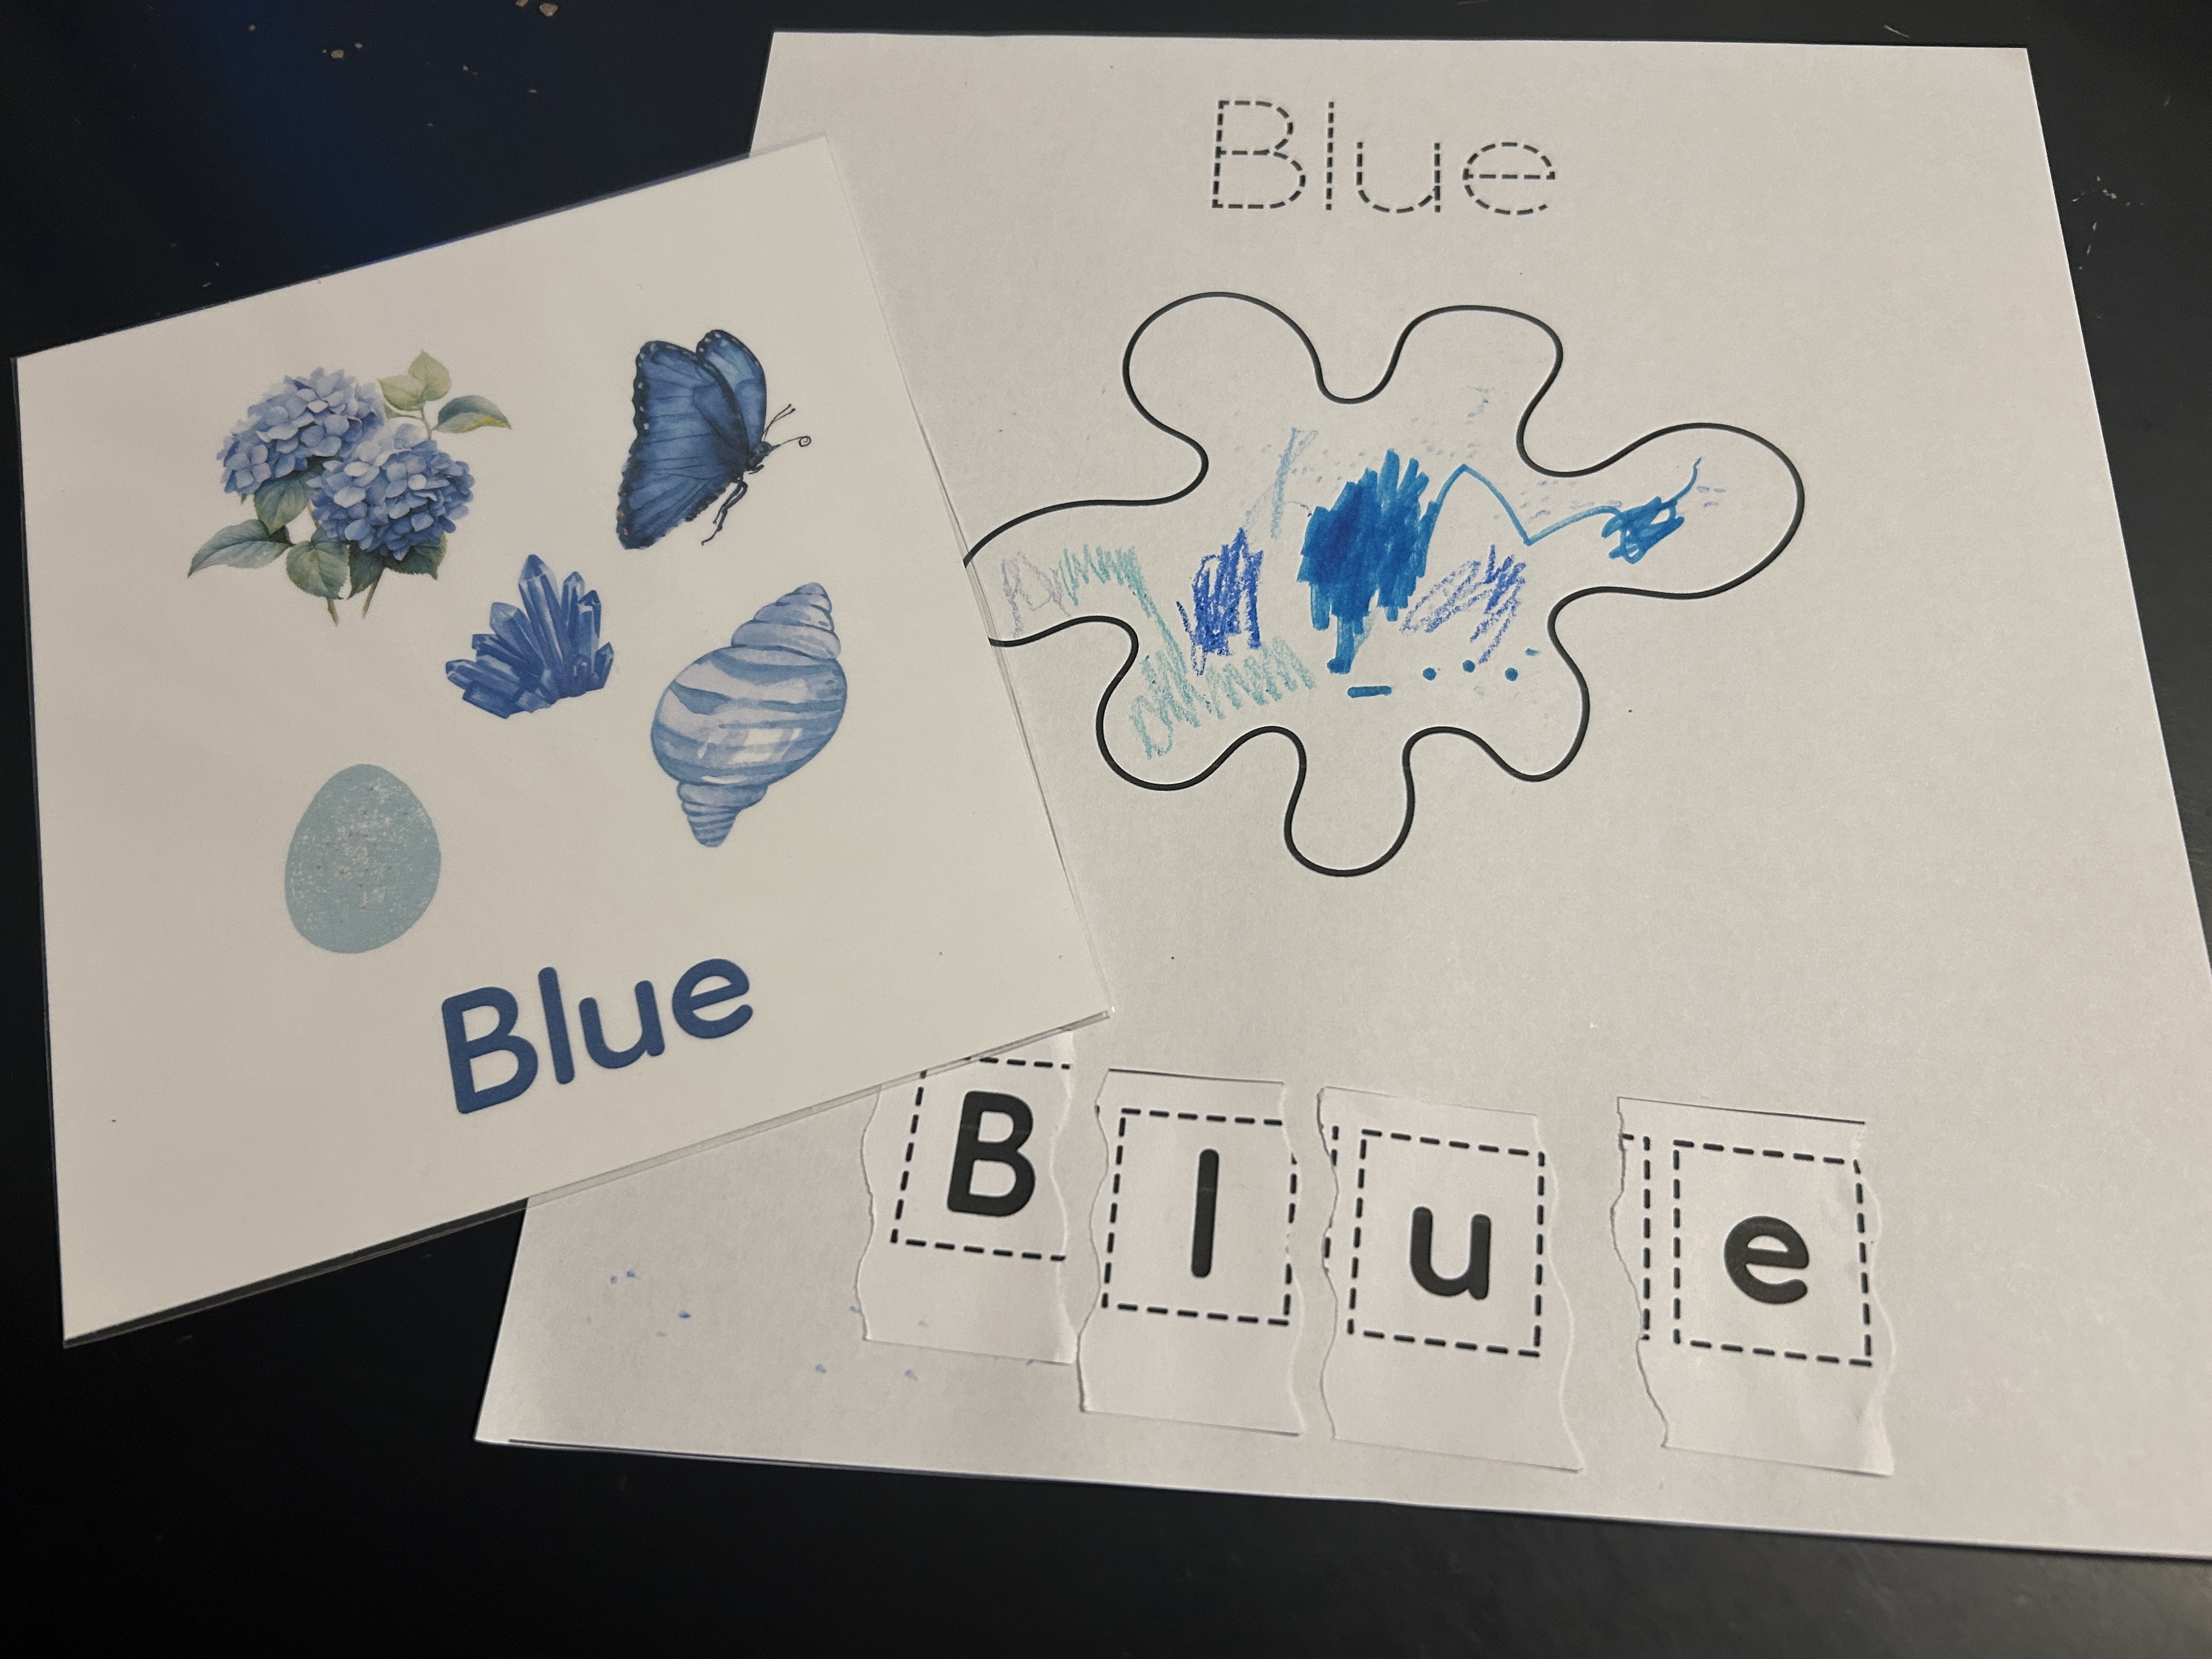
For each colour, I started by introducing the colour with the colour poster. I told them the name of the colour, and pointed out the first letter and sound in the colour word. Next, we looked at the pictures on the poster and named each picture. For example, lemons are yellow. Bananas are yellow. Flowers can be yellow. I then asked if they could think of anything else that is yellow and we brainstormed together to come up with more ideas.
Incorporating movement:
Next came their favourite part: the scavenger hunt! I sent them to look around the house for anything they could find that was yellow (or whatever the current colour was). Their goal was to bring two things in this colour back to the table. I had to laugh the first time we did this when my youngest came back with the tiniest piece of yellow lint! It's amazing what details their little eyes notice.
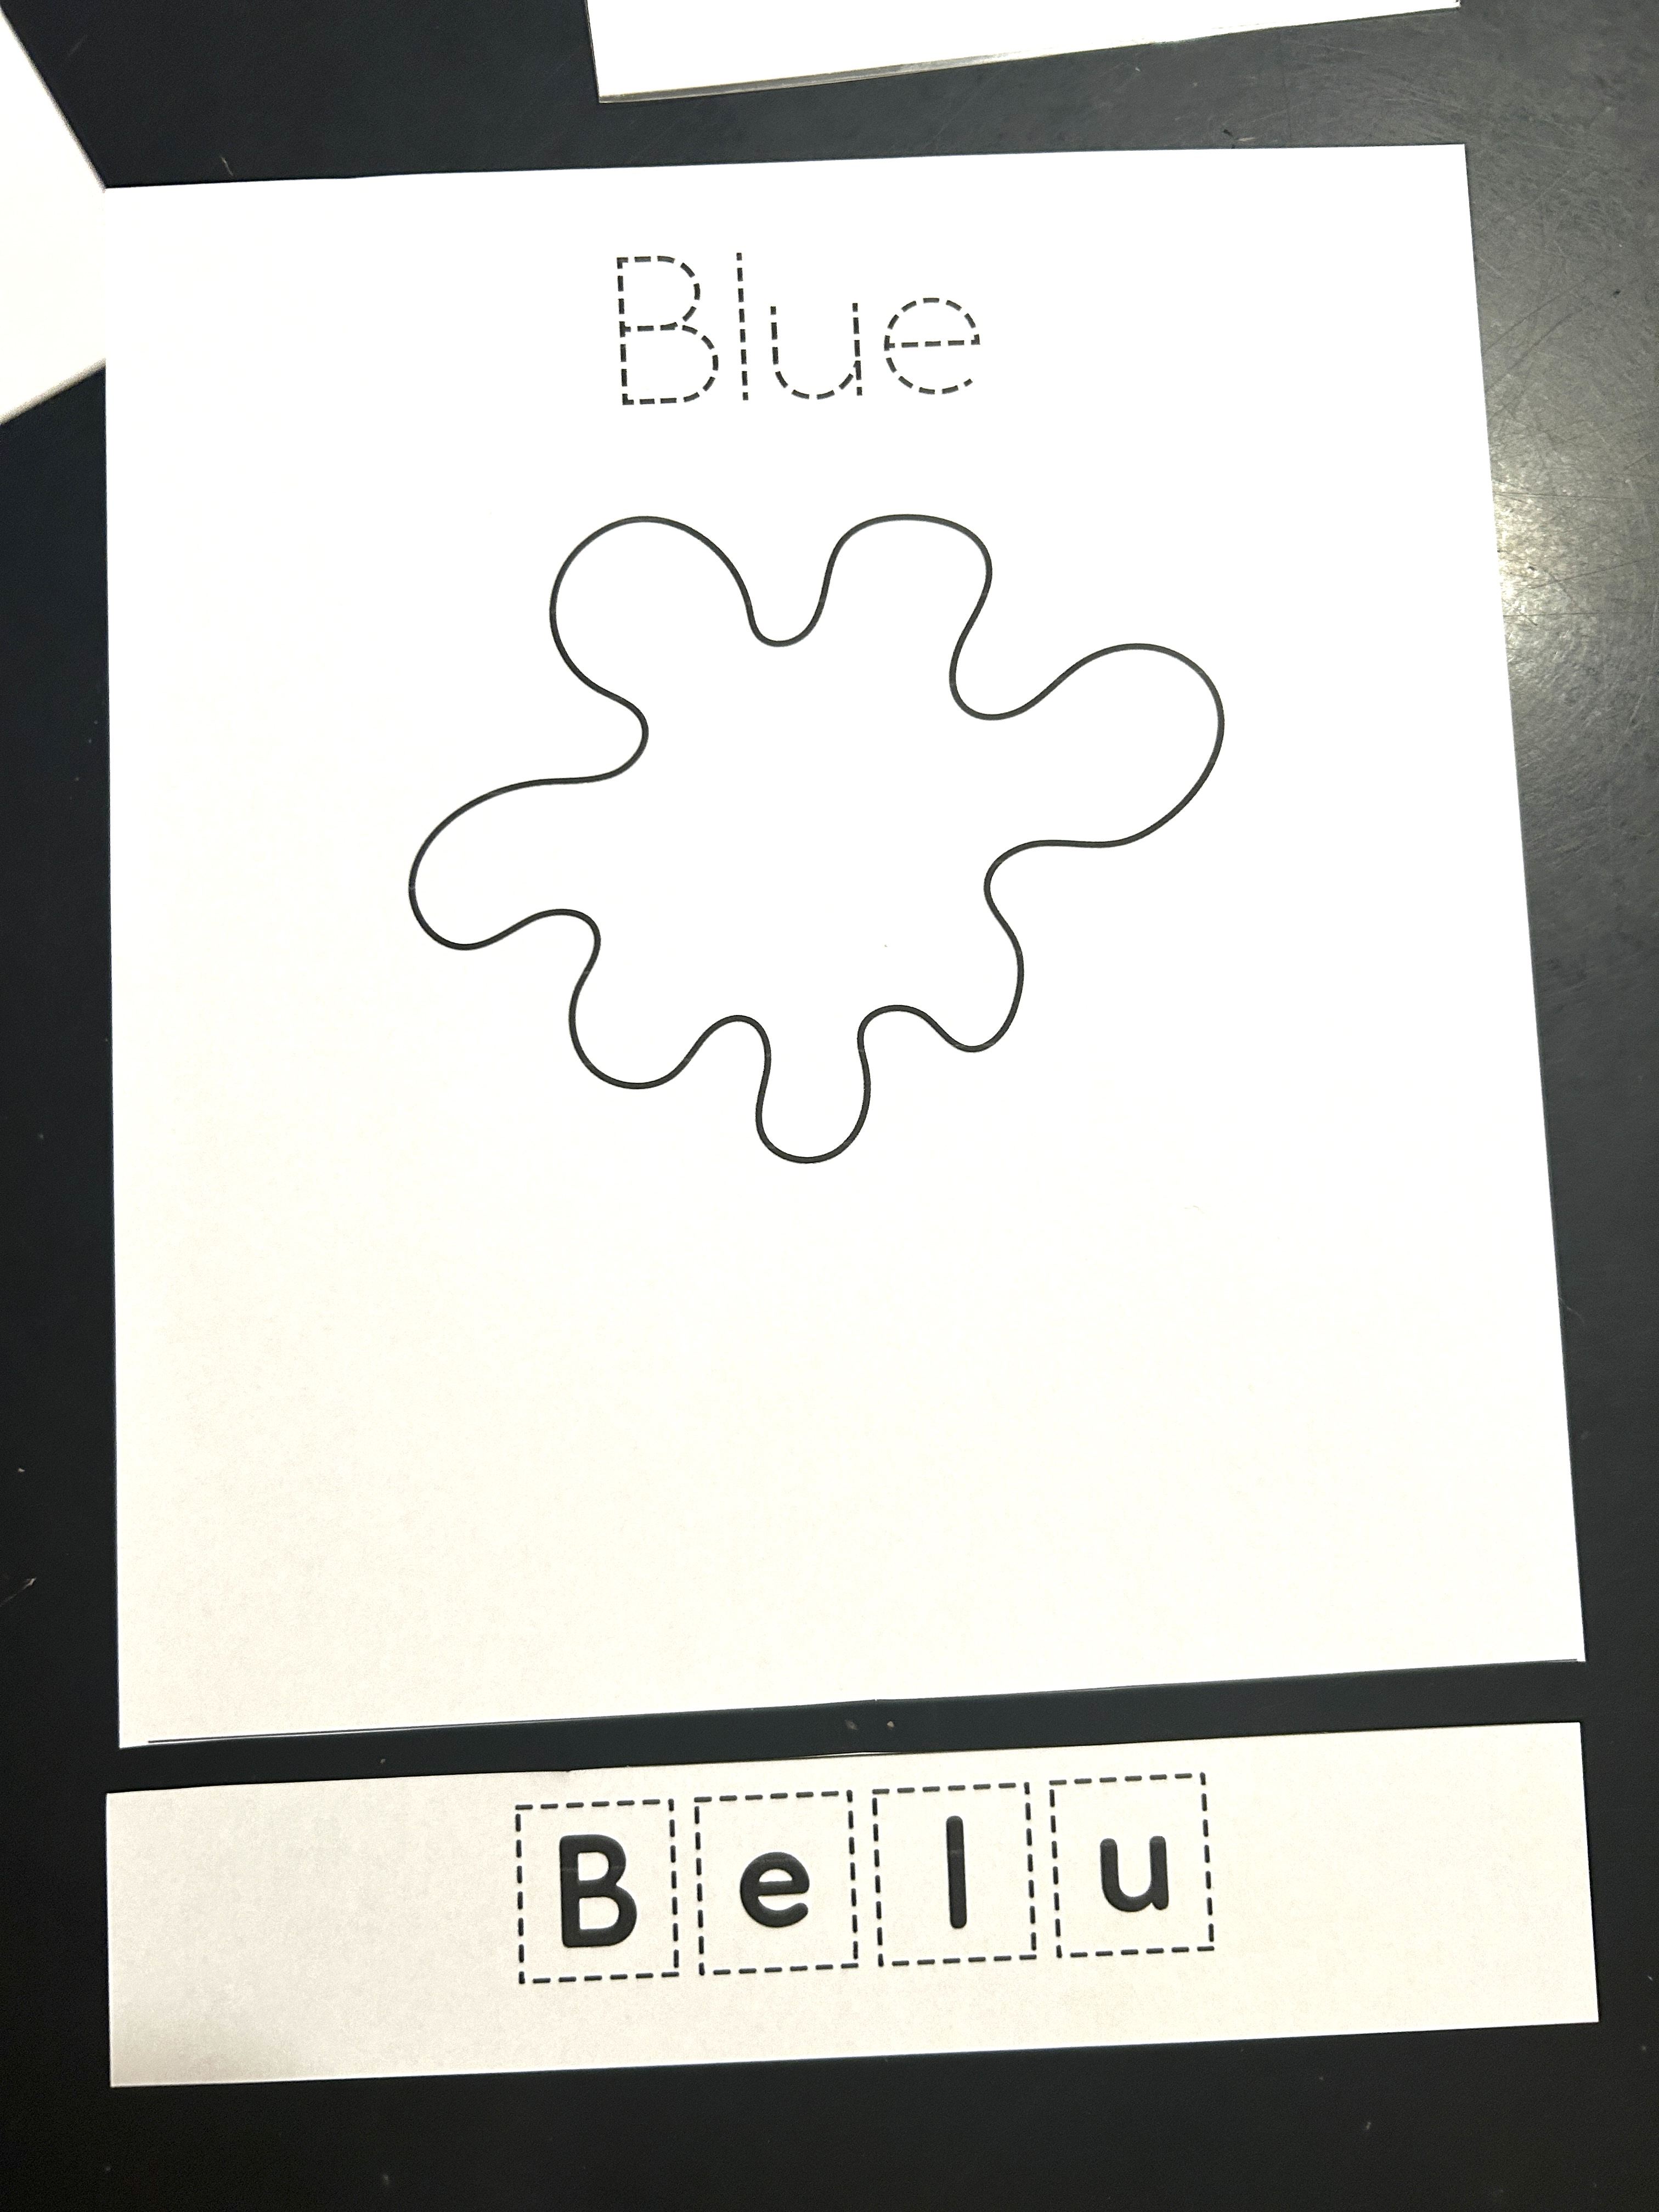
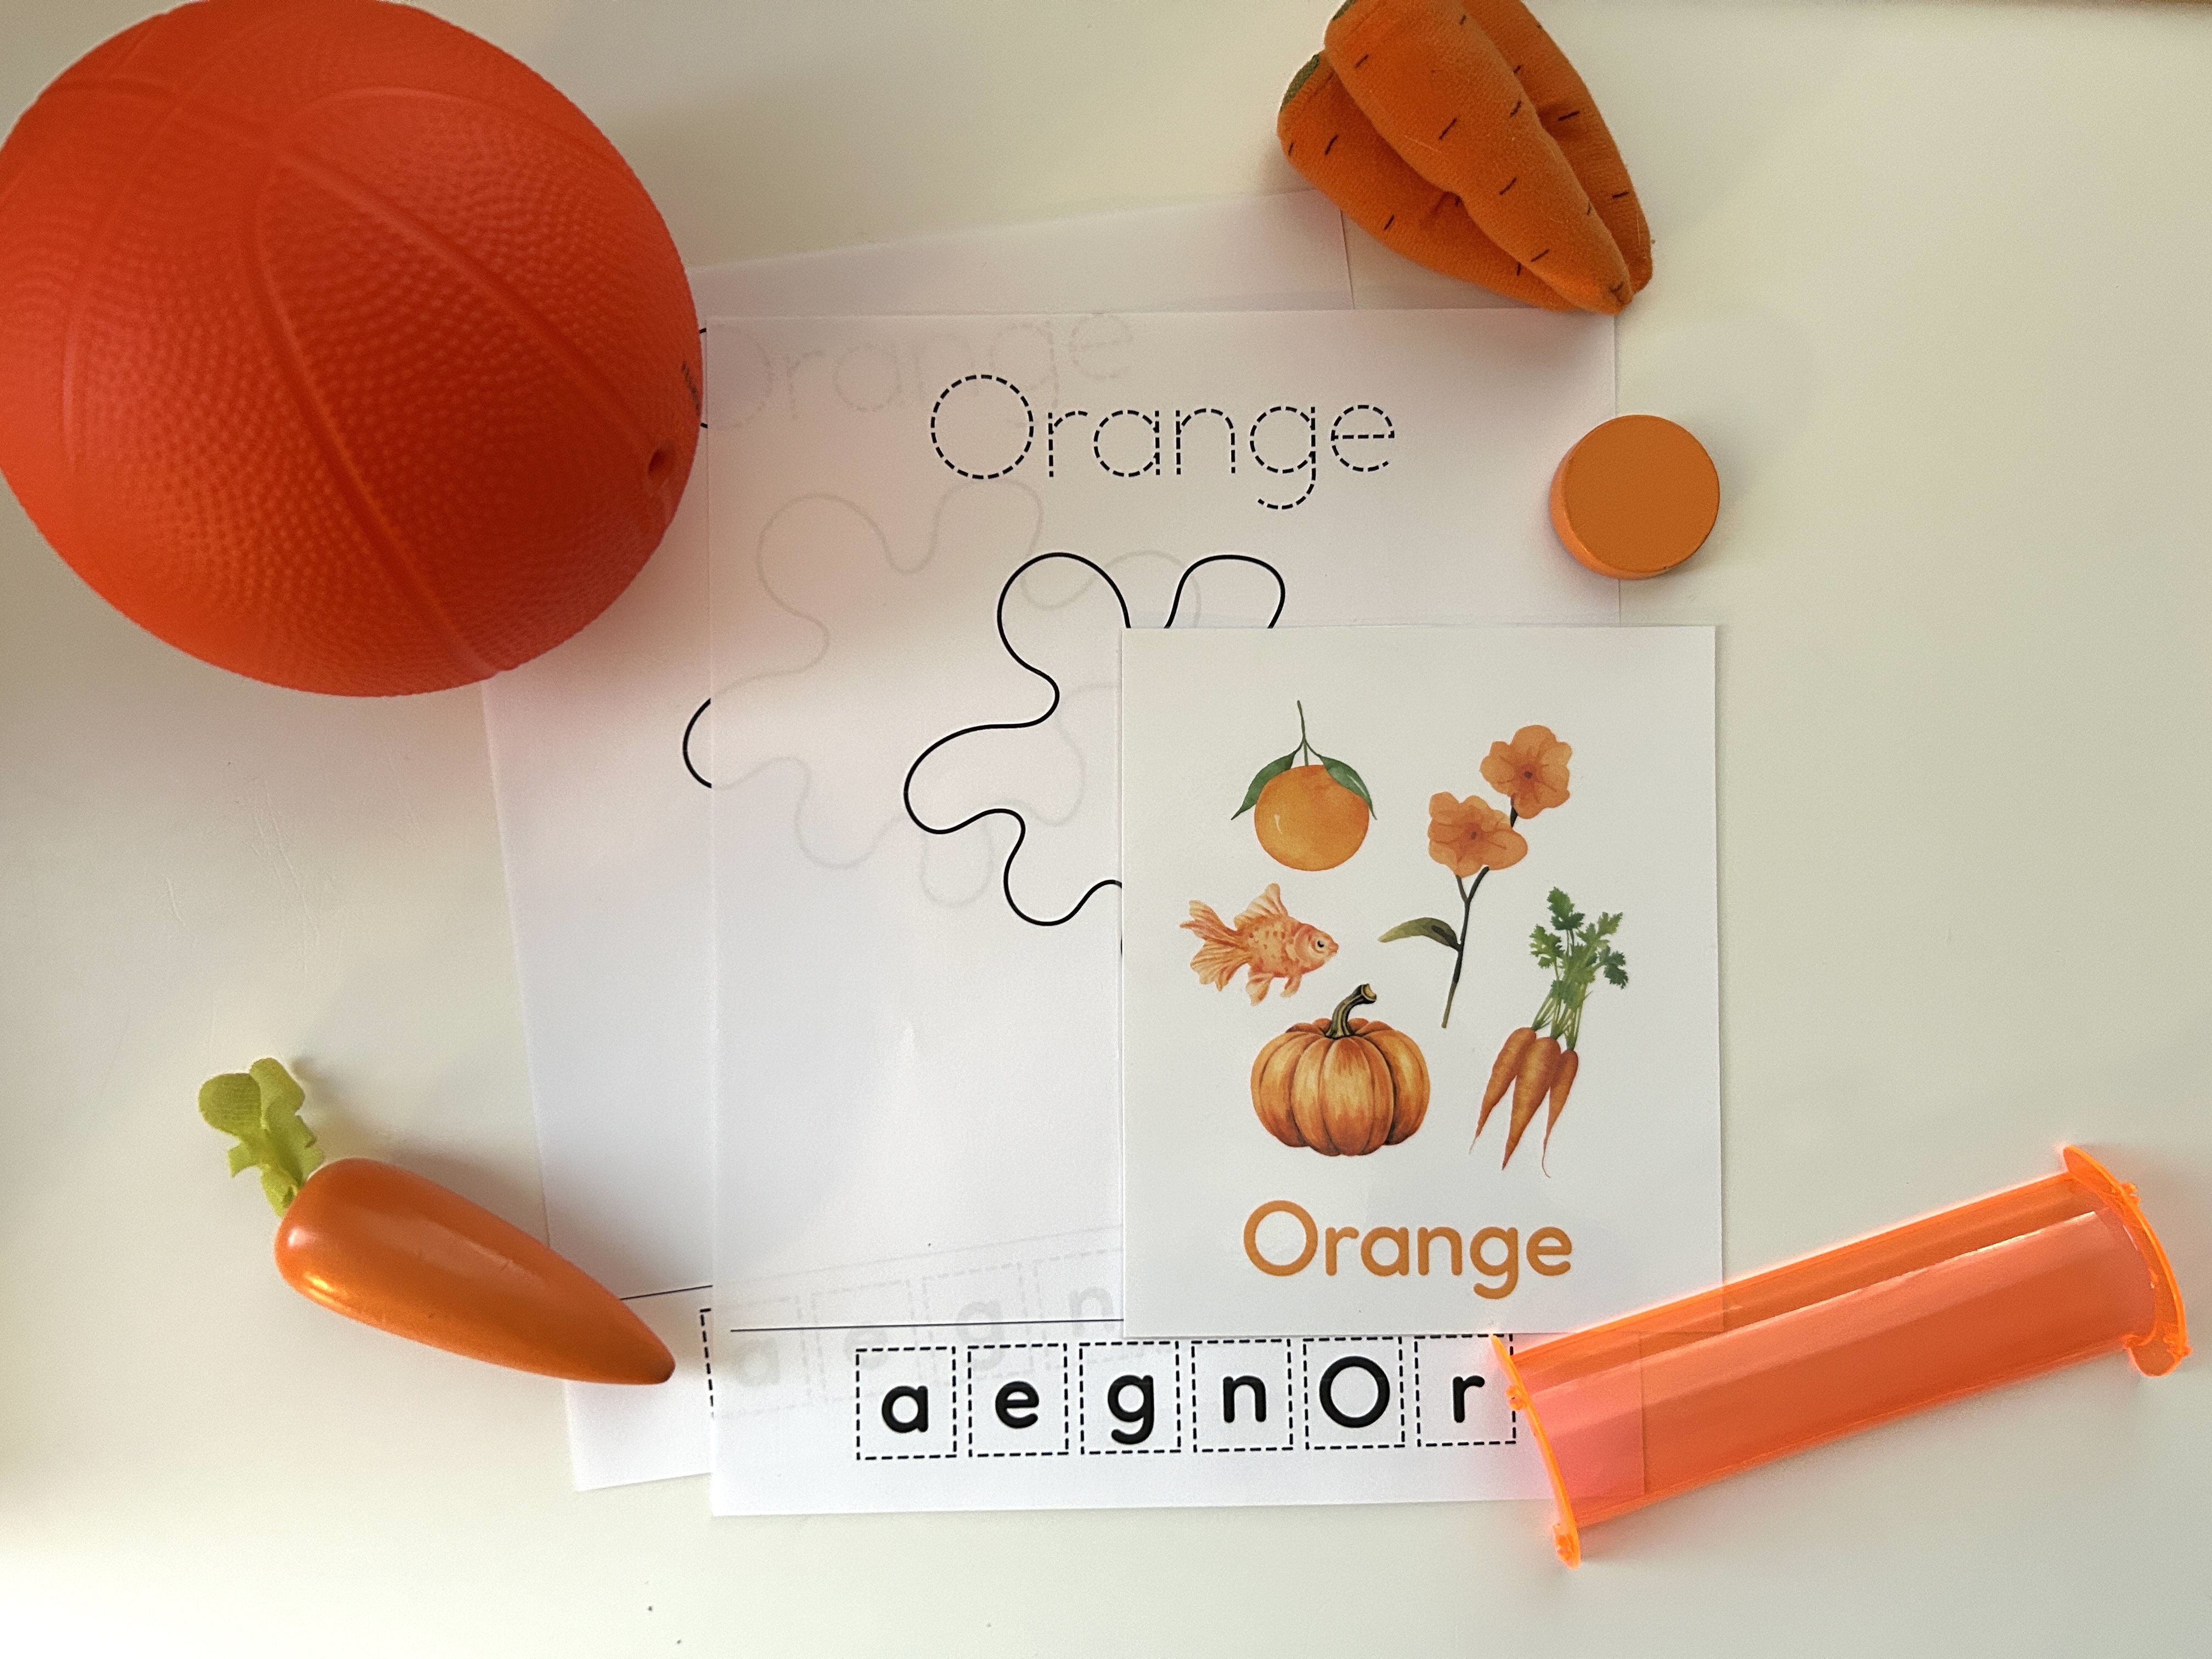
Cut & paste:
After the scavenger hunt, we settled down to do the cut and paste activity. For my youngest, who is just learning how to use scissors, I cut the strip of letters off the page first. Then, I held the strip for her while she snipped off each letter. Single snips like this are a great way to get started on using scissors! We did this for the first few colours and by the time we were on the last (9th) colour, she was doing this part all by herself!
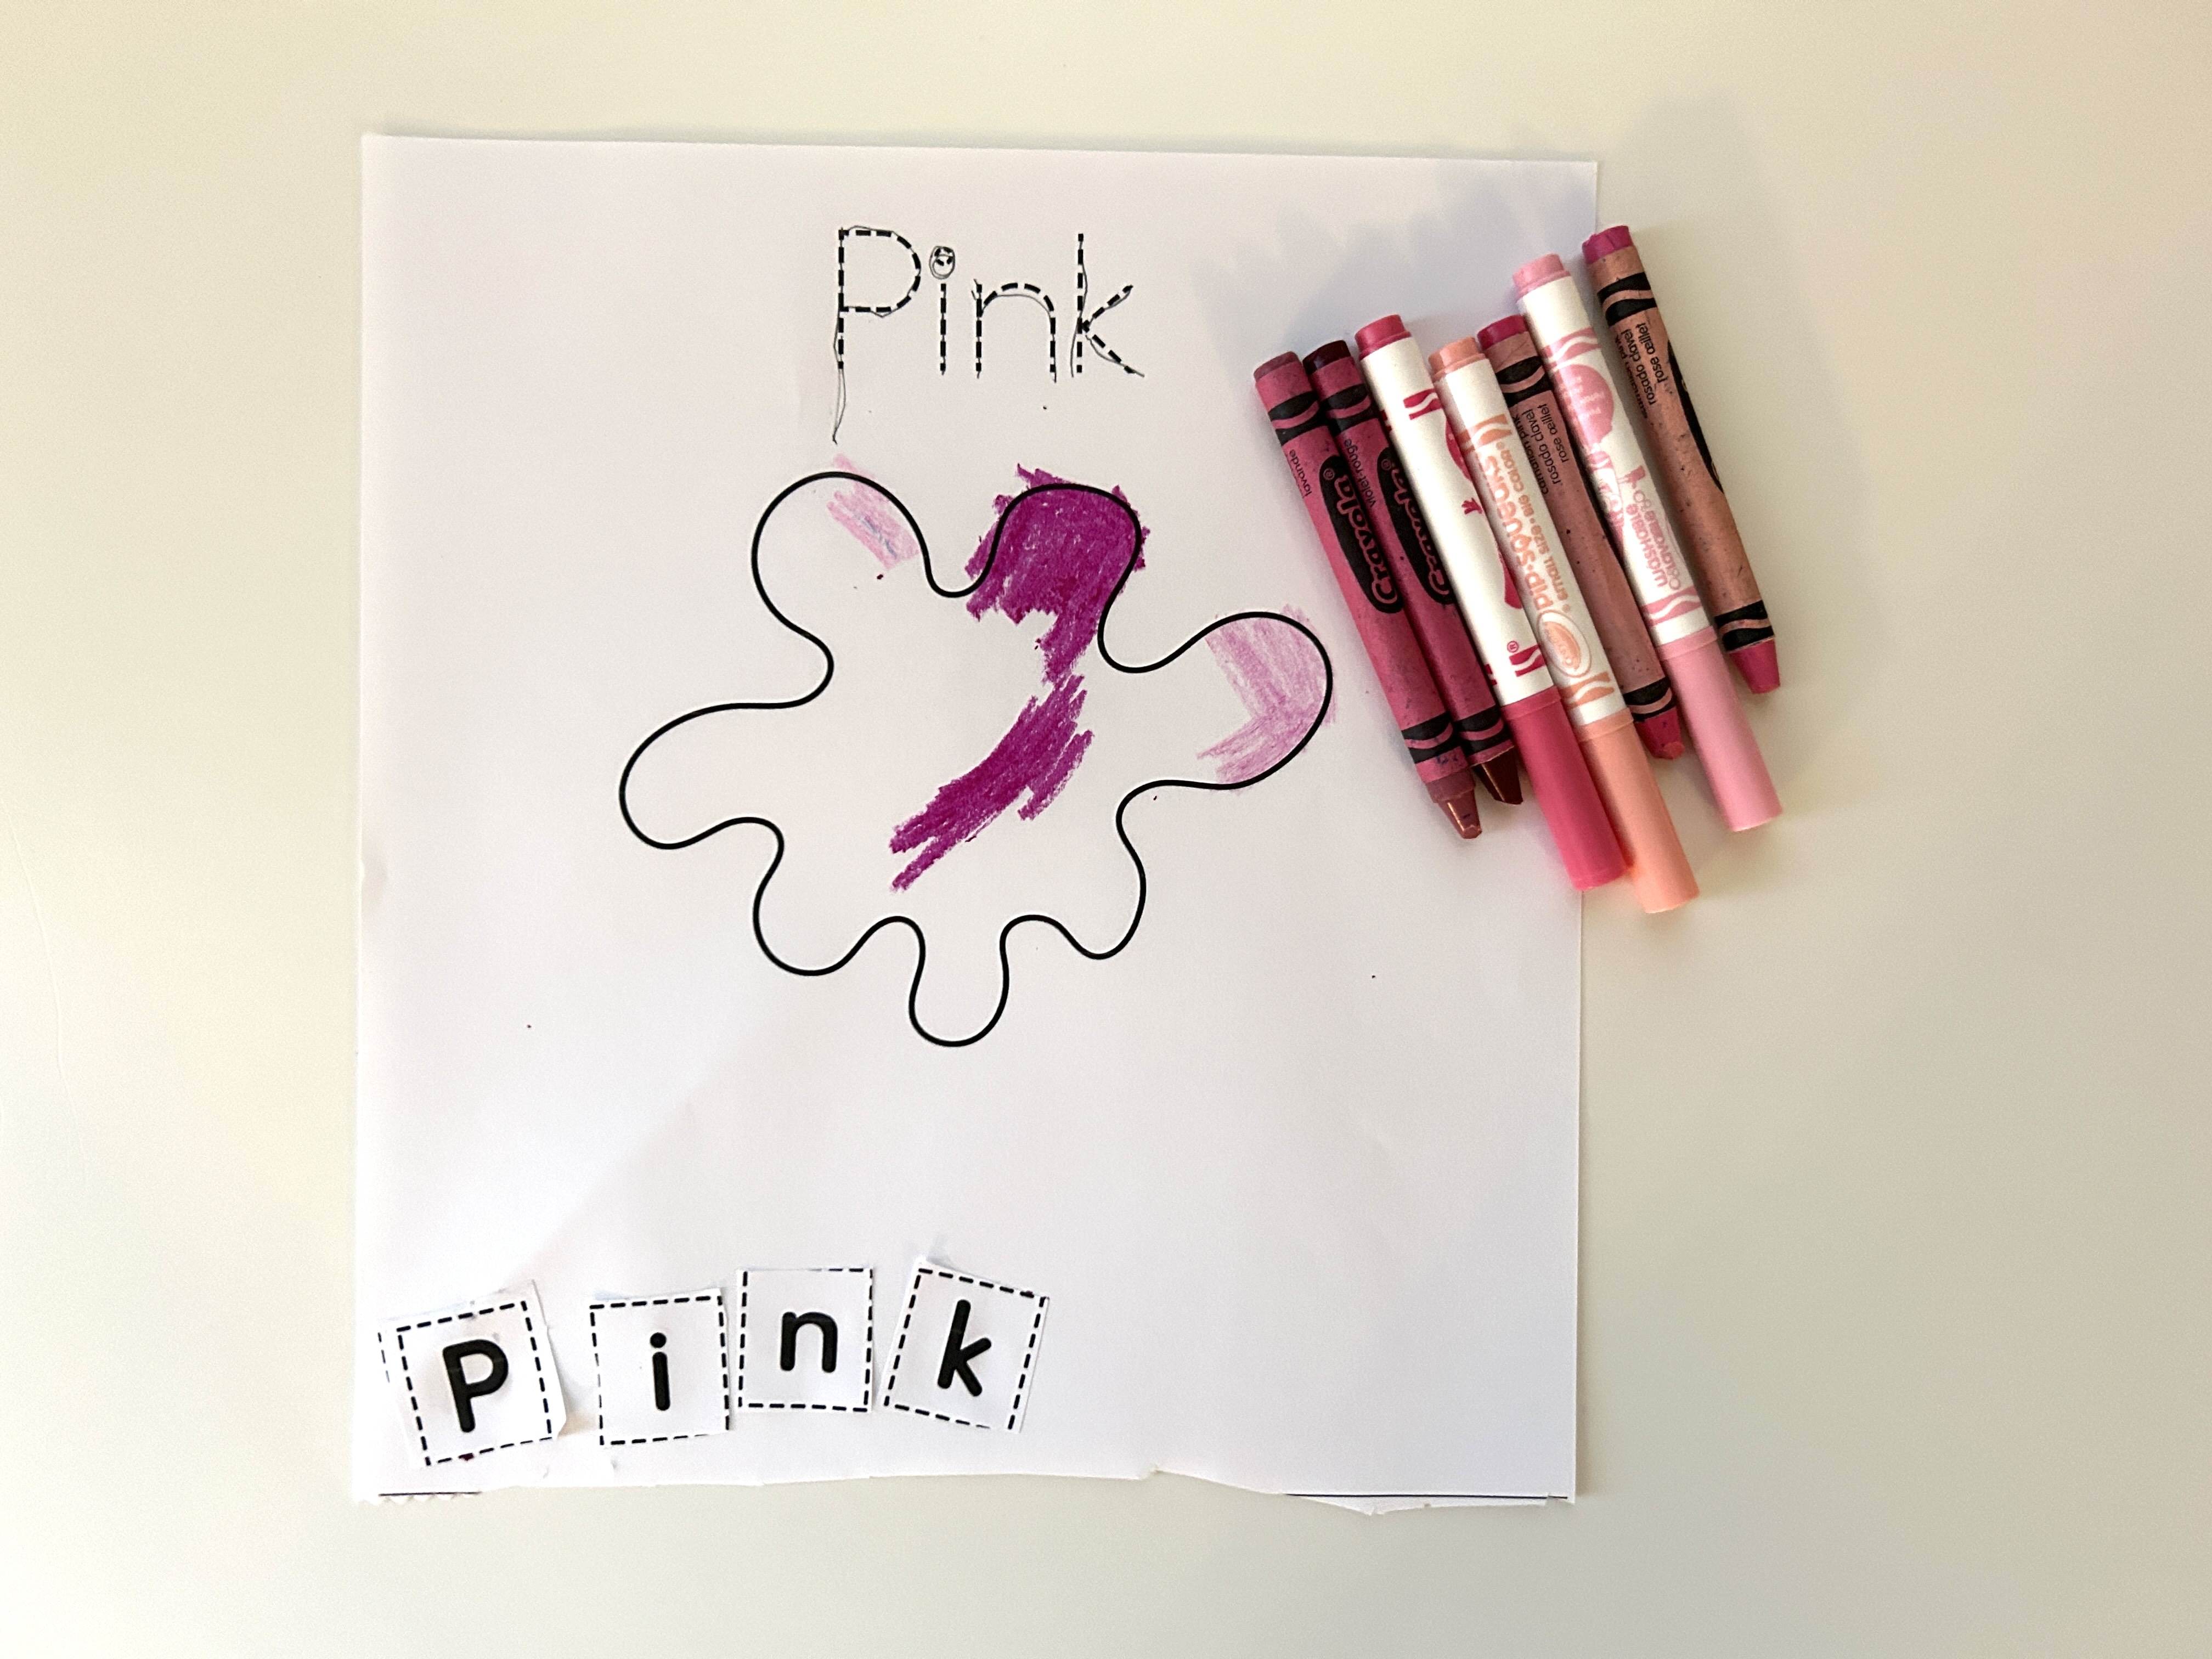
After we had the letters cut out, we went through each letter, using the word at the top of the page or on the colour poster as a guide. My oldest was able to tell me which letter came next and what sound it makes and glue it down herself. For my youngest, I pointed to the next letter and told her the letter name and sound as she glued it down.
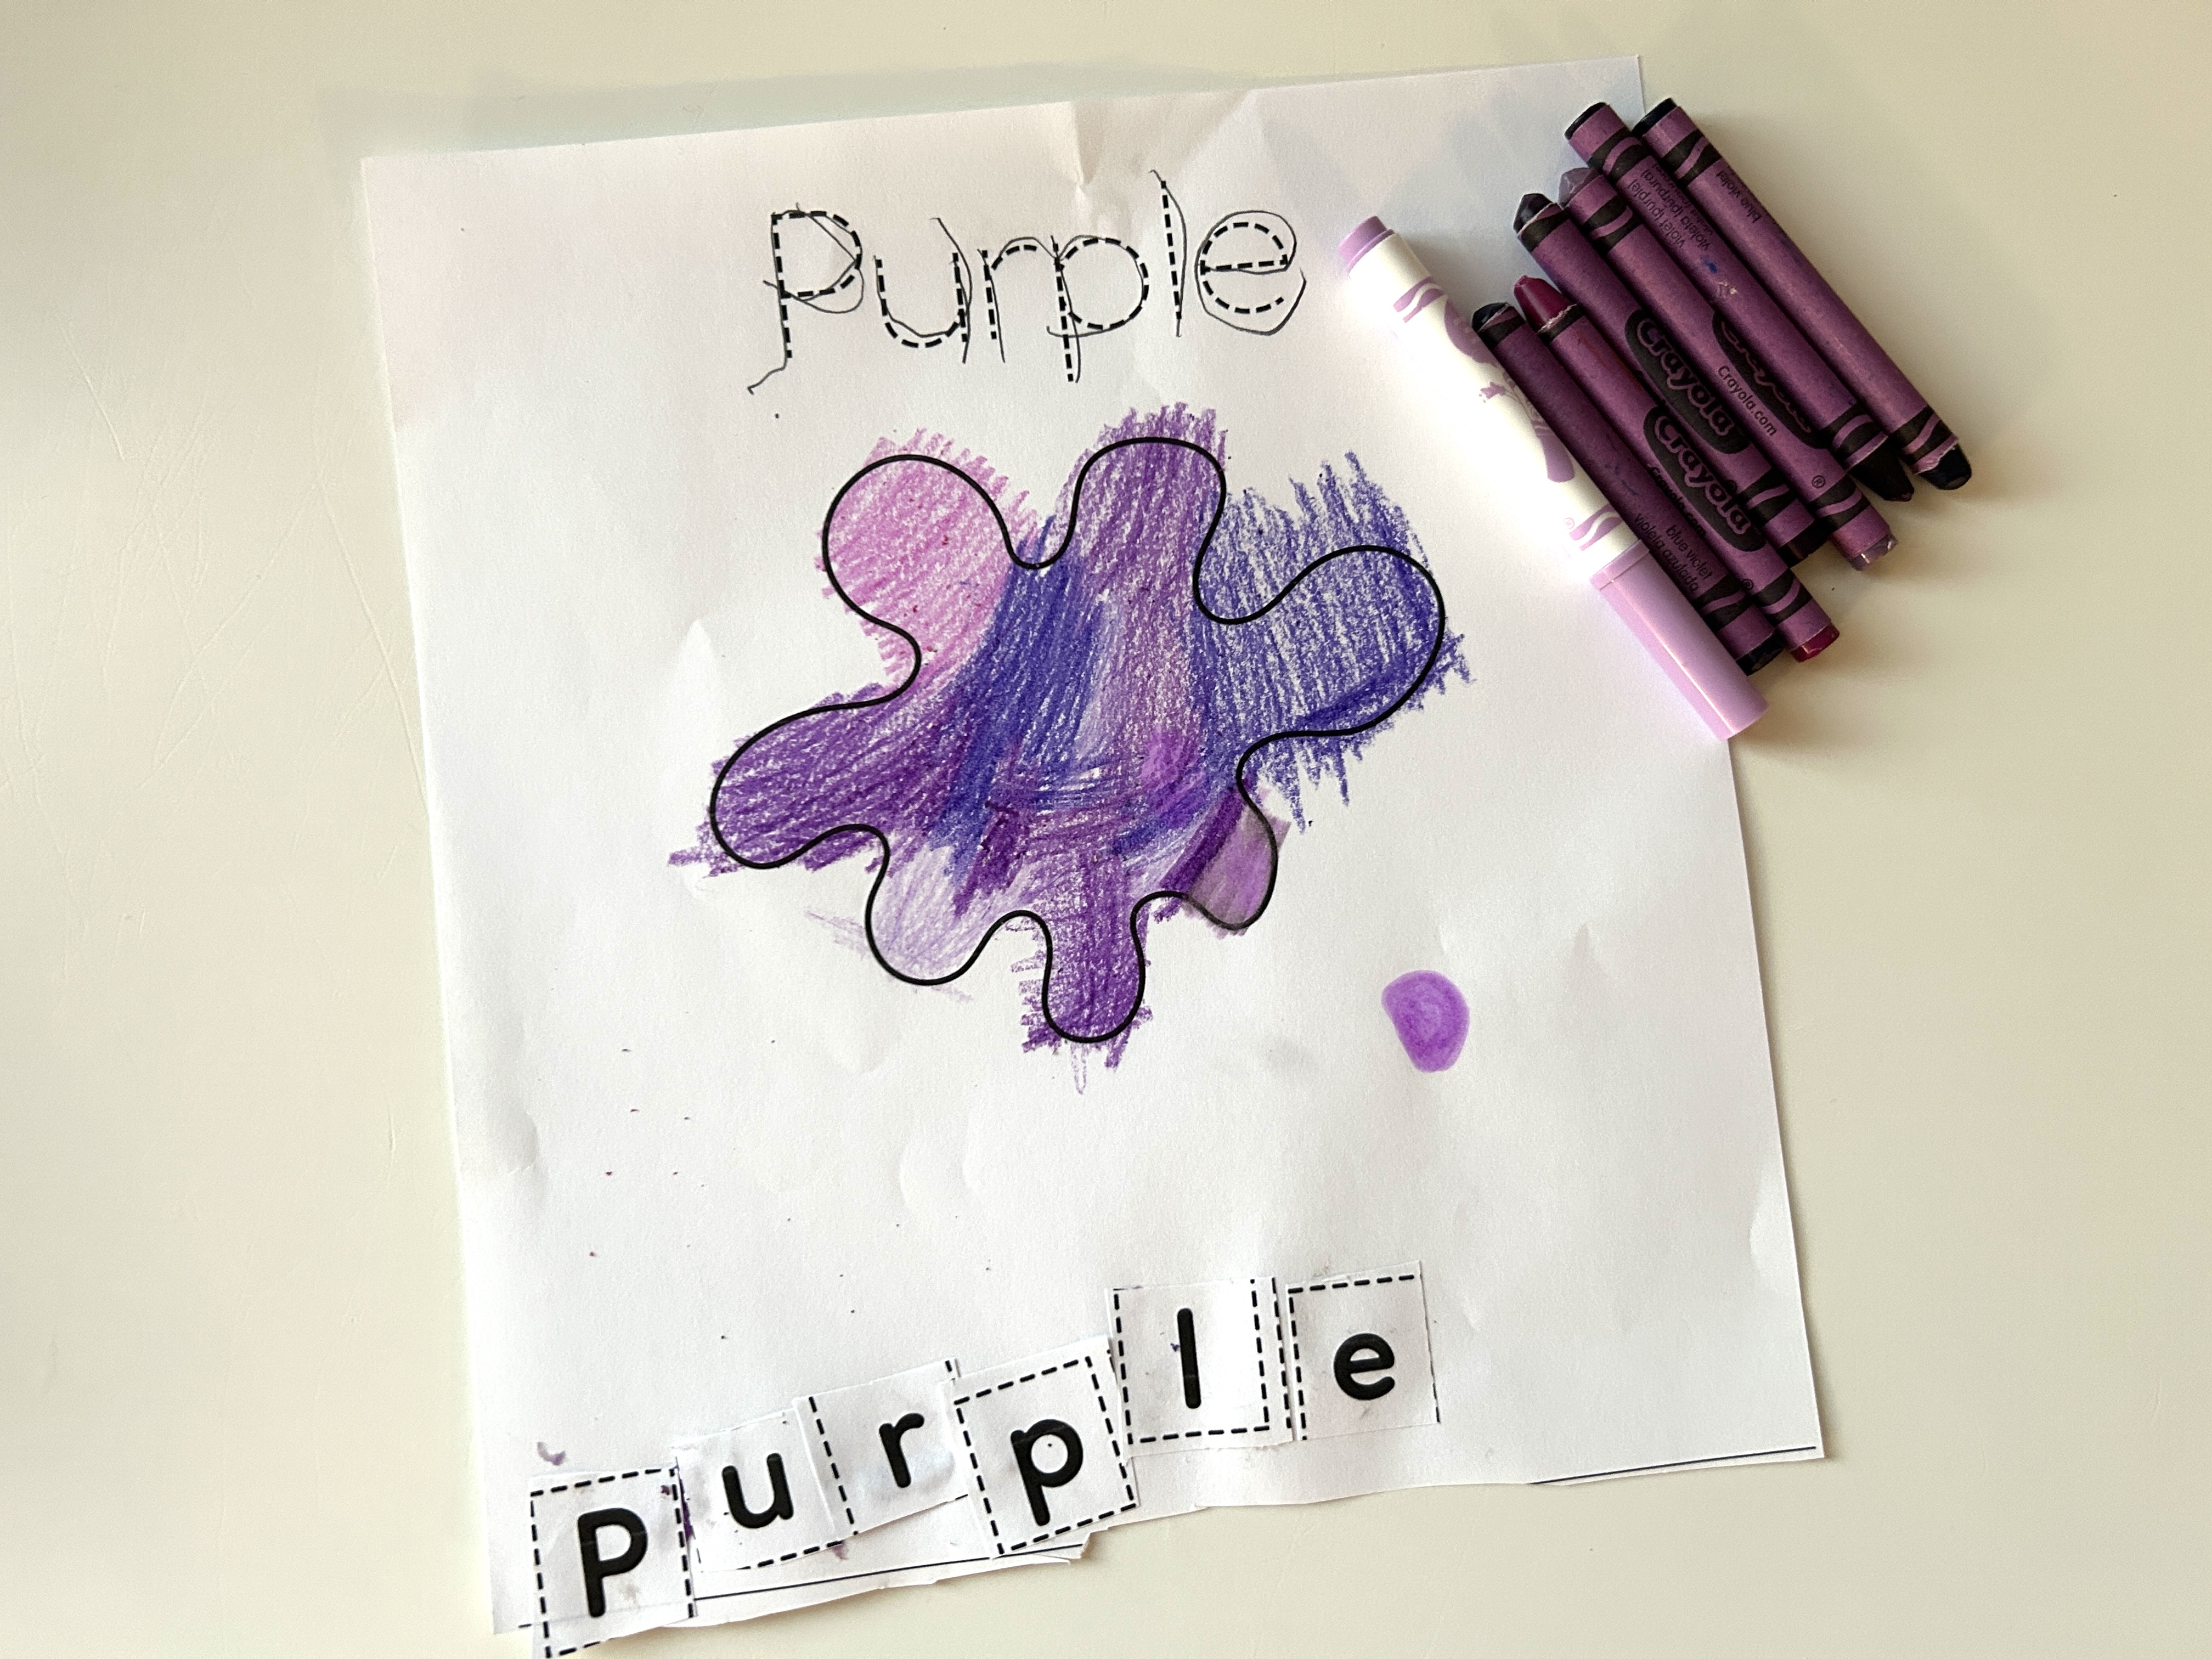
Once all the letters had been glued to form the colour word, we did another mini scavenger hunt in our crayon and marker box! I had the kids look through to find as many different markers and crayons they could of the current colour we were on. We have a decent collection of crayons and markers, so they usually found about 3-6 versions of each colour. They then chose one (or more!) to colour the paint splash on the page. If your little one isn't into colouring, some other options include painting or ripping up a piece of construction paper into small pieces and gluing them down.
To wrap things up, my oldest practiced her printing by tracing the word at the top of the page. My youngest isn't quite ready for this skill yet so she skipped this step.
After we were done each colour, I placed the colour poster up in our learning space!
Find your rhythm & repeat:
This is how we continued with each colour - introduce the poster, review beginning letter, scavenger hunt, cut and paste, crayon and marker search, colour, put poster up on wall. Once I find a rhythm that works, I like to keep the routine up so that the kids know what to expect and things run smoother. If I find that there is a certain part they really aren't enjoying, I'll try to change it up or skip that step if possible.
Wrapping up the study:
After finishing all nine colours, we made our mini colour books! The kids worked on colouring each mini page, and when they were done, I helped them cut the pages out and stapled them together to create a mini book. For my youngest, she was able to guess which colour each page should be based on the pictures and with my help. For my oldest, she compared each page to the colour posters we had up on the wall to match the letters/words and discover what colour each page was! This not only reinforced her letter and word recognition, but also encouraged independence and problem solving. She was so proud to complete the whole book by herself!
Our Colours Preschool Starter Pack includes all the printables you've seen here - everything you need to get started introducing colours to your little one. Click below to get started!
Extended learning:
Keeping the colour posters up in your learning space after completing the unit can provide extended learning. This provides exposure and visual reminders for little ones (ages 3-4), and for bigger kids (ages 5-6) it can reinforce the colour words as sight words. My oldest now uses the posters as a guide for all colour by number activities. She is so proud to be able to complete these without my help to read the colour words - and she's starting to recall some of the words all on her own without having to use the posters! They can also be helpful for writing activities, where children can write colour words with more independence using the posters rather than relying on the parent or teacher to spell the word.
Getting your child interested:
If you're finding it difficult to get your child engaged in learning activities such as these, you're not alone! As always, we recommend never forcing an activity. Gently introduce the idea and ask your child if they'd like to join. Be ok with the fact that they might say no, or if they do say yes, it might not last long. Remember that we can only expect about 5-10 minutes of focused work from a child at this age - anything beyond that is purely a bonus!
For those who are reluctant, check out our blog post with tips that can help increase engagement.
Did you enjoy this unit study? Let us know or tag us in your photos on instagram @littlenorthernlearners!